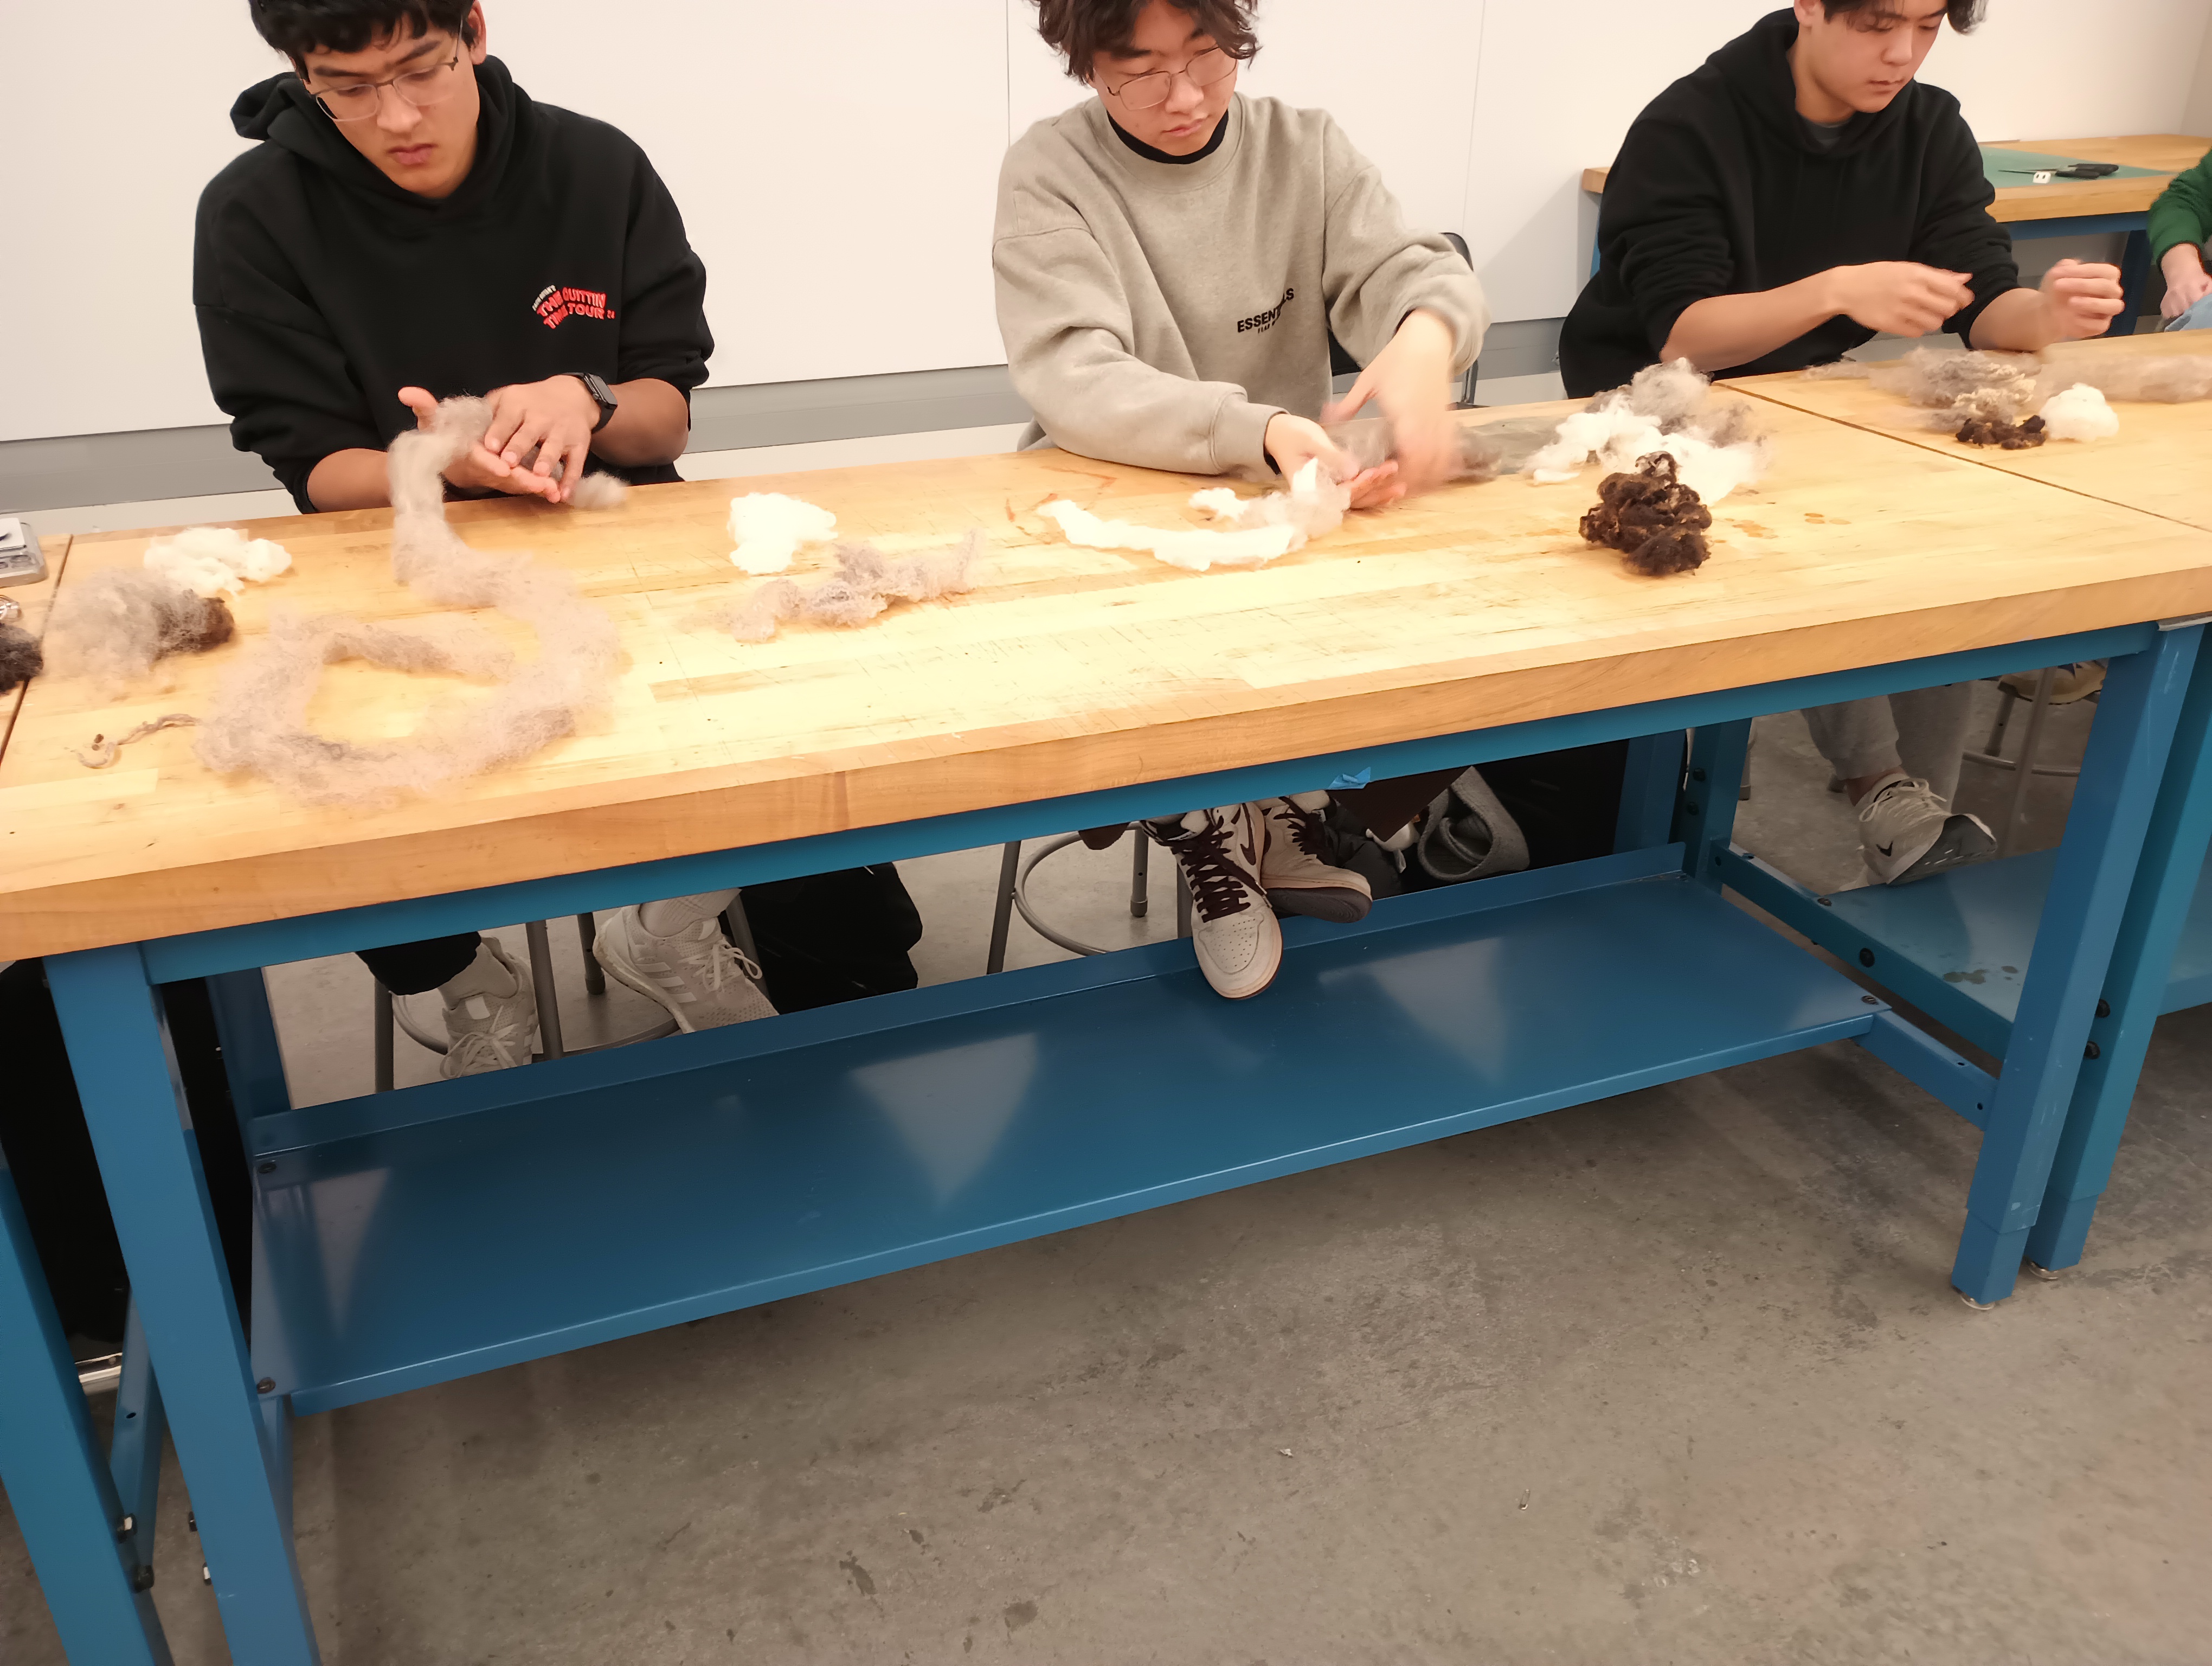
Studio 1 - Combing wool/flax
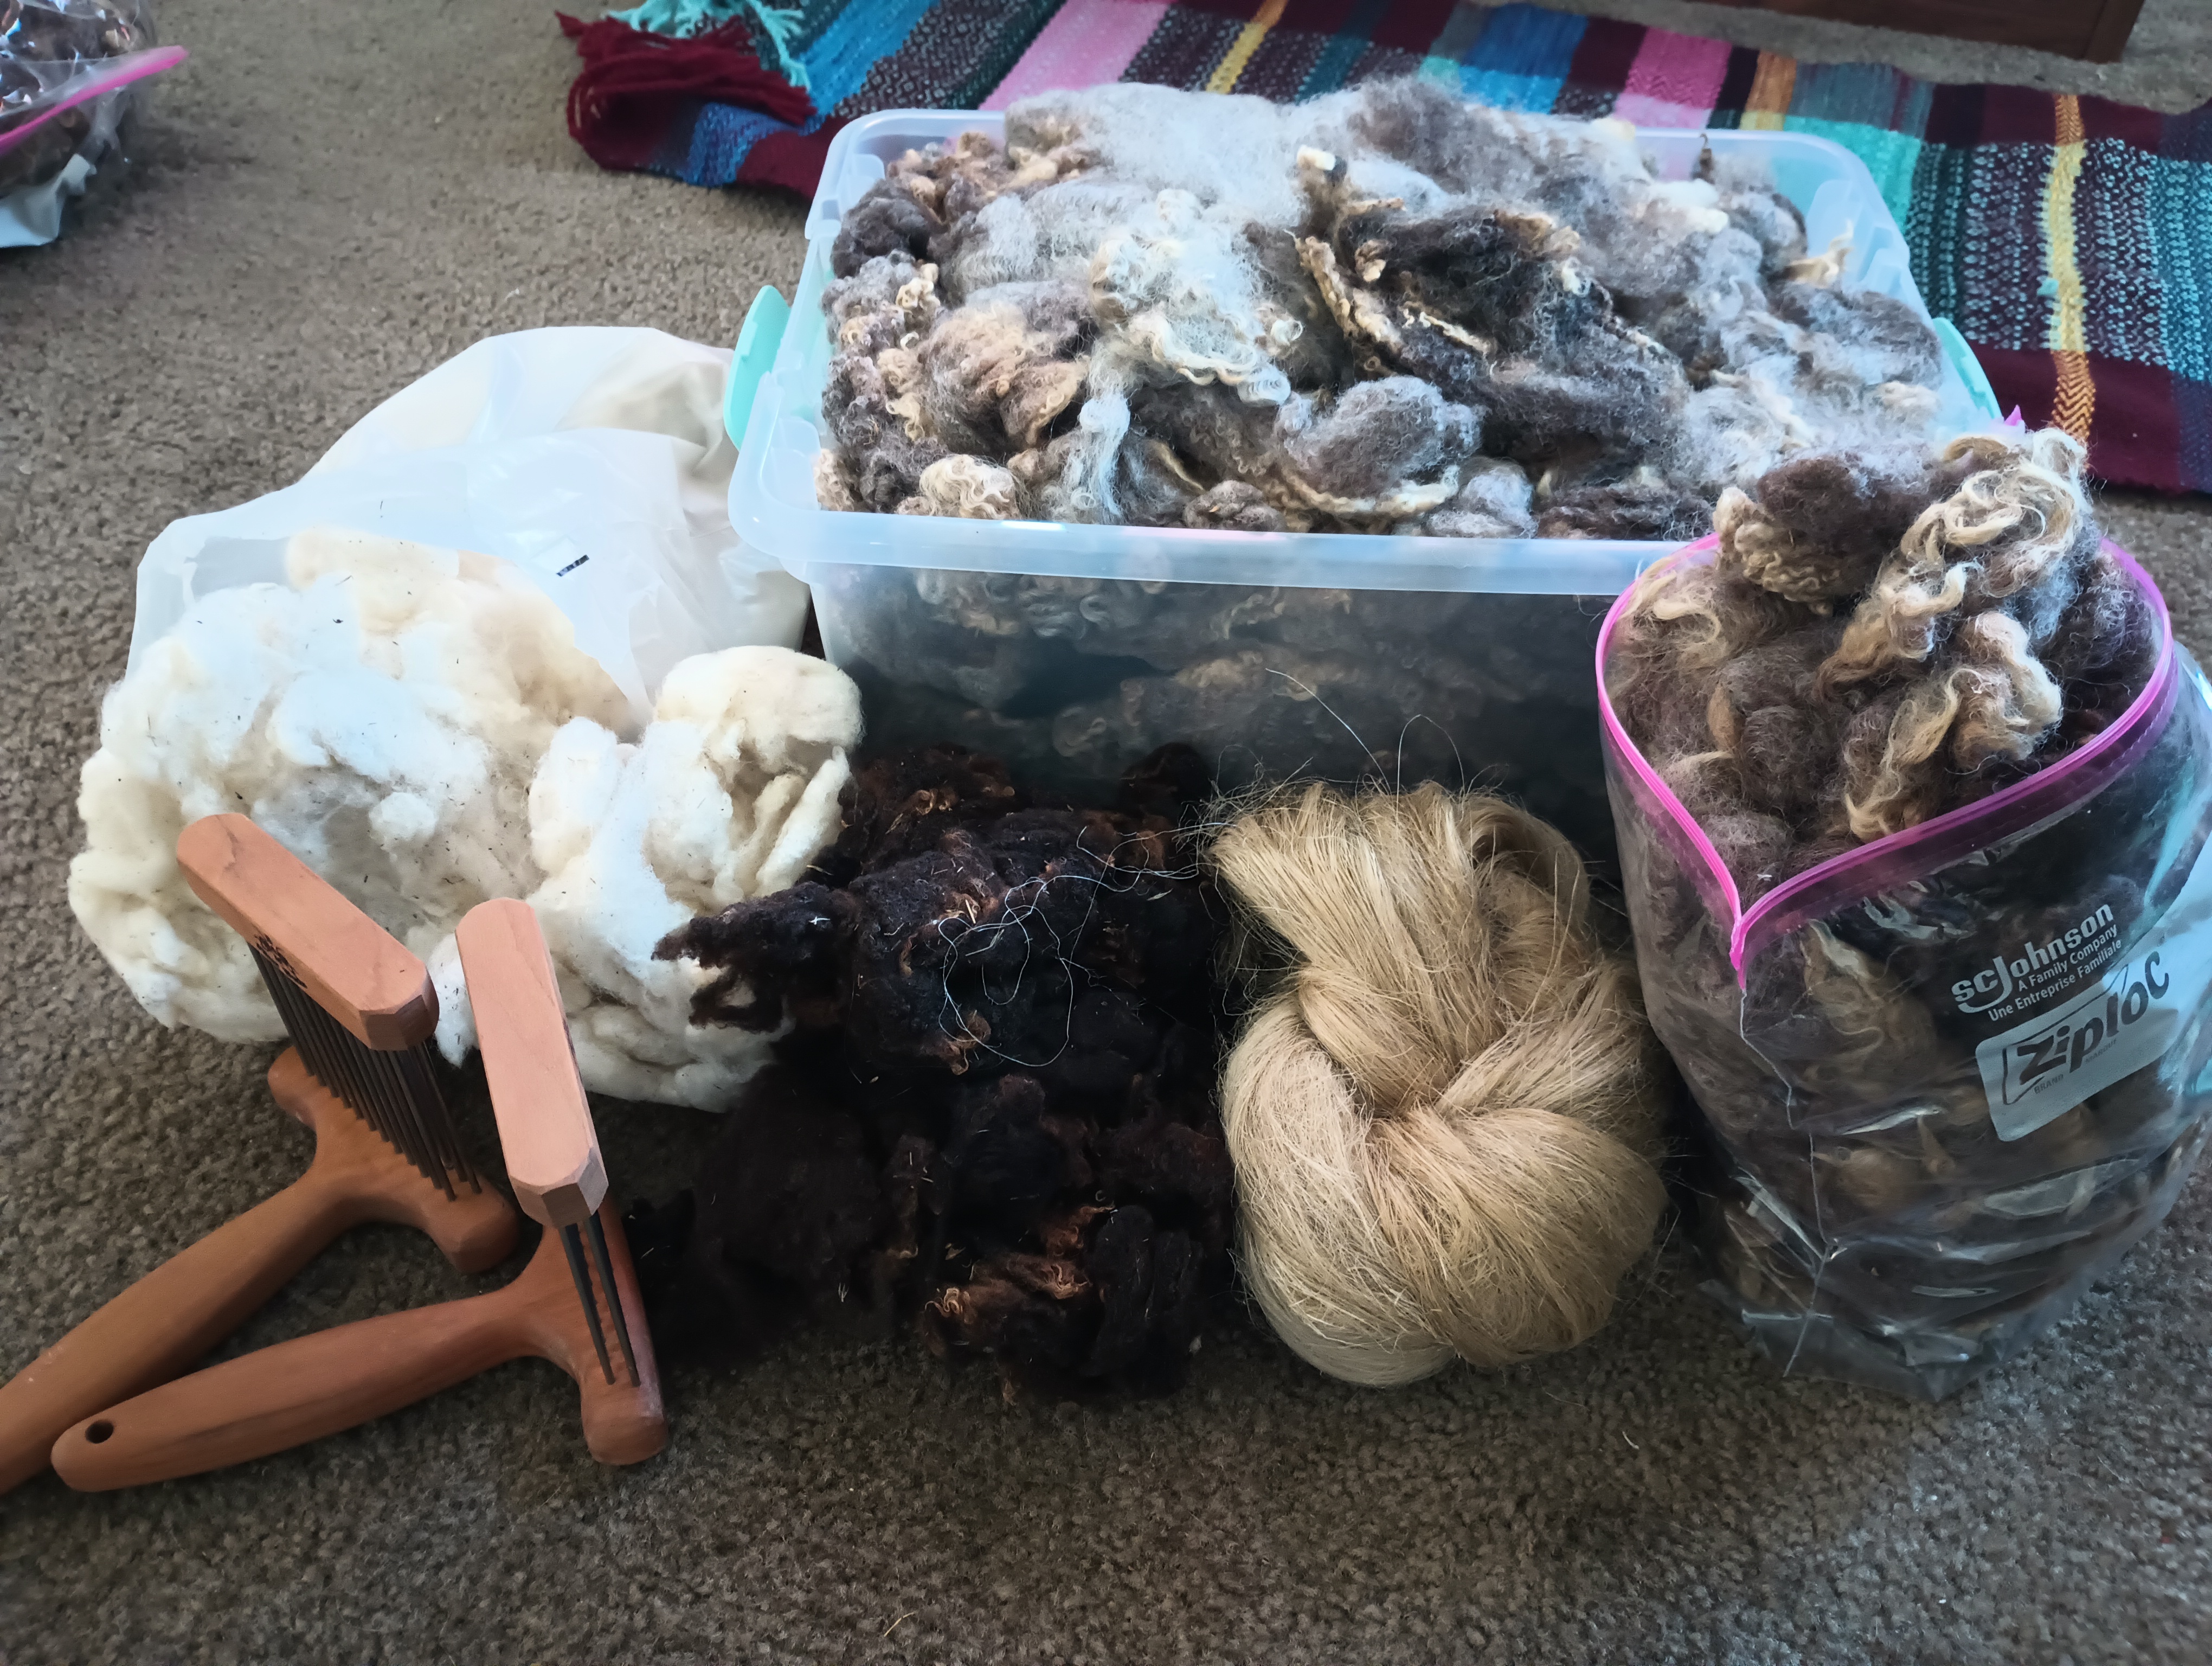
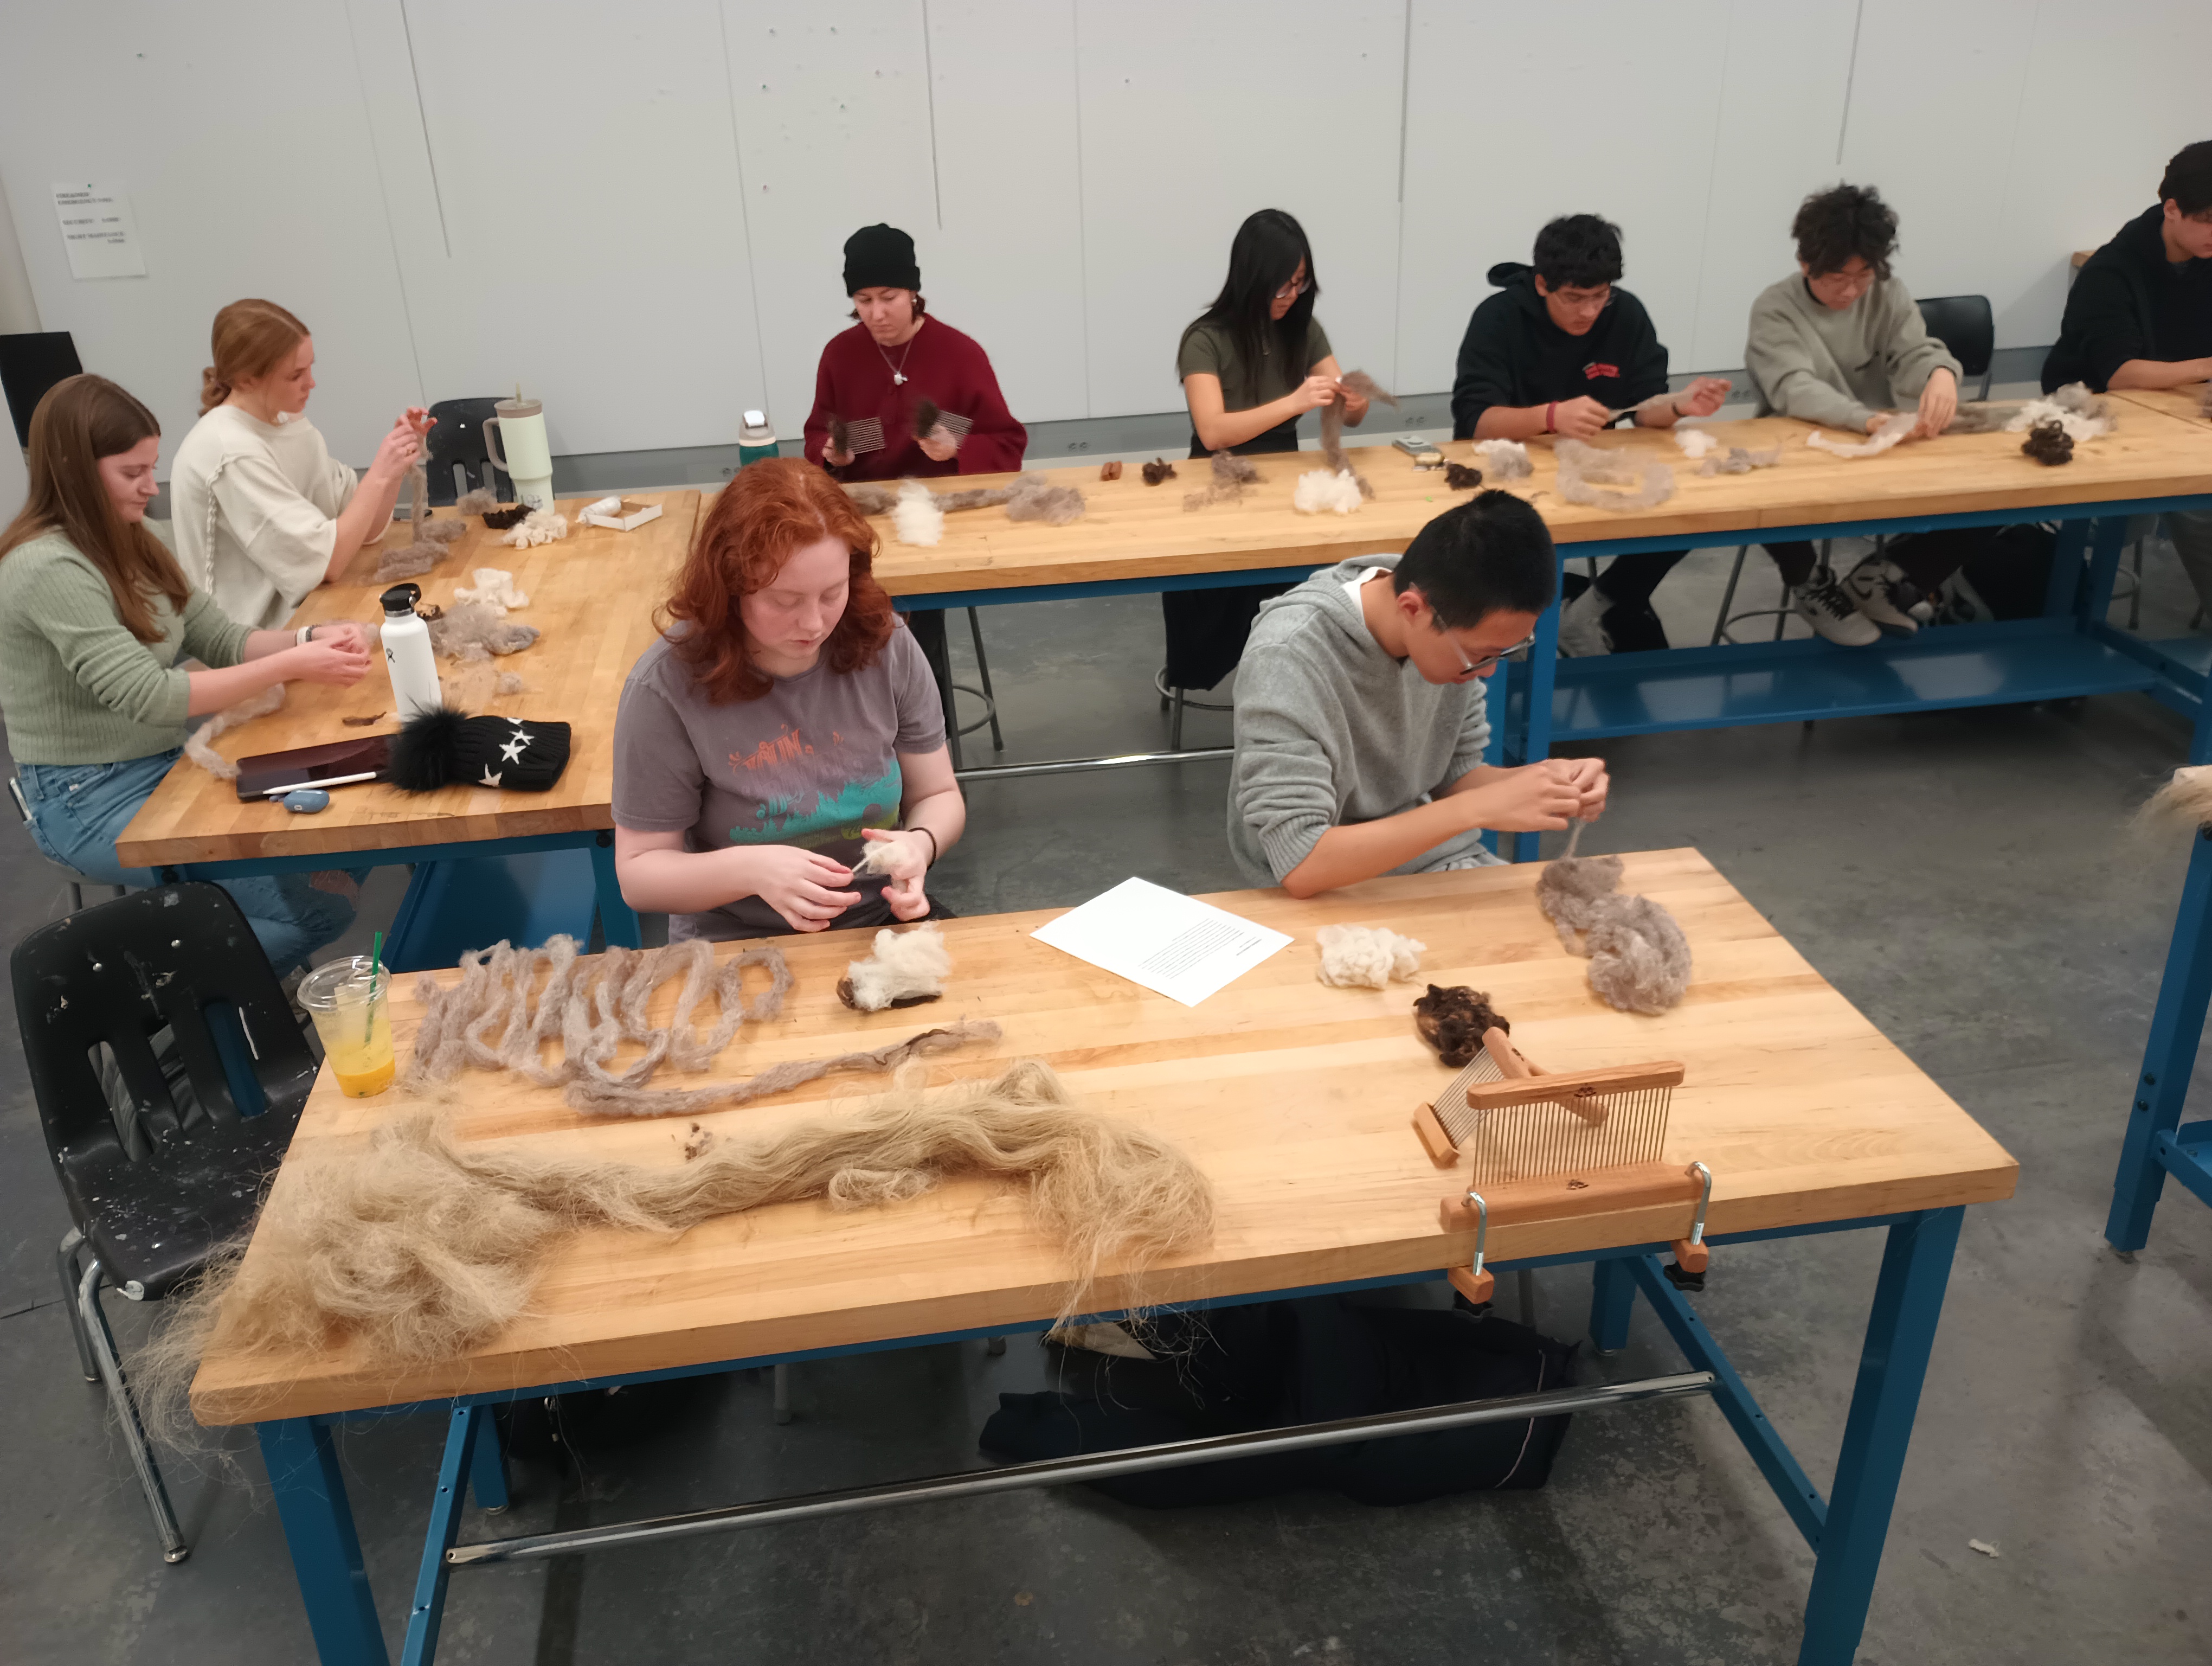
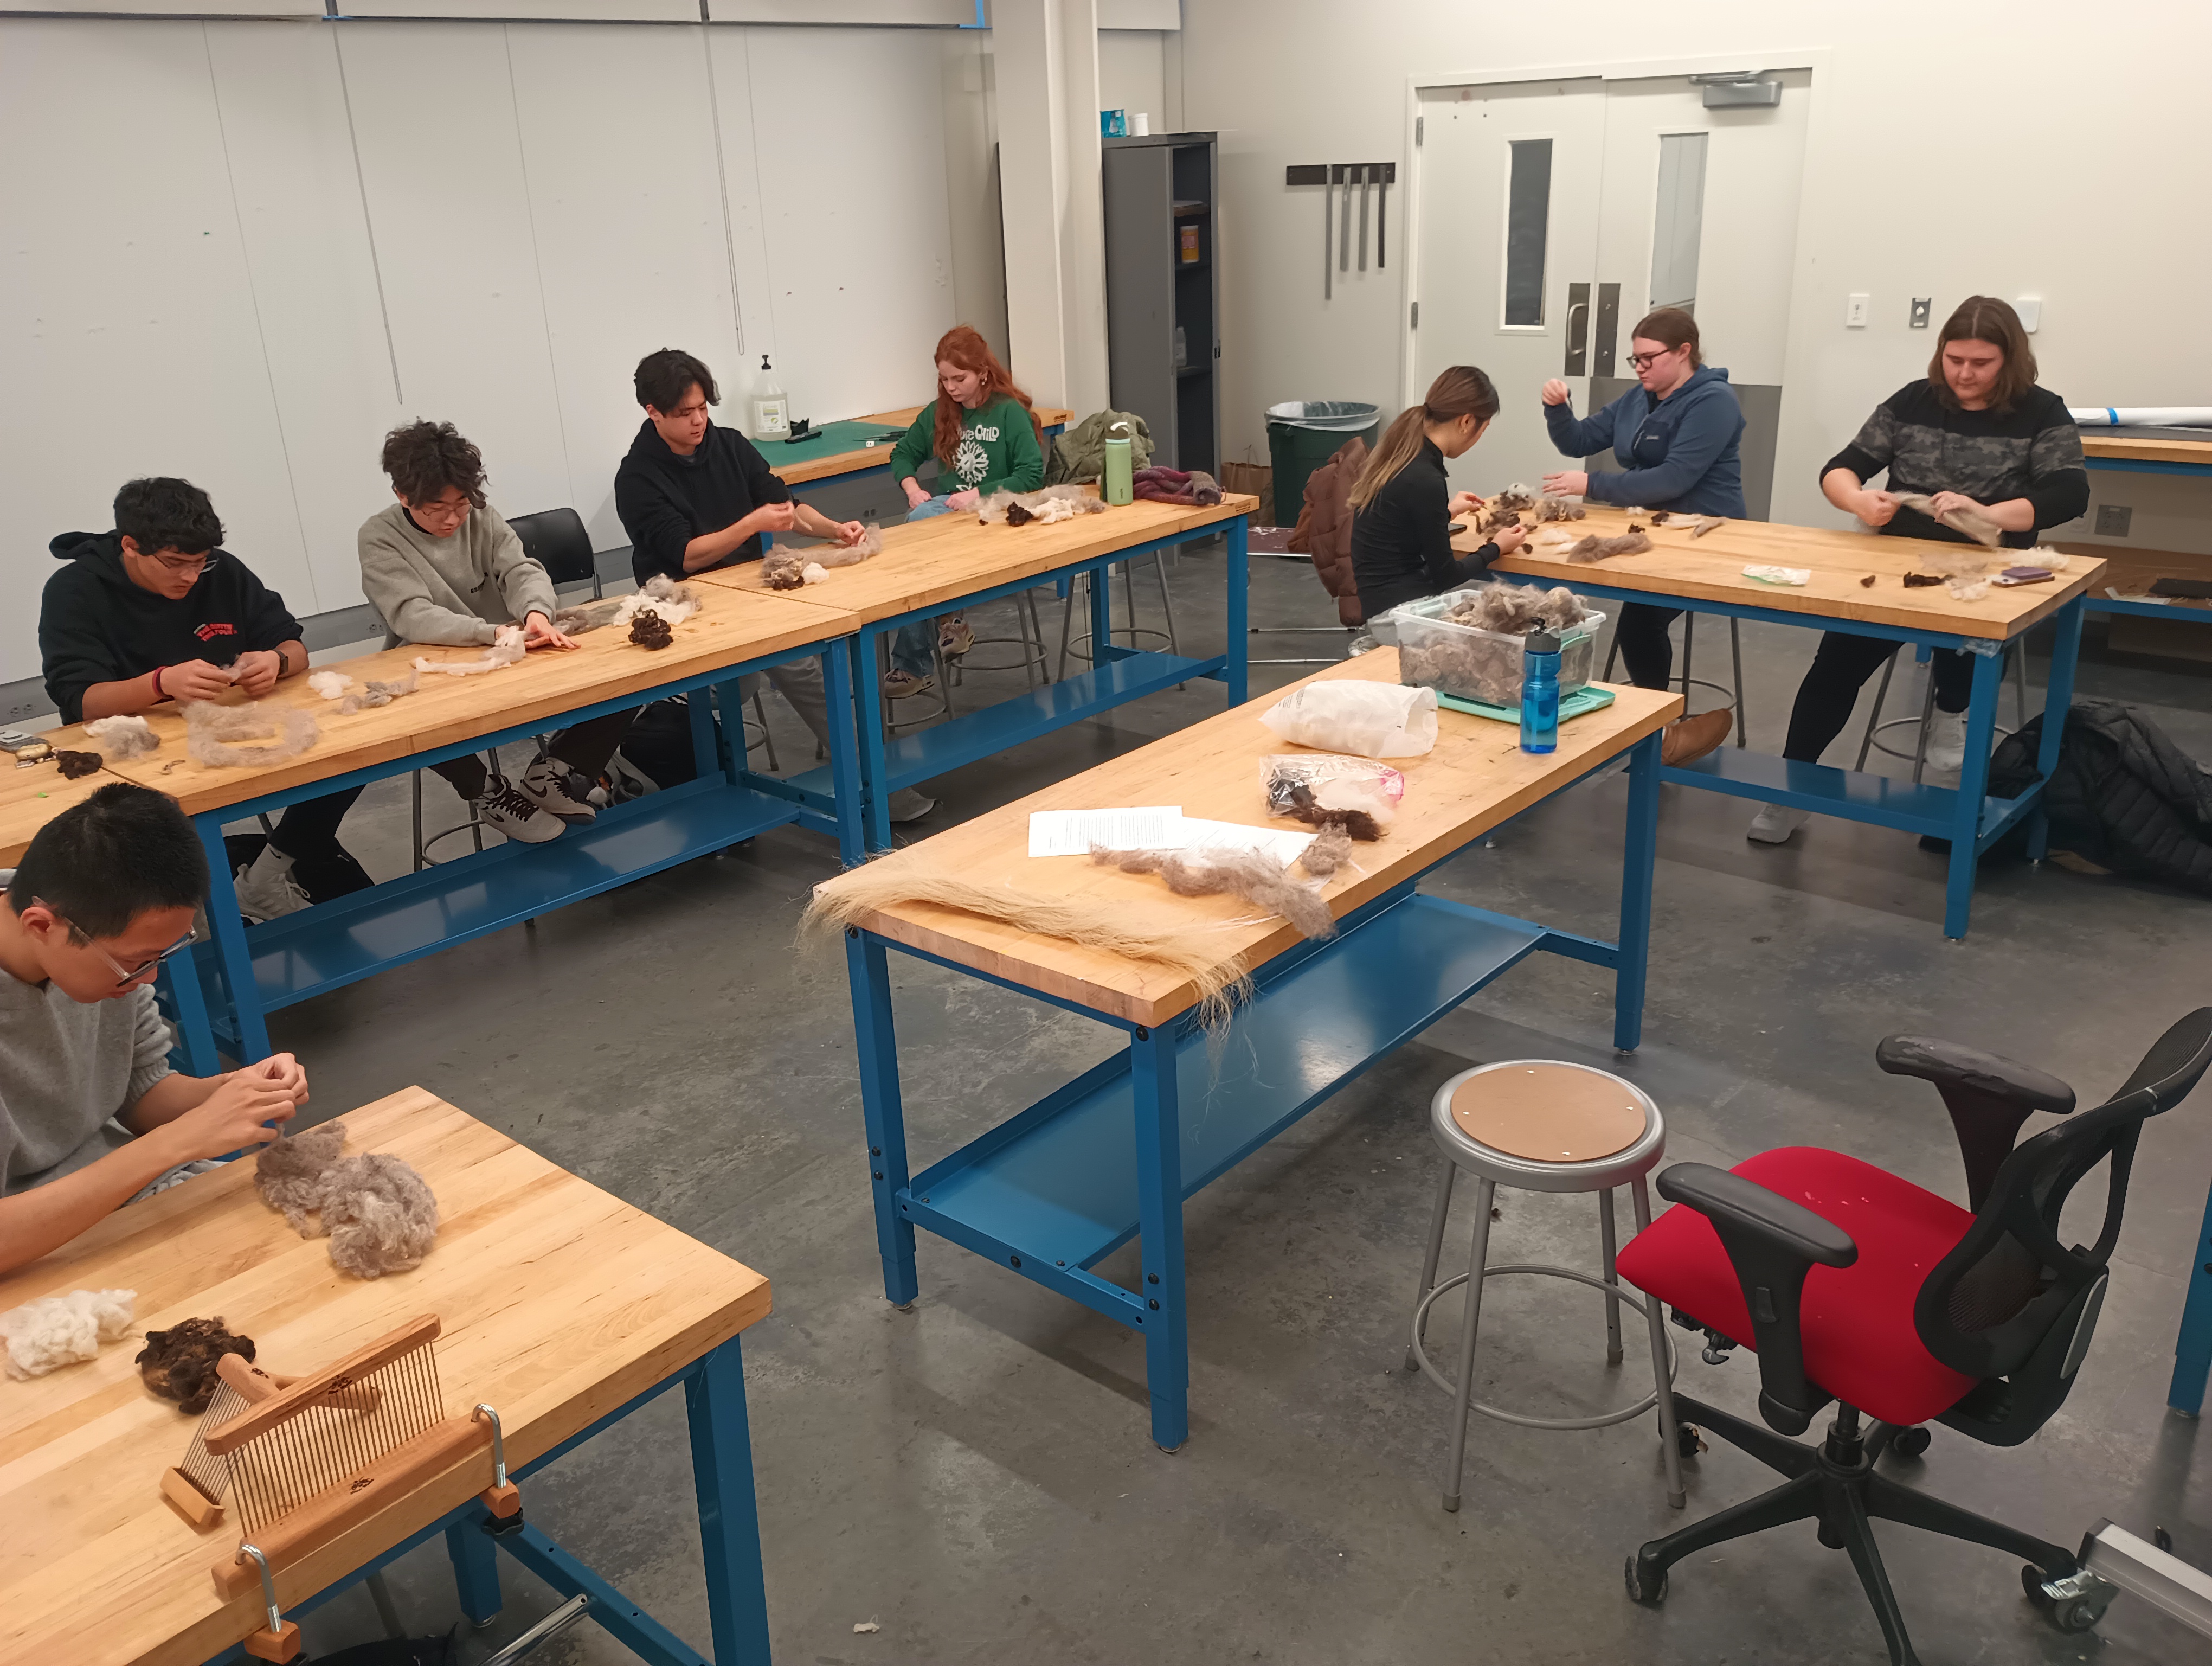
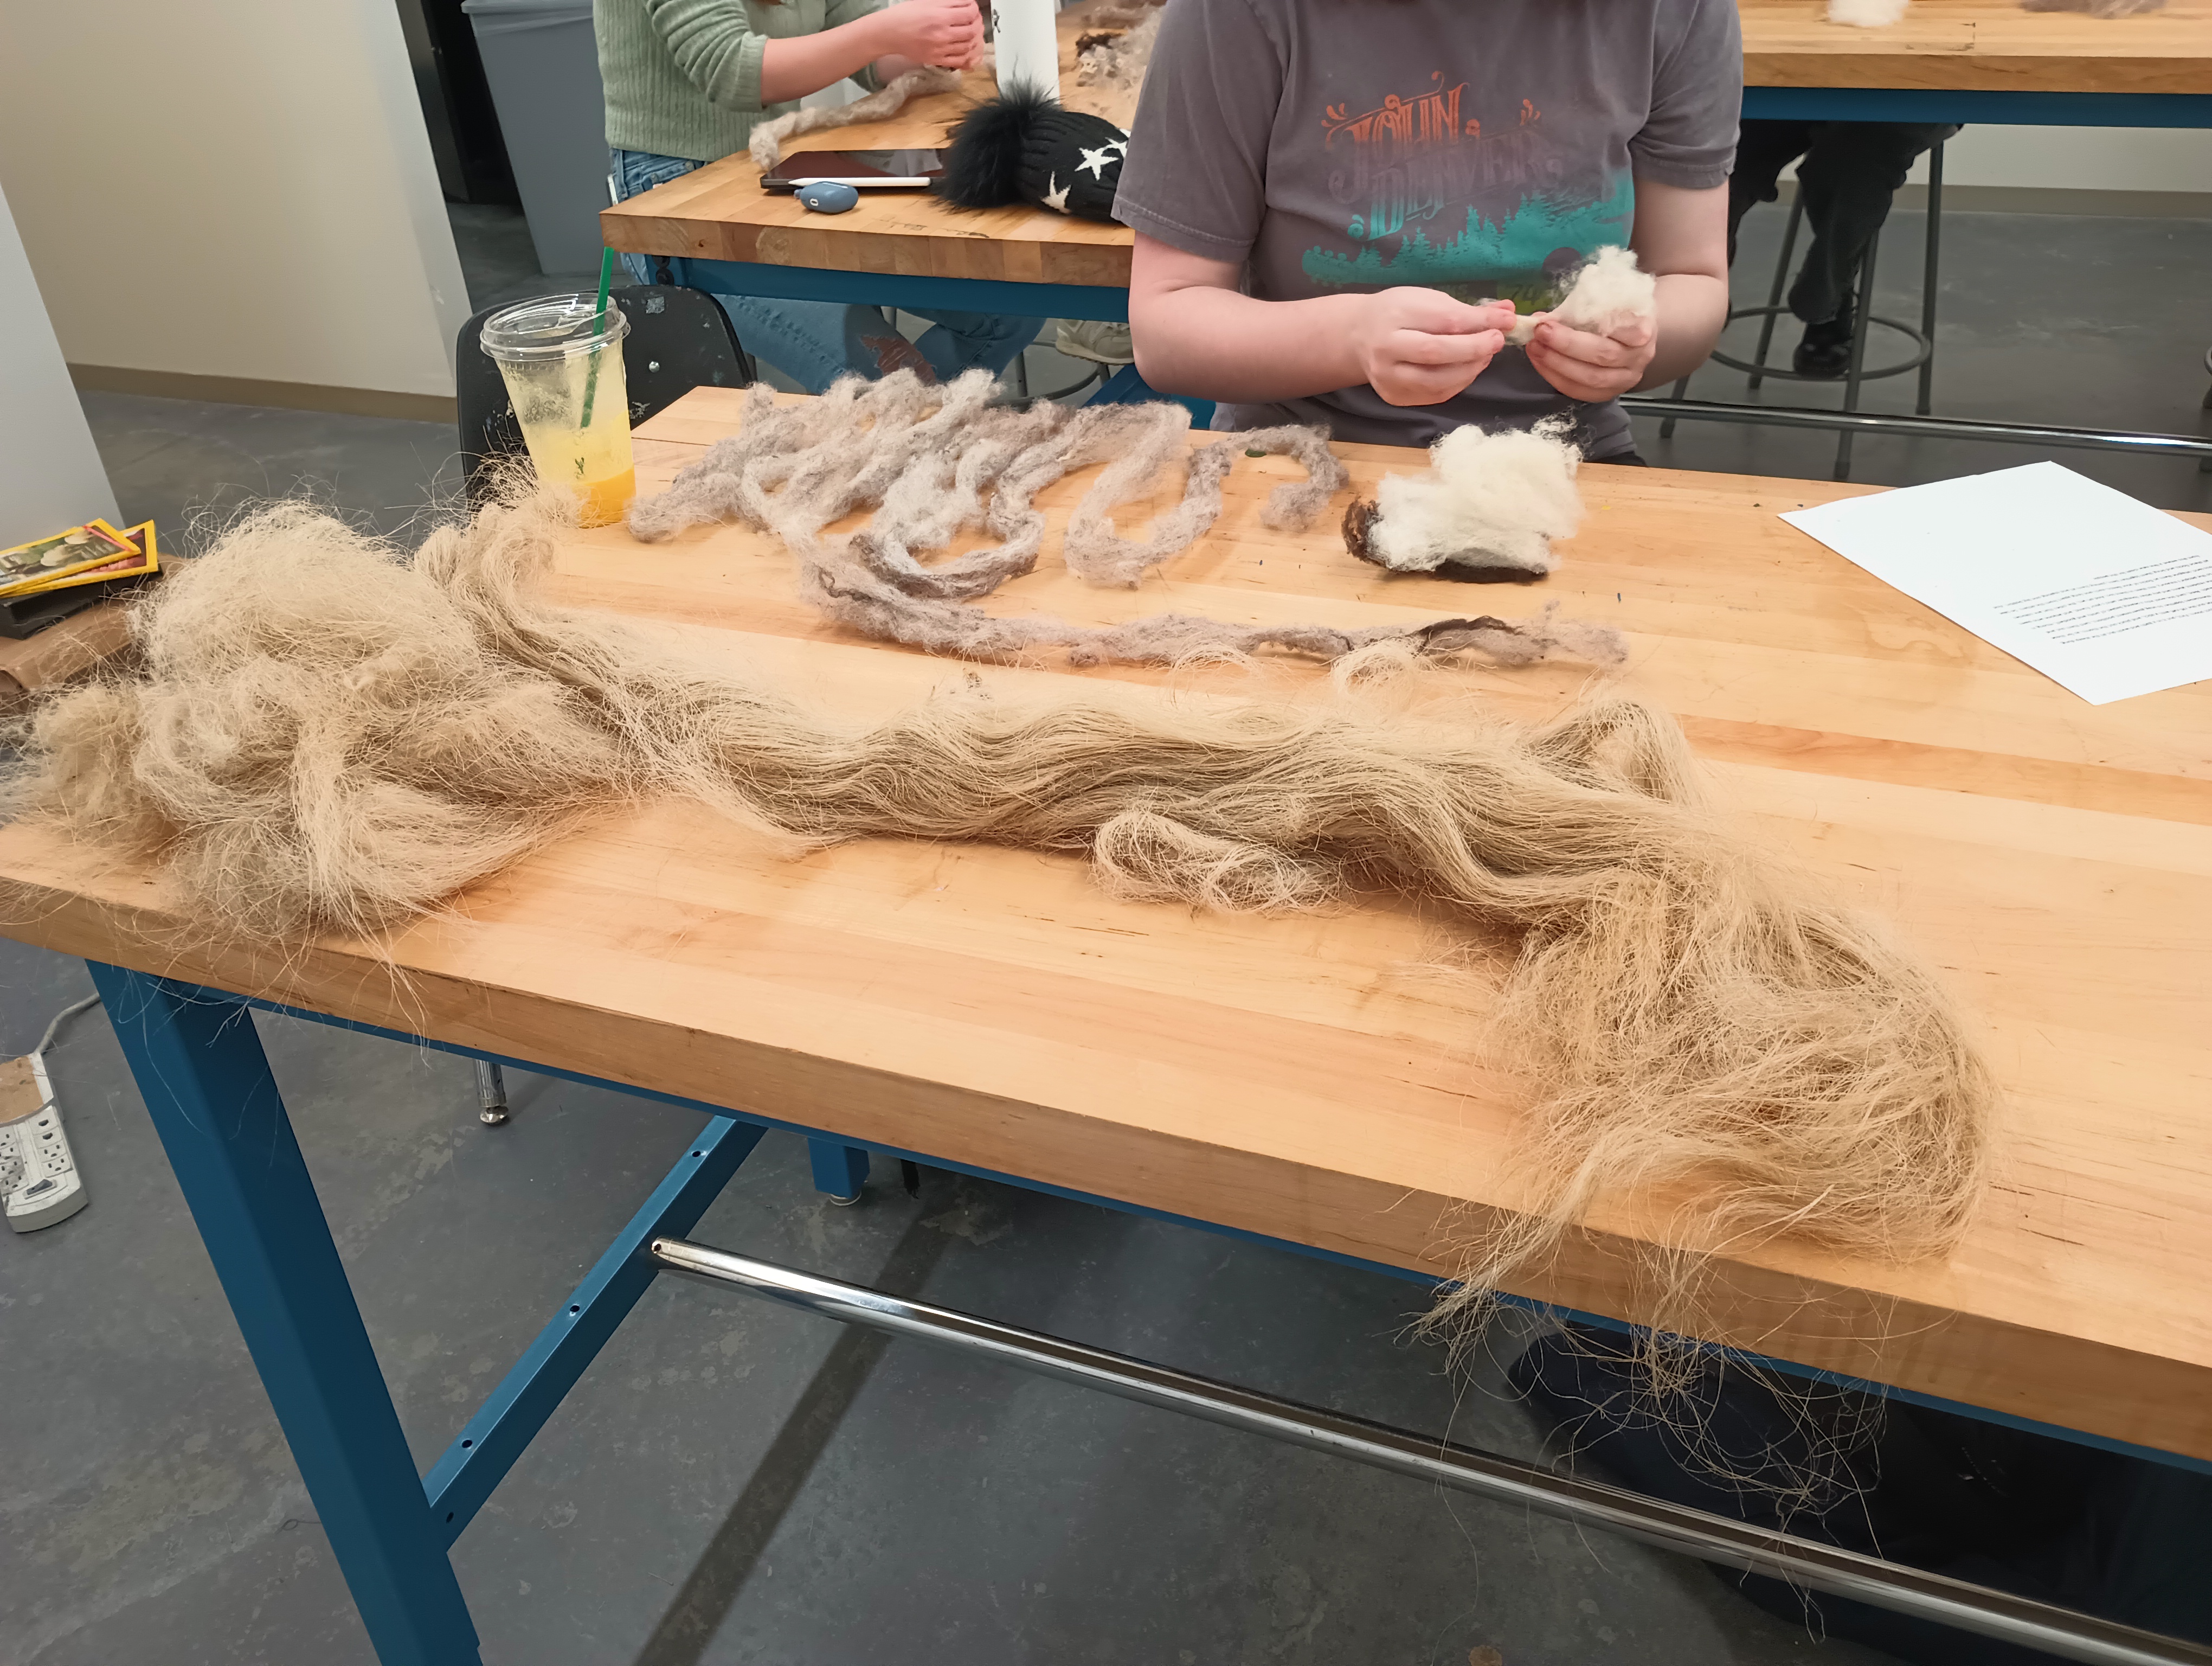
Students explored various types of wool: two breeds washed but not scoured (lanolin still in) and one breed well scoured. They also handled some retted flax fiber. Using combs, a hackle, and primarily their own hands, students worked on turning the wool into roving by opening up the locks, picking out debris, and aligning the fibers. I also brought in some silk cocoons as an extra treat.
Supplies:
- Sheep's wool
- Flax
- Wool combs
- Hackle and diz
Pictures
Unit 2 - Spinning
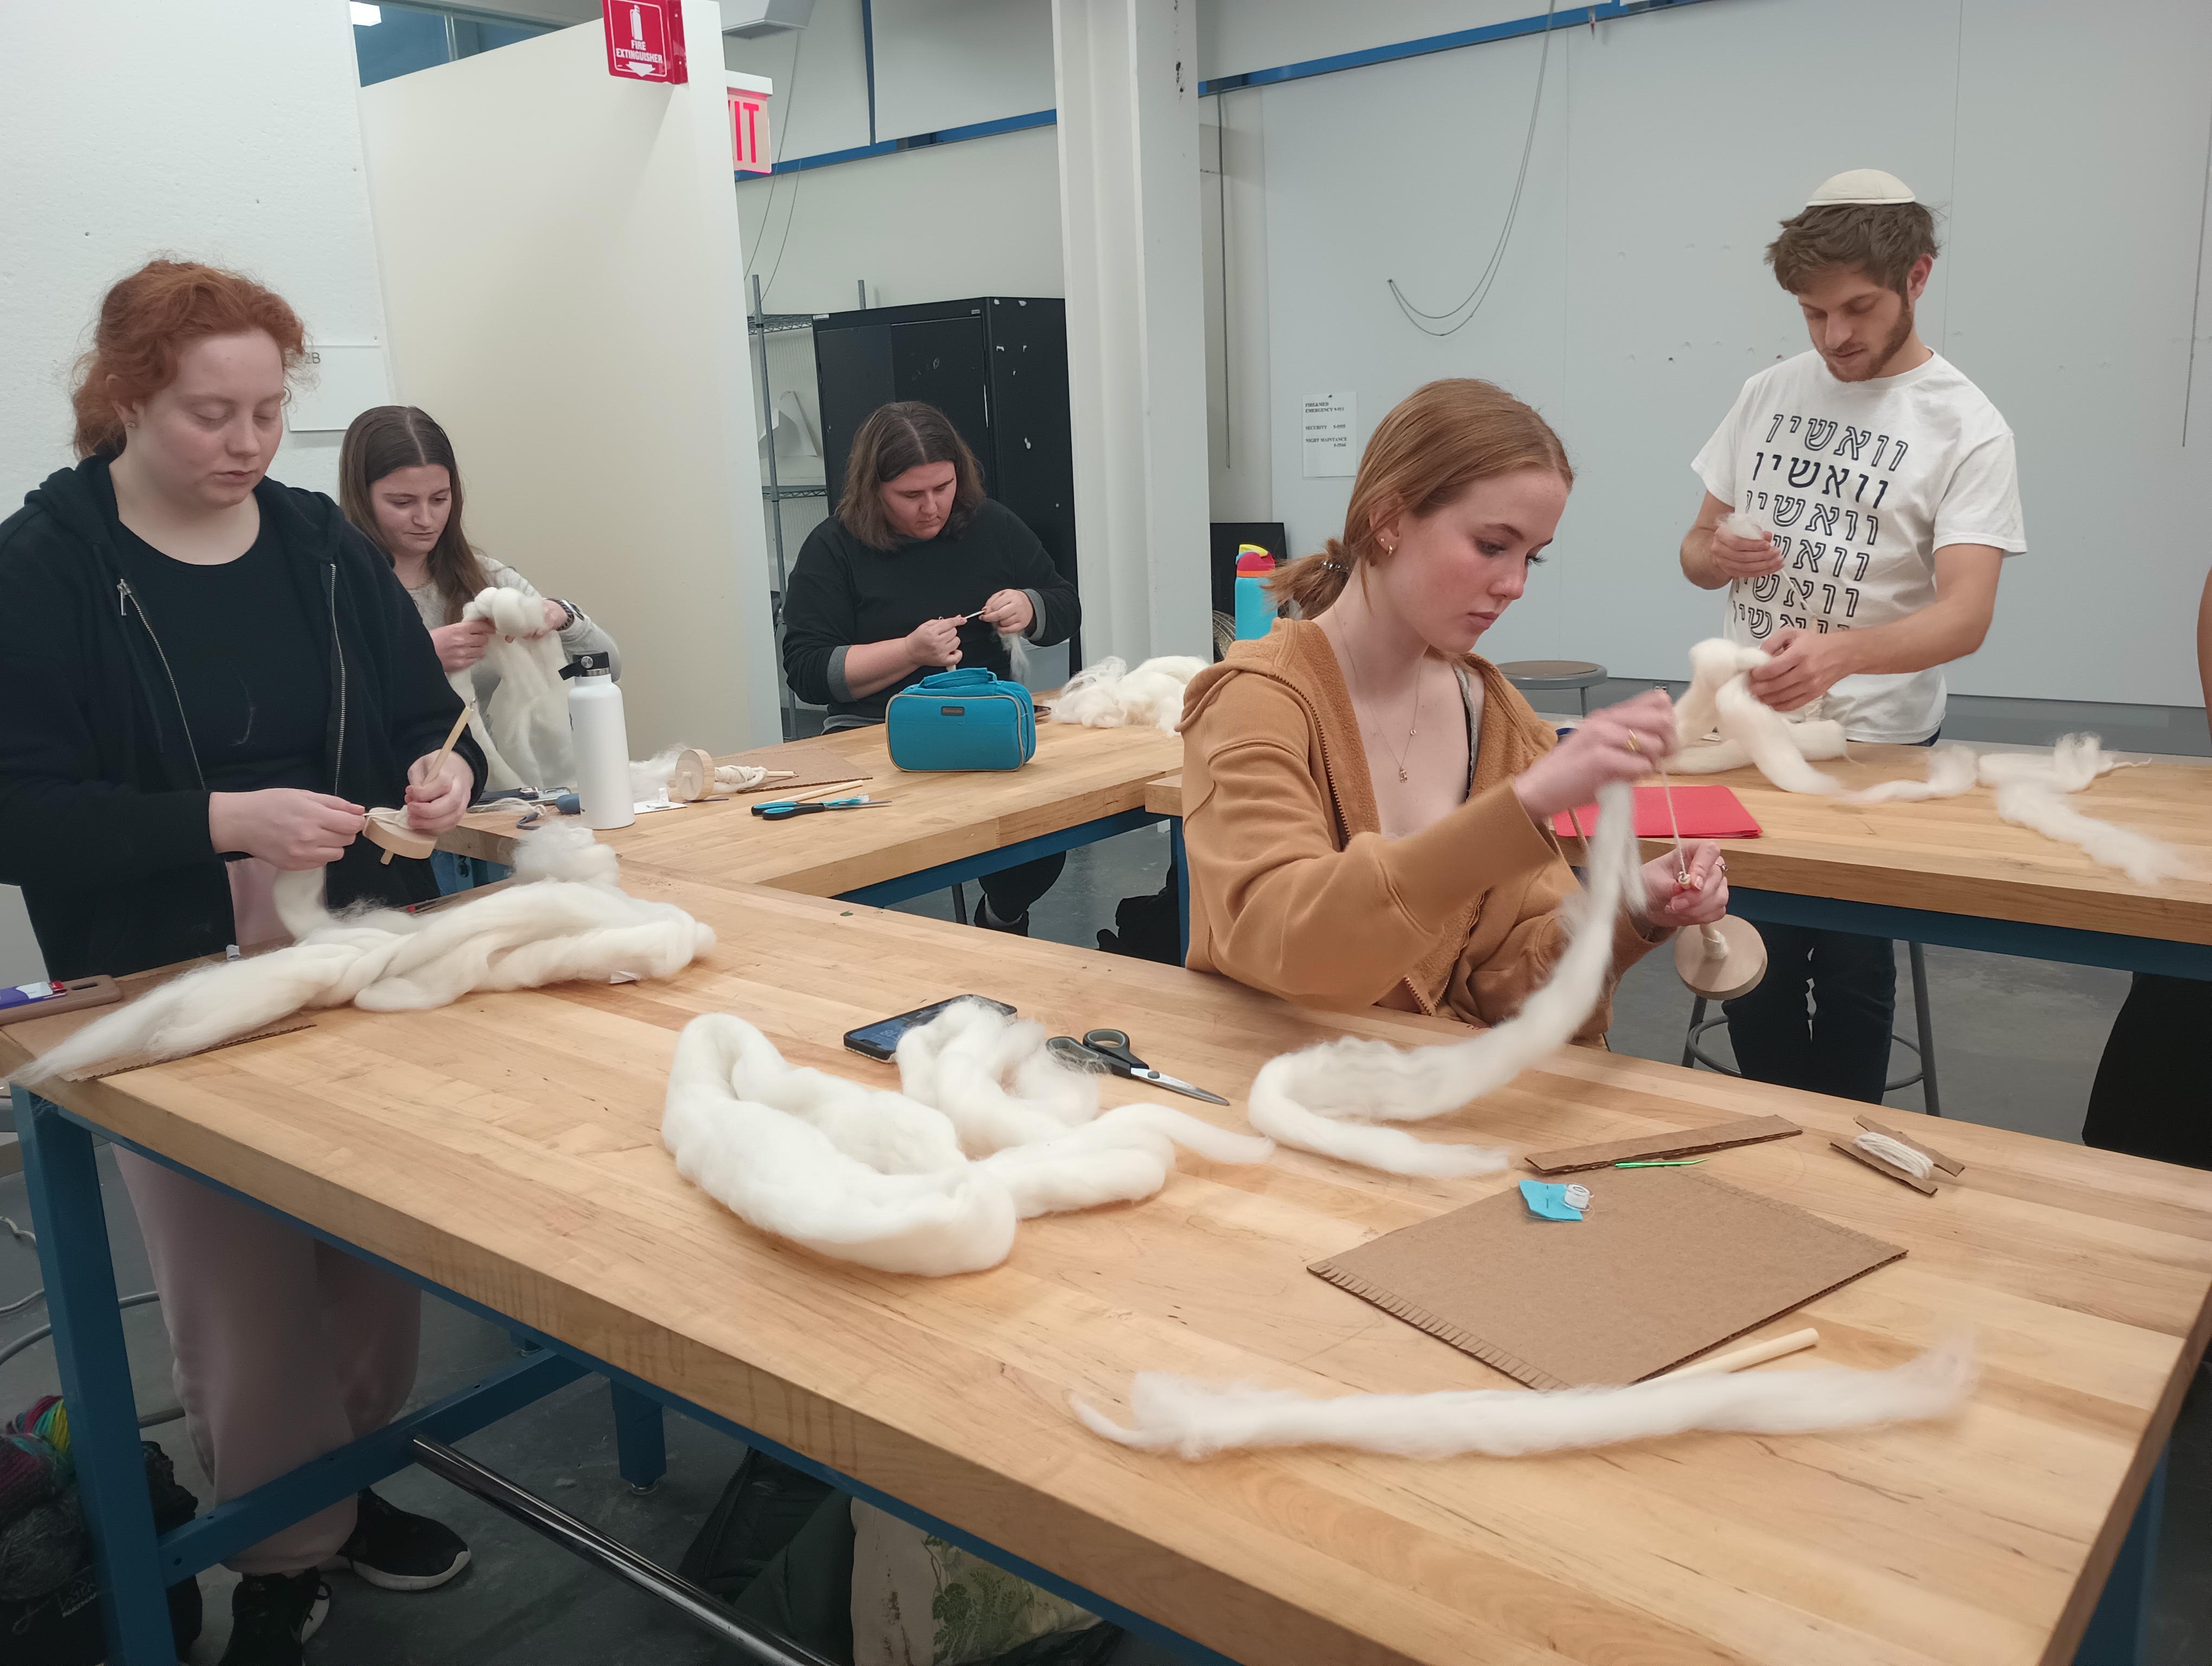
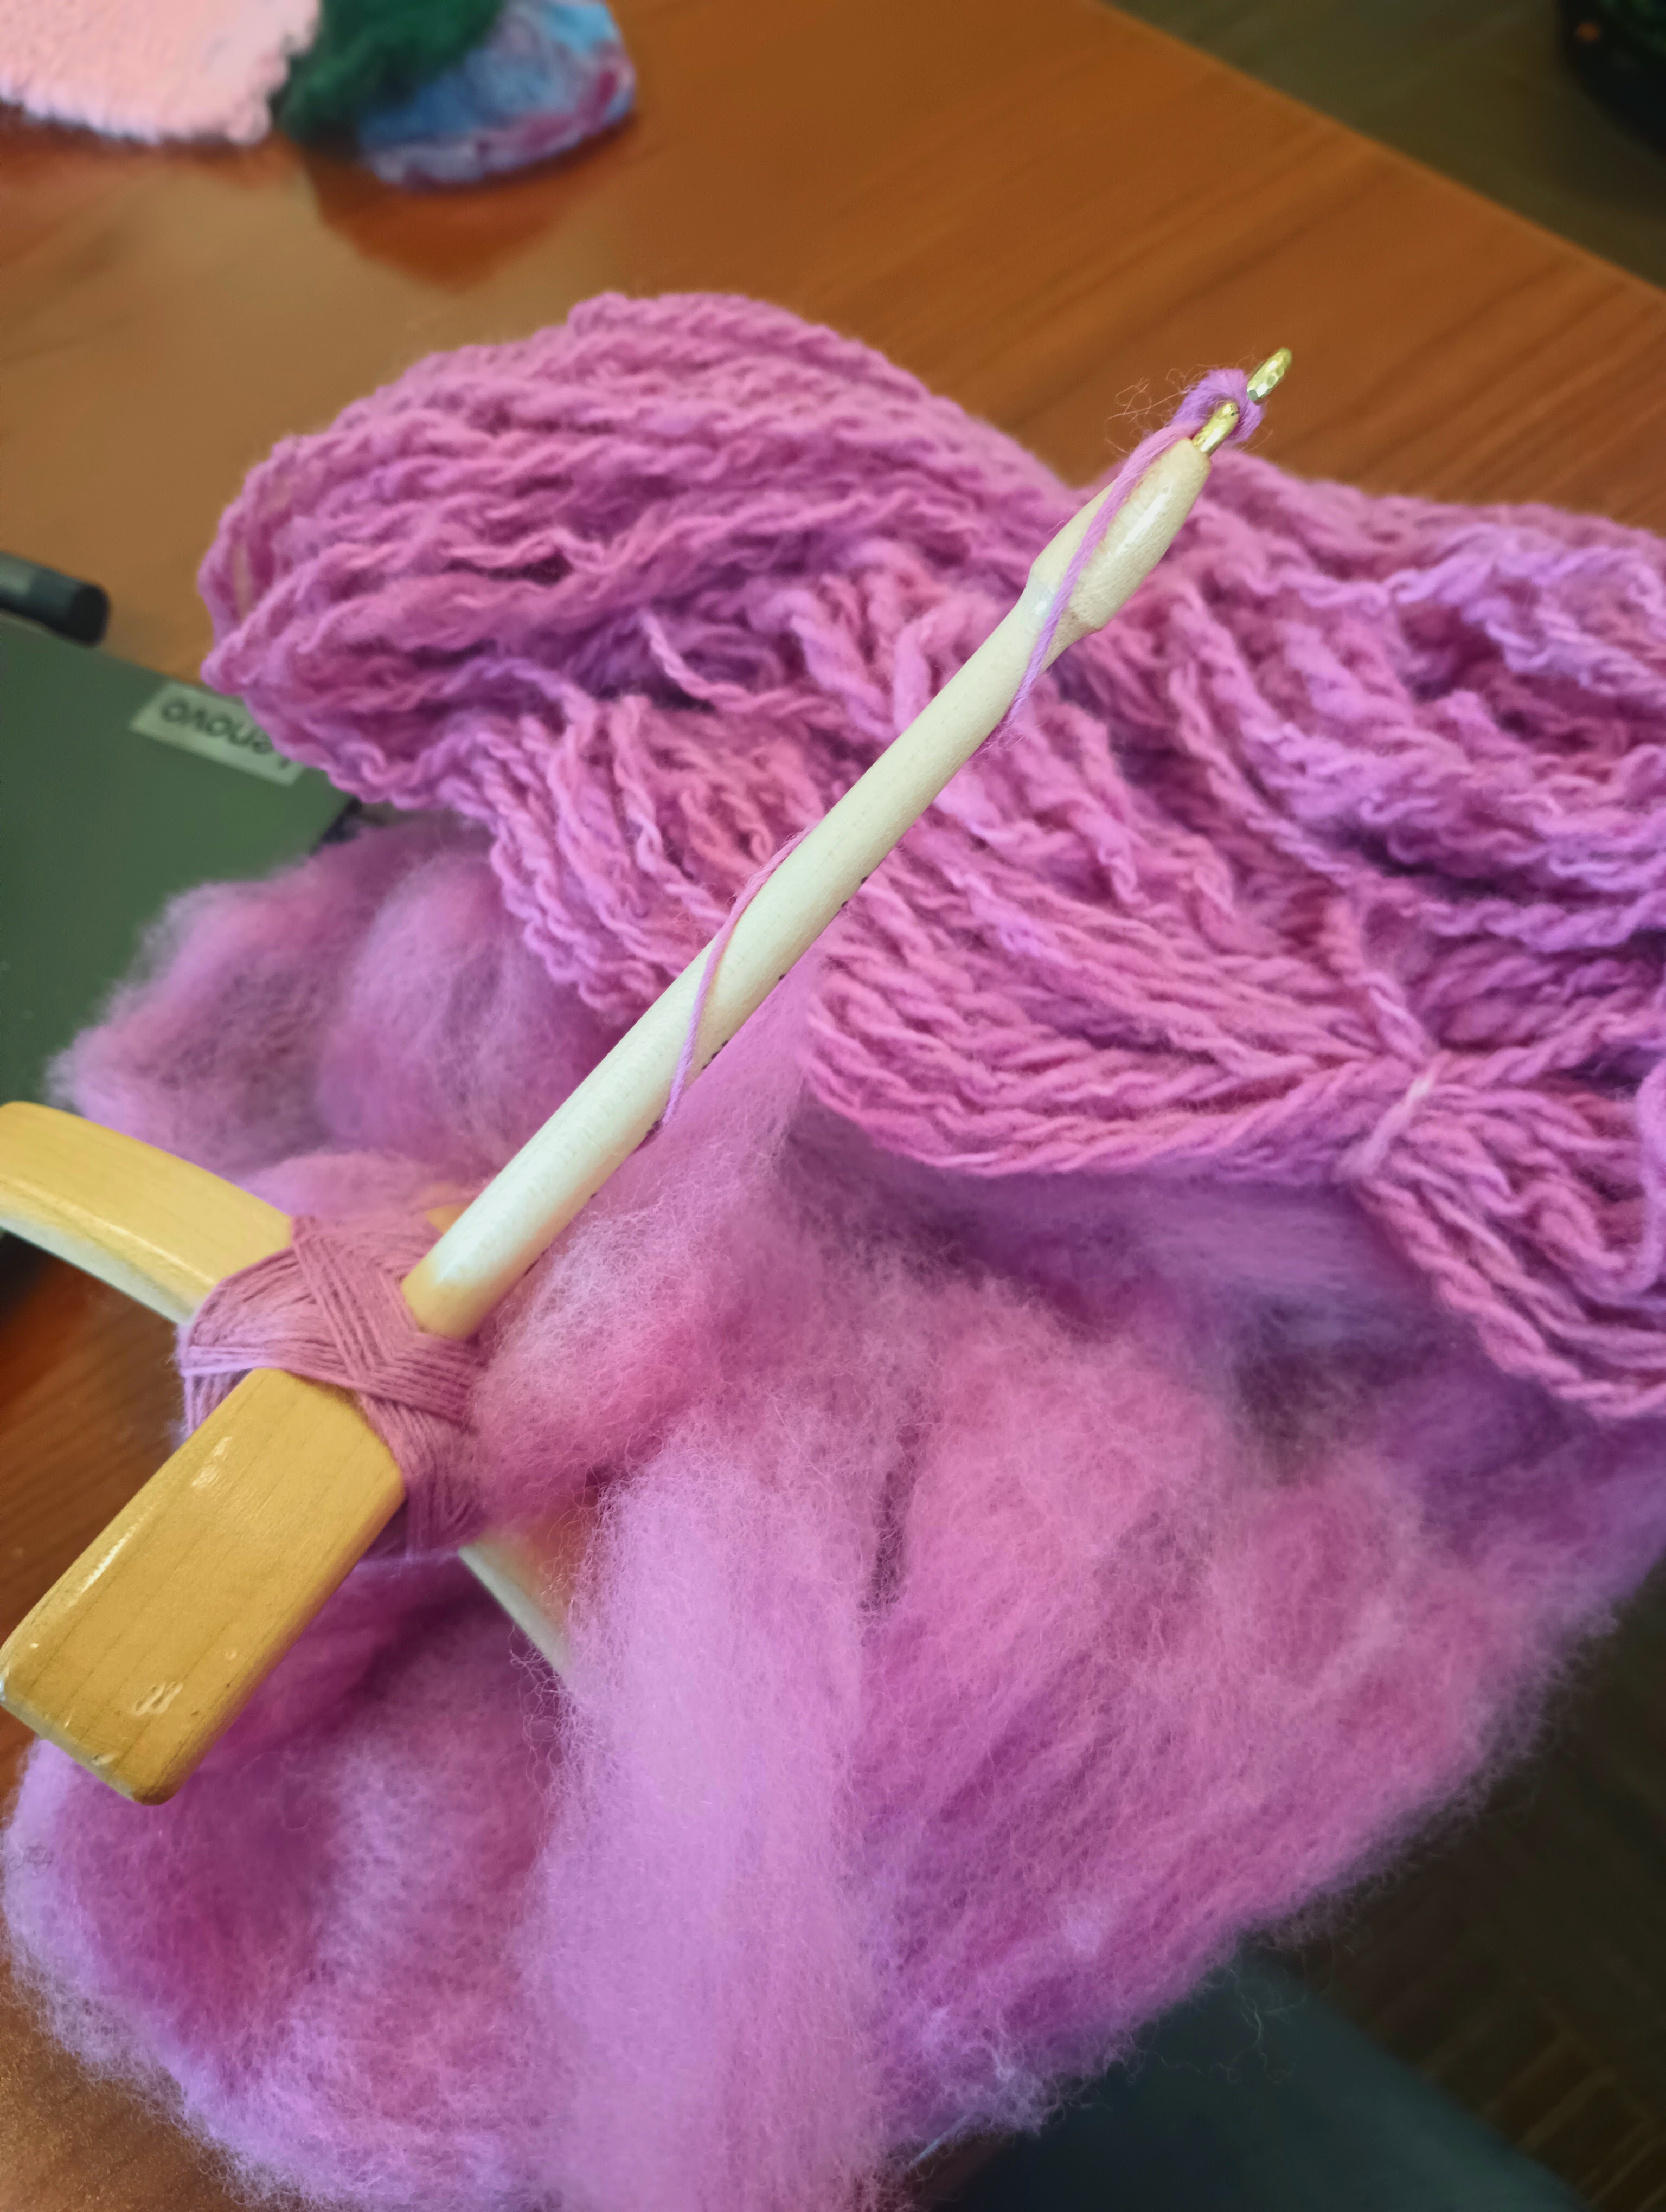
Studio 2 - Spindle assembly
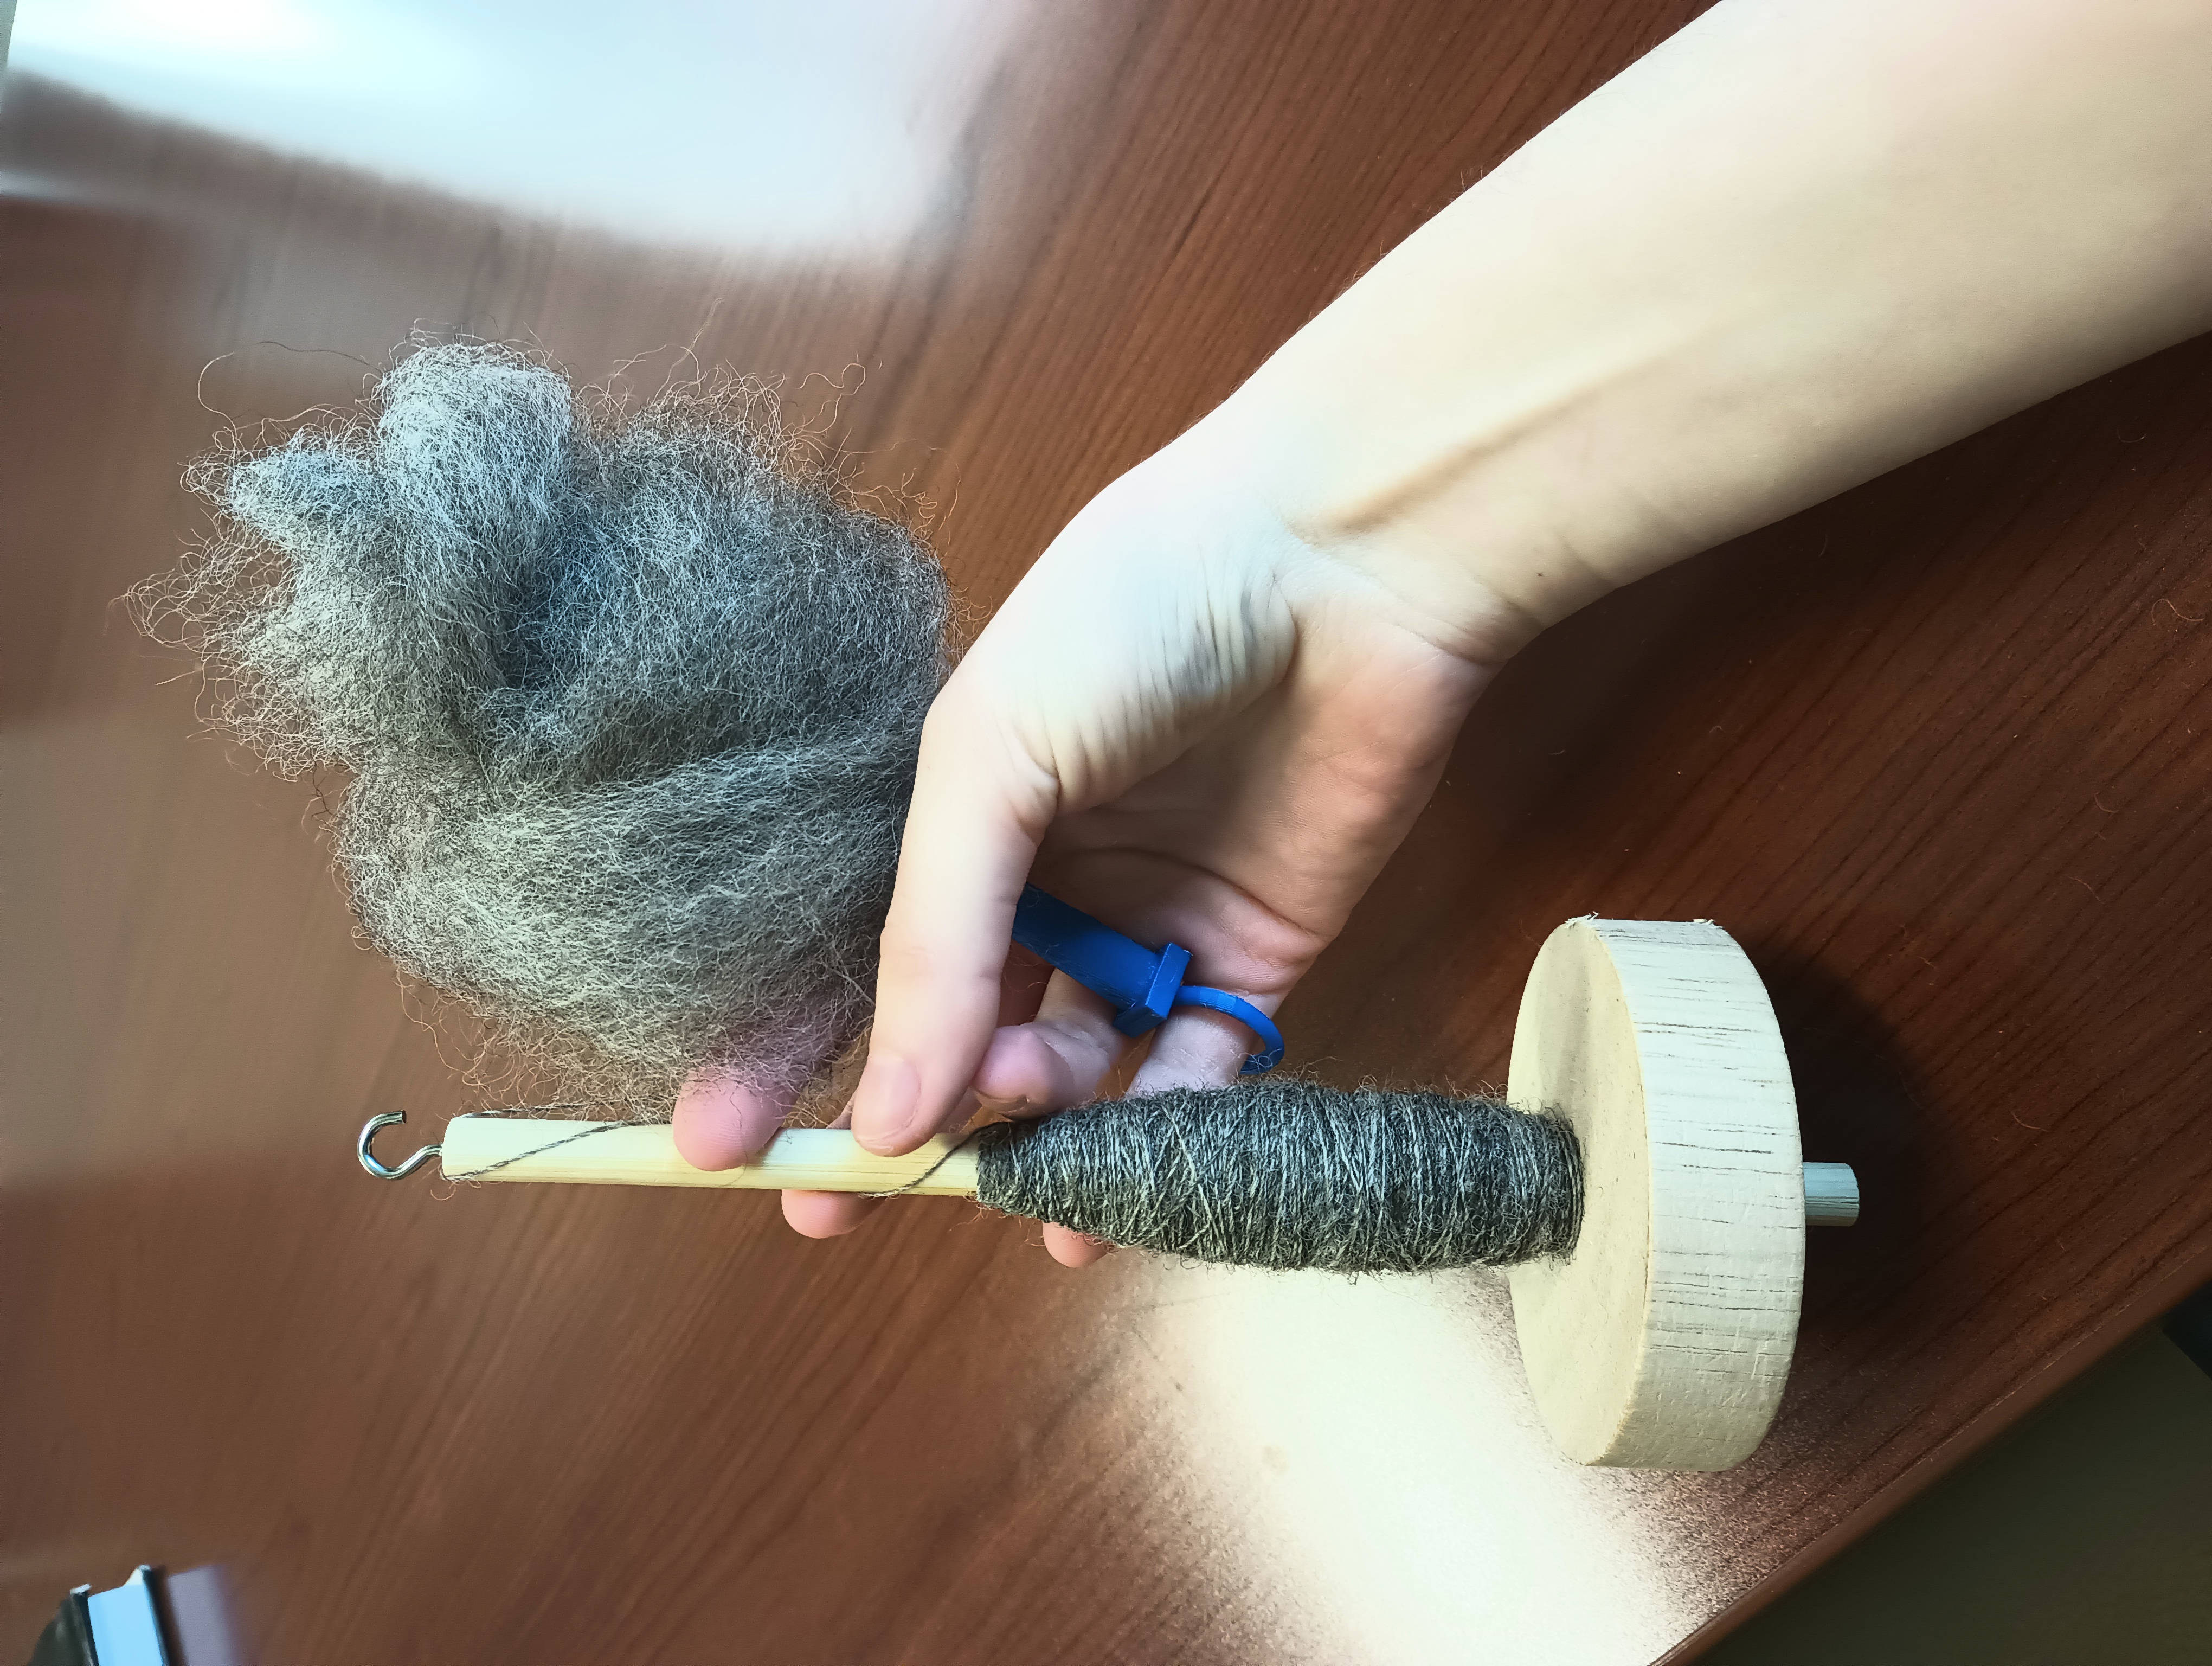
Students assembled their own spindles out of wooden dowels and wheels and began to learn how to spin yarn. It takes a lot of practiced to start drafting (drawing out) the fiber evenly to make yarn that will hold and not break! Students also picked up supply kits for the rest of the semester.
Supplies:
- Wool roving
- Spindles (dowels, cup hooks, wooden wheels
Pictures
Studio 3 - Tech den tour
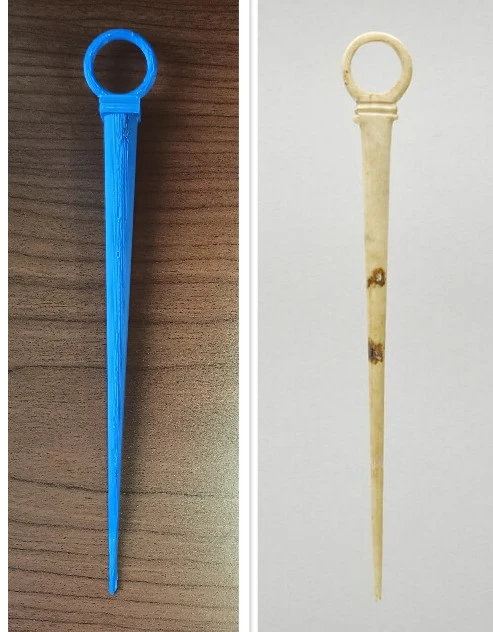
Students took a tour of our university's 3D printing facilities and had the opportunity to print for themselves variously formed spindles and Roman ring distaffs.
Supplies
- 3D printing facilities
- 3D models or modeling software (tinkercad very beginner friendly)
Pictures

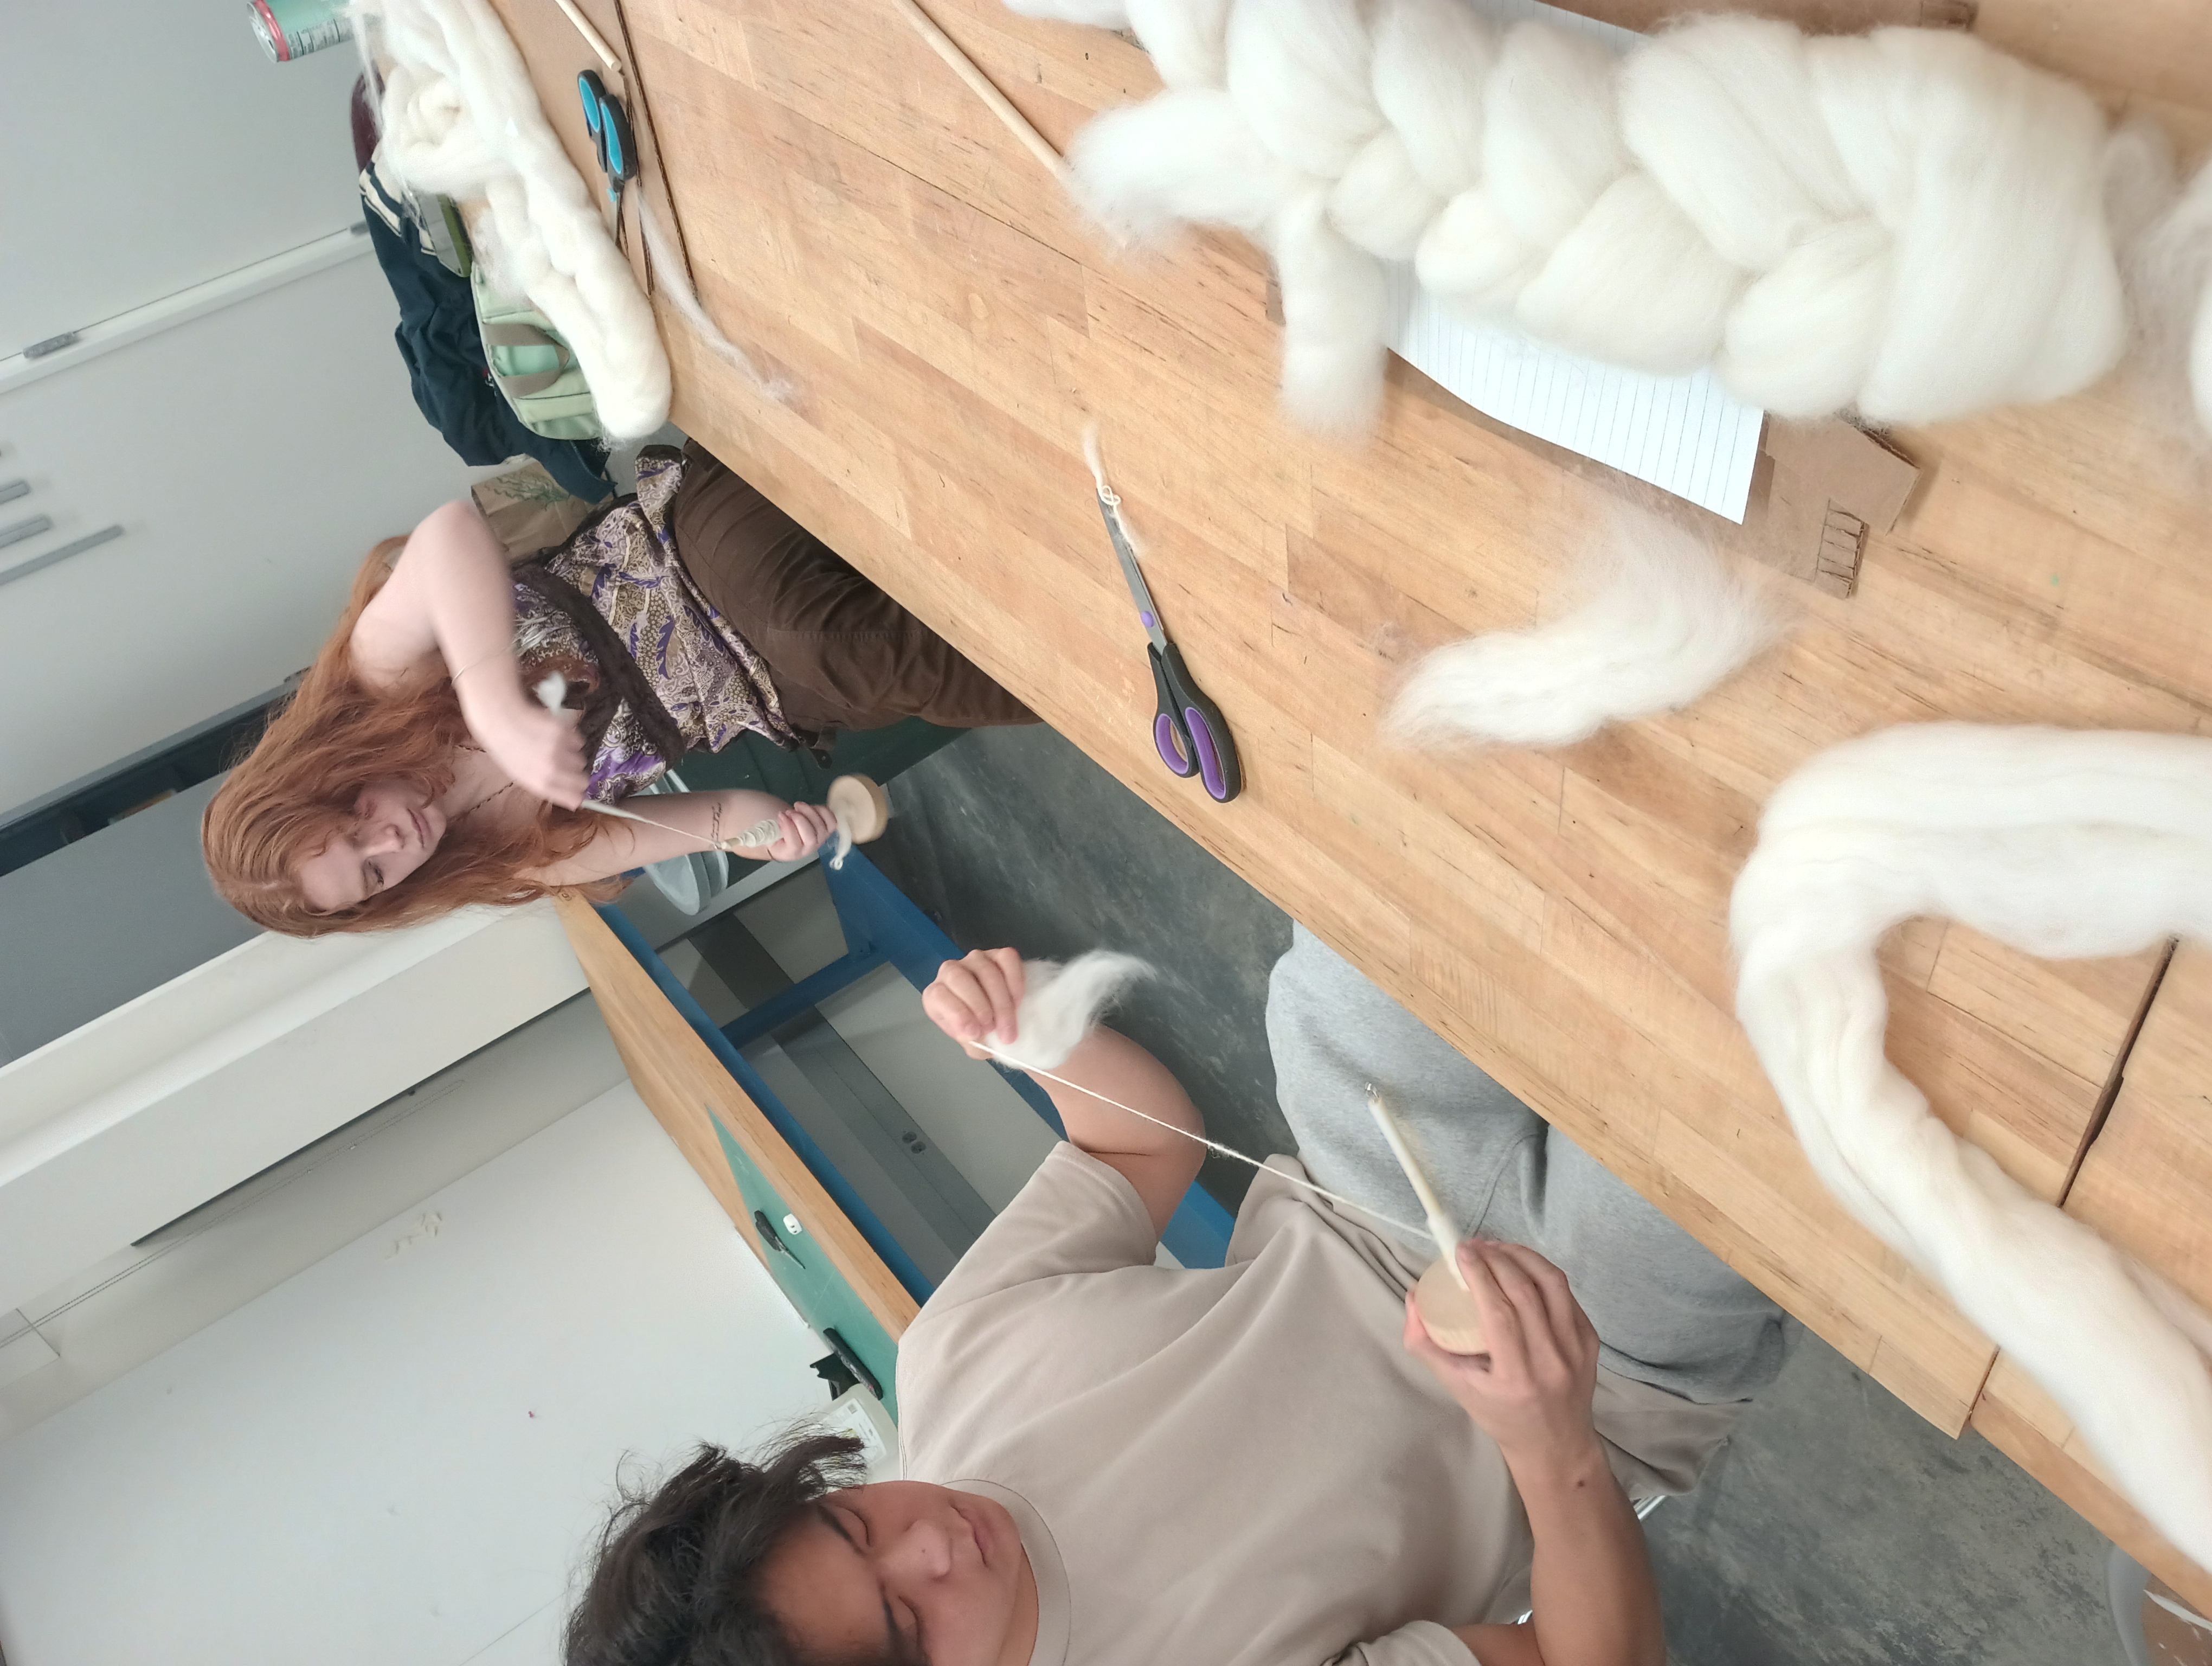
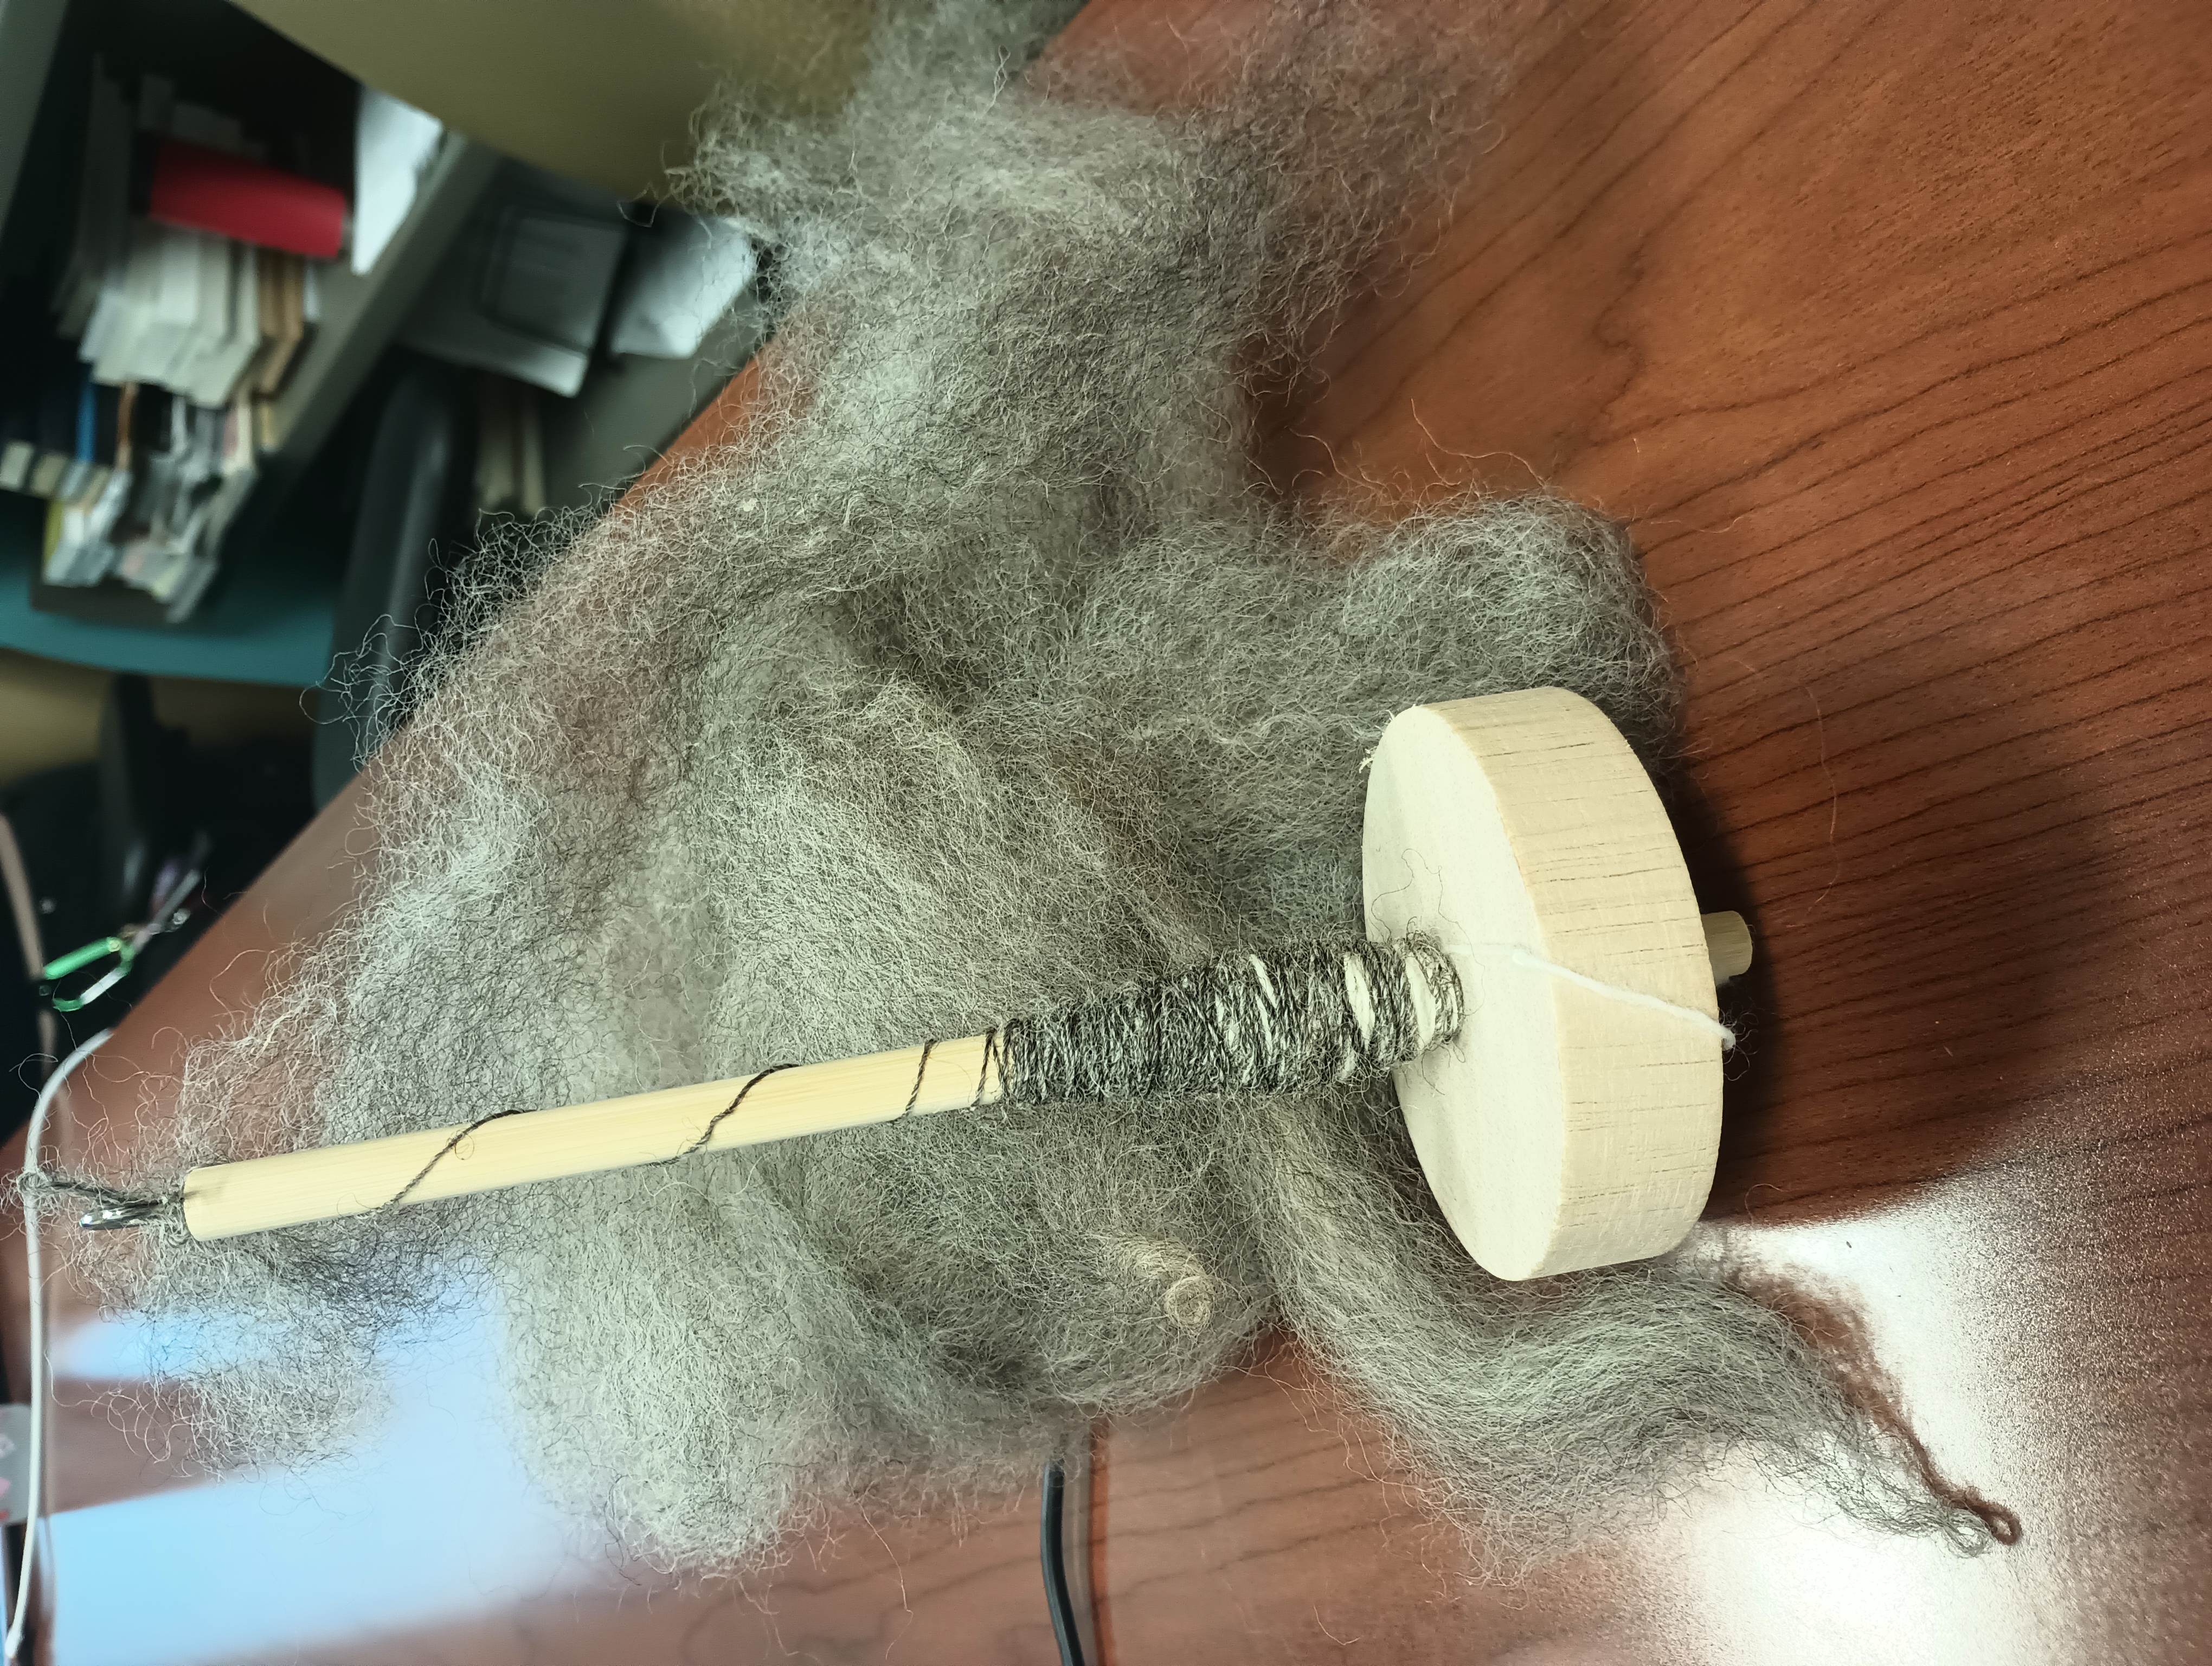
Studio 4 - Spinning and plying
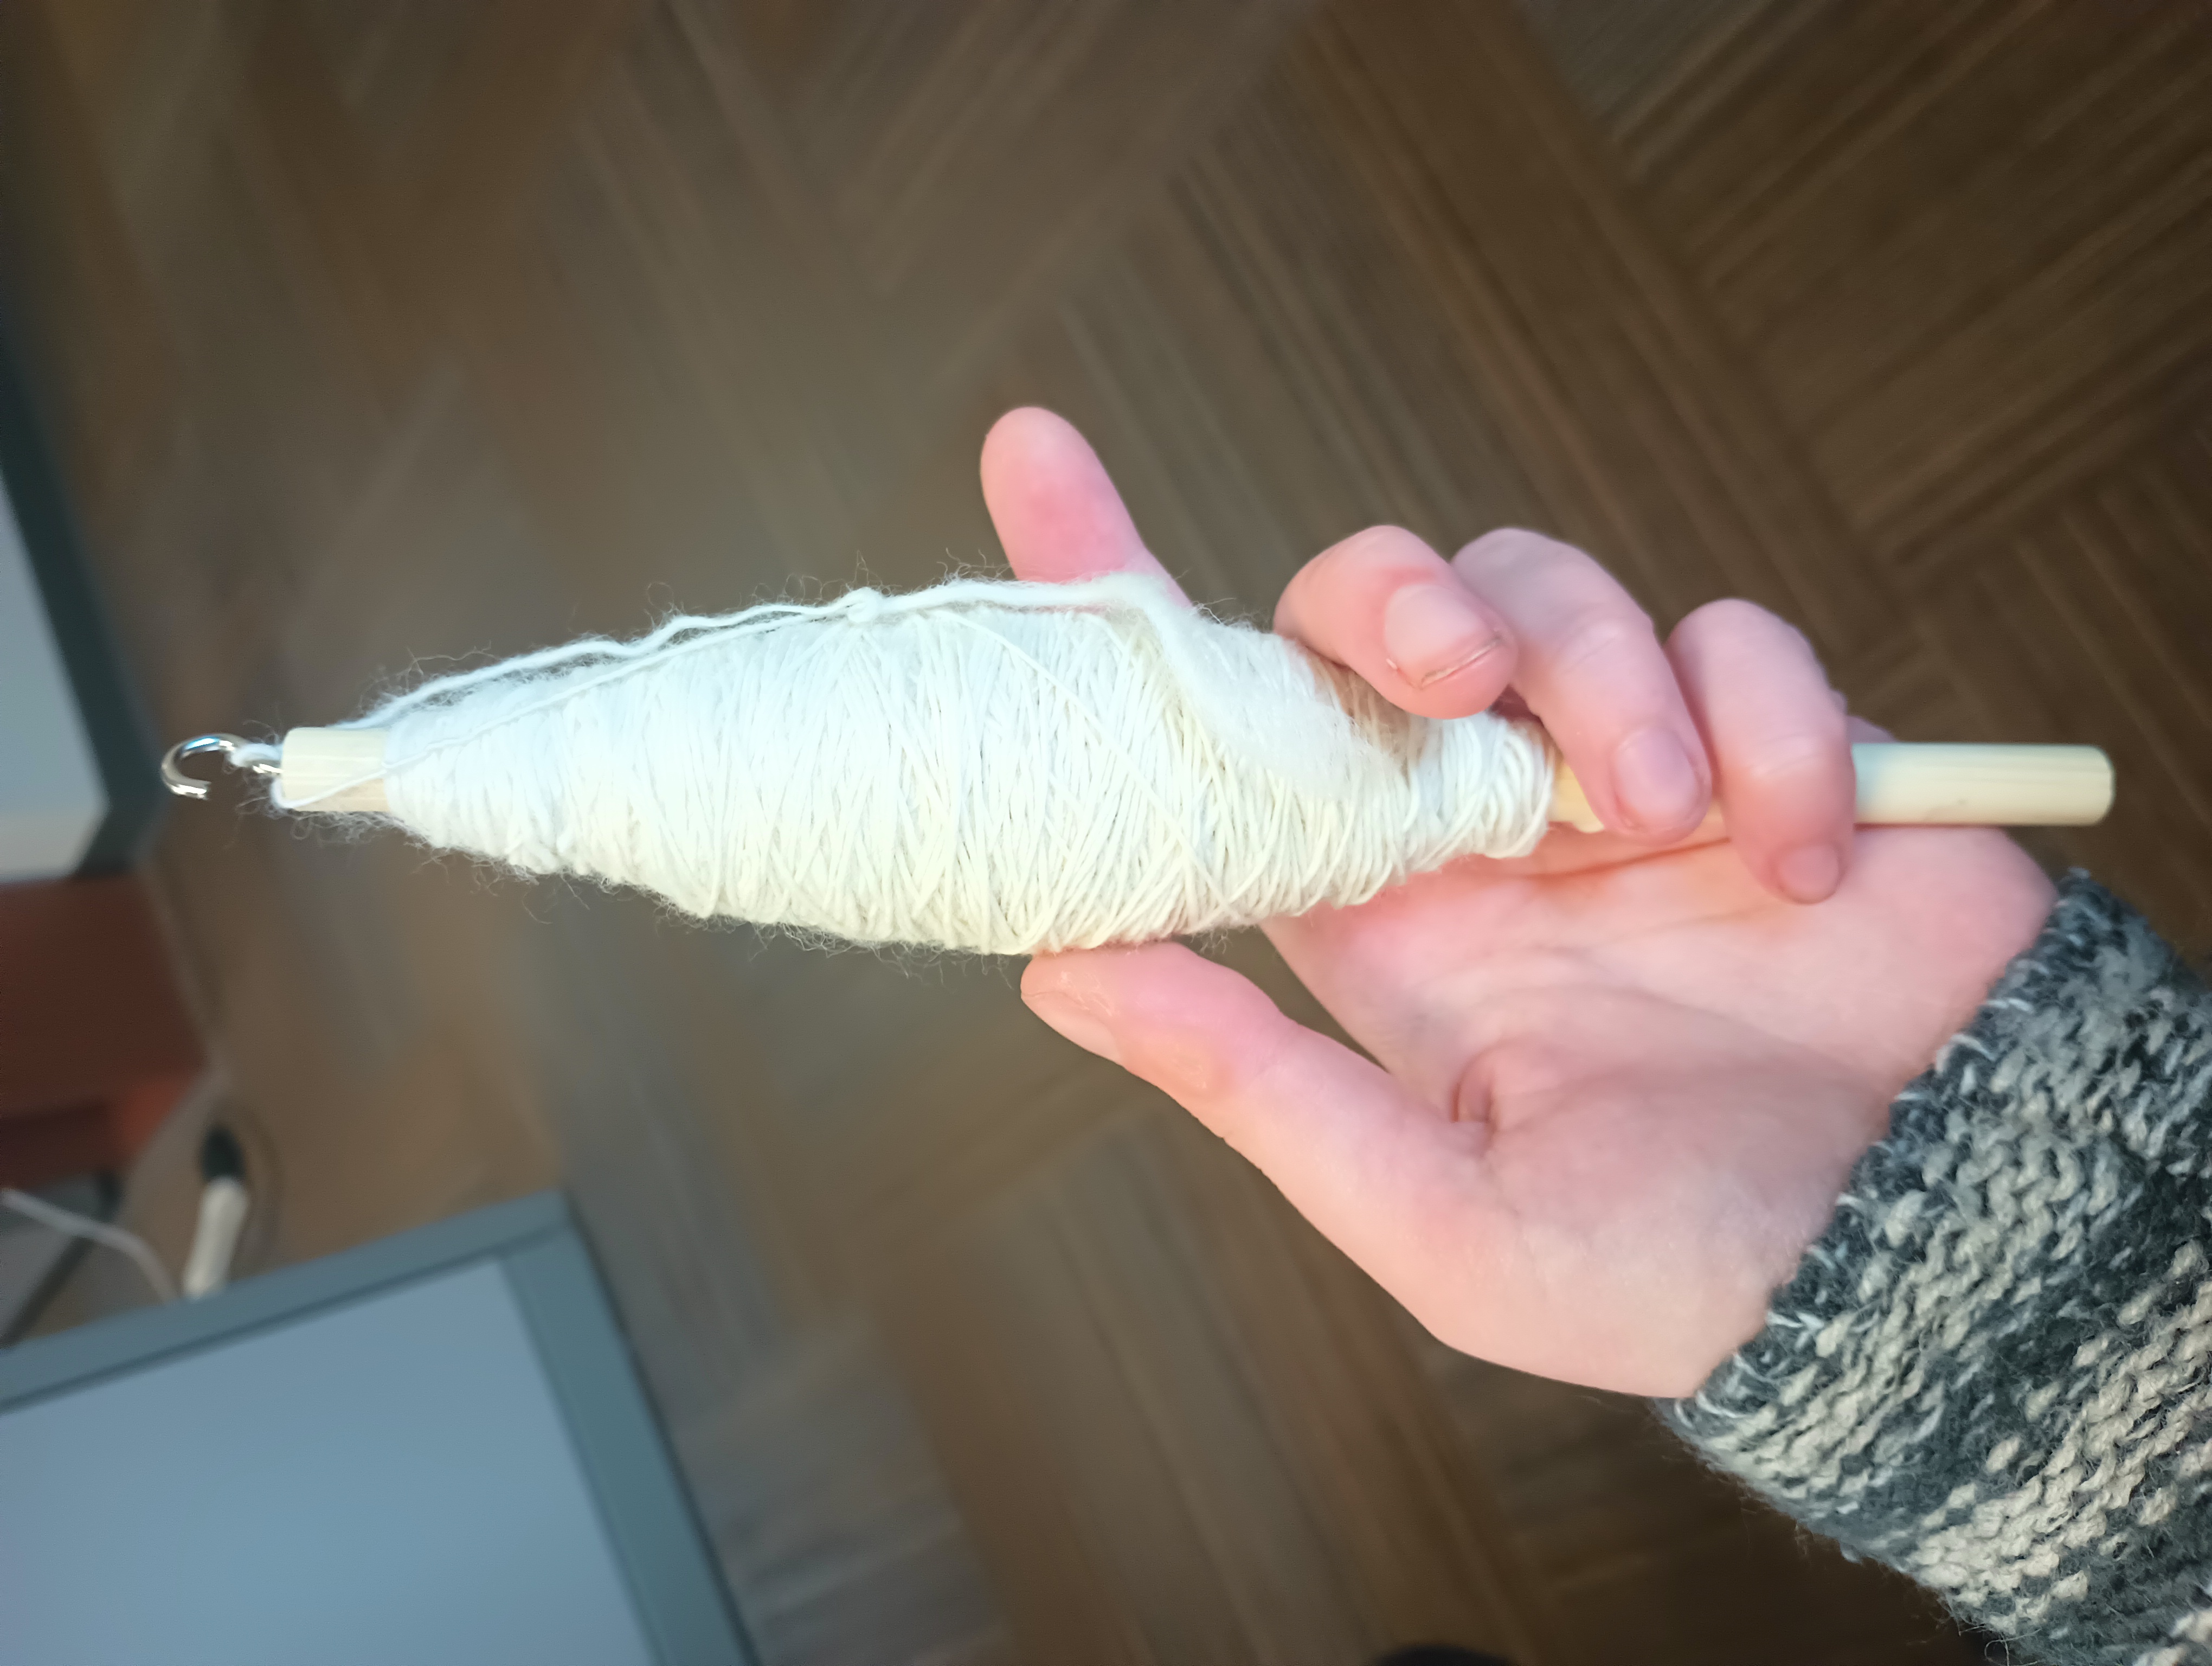
Students continued to work on their spinning, producing finer and more consistent yarn. Those who filled a whole spindle shaft learned to pull out the old shaft and put in a new one to keep spinning with the same whorl. In addition, students learned to ply their yarn: spinning together two or more strands of yarn in the opposite direction to make a stronger plied yarn.
Supplies
- Wool roving
- Spindles
- Extra spindle shafts (dowels)
- Previously spun yarn
Pictures
Unit 3 - Weaving
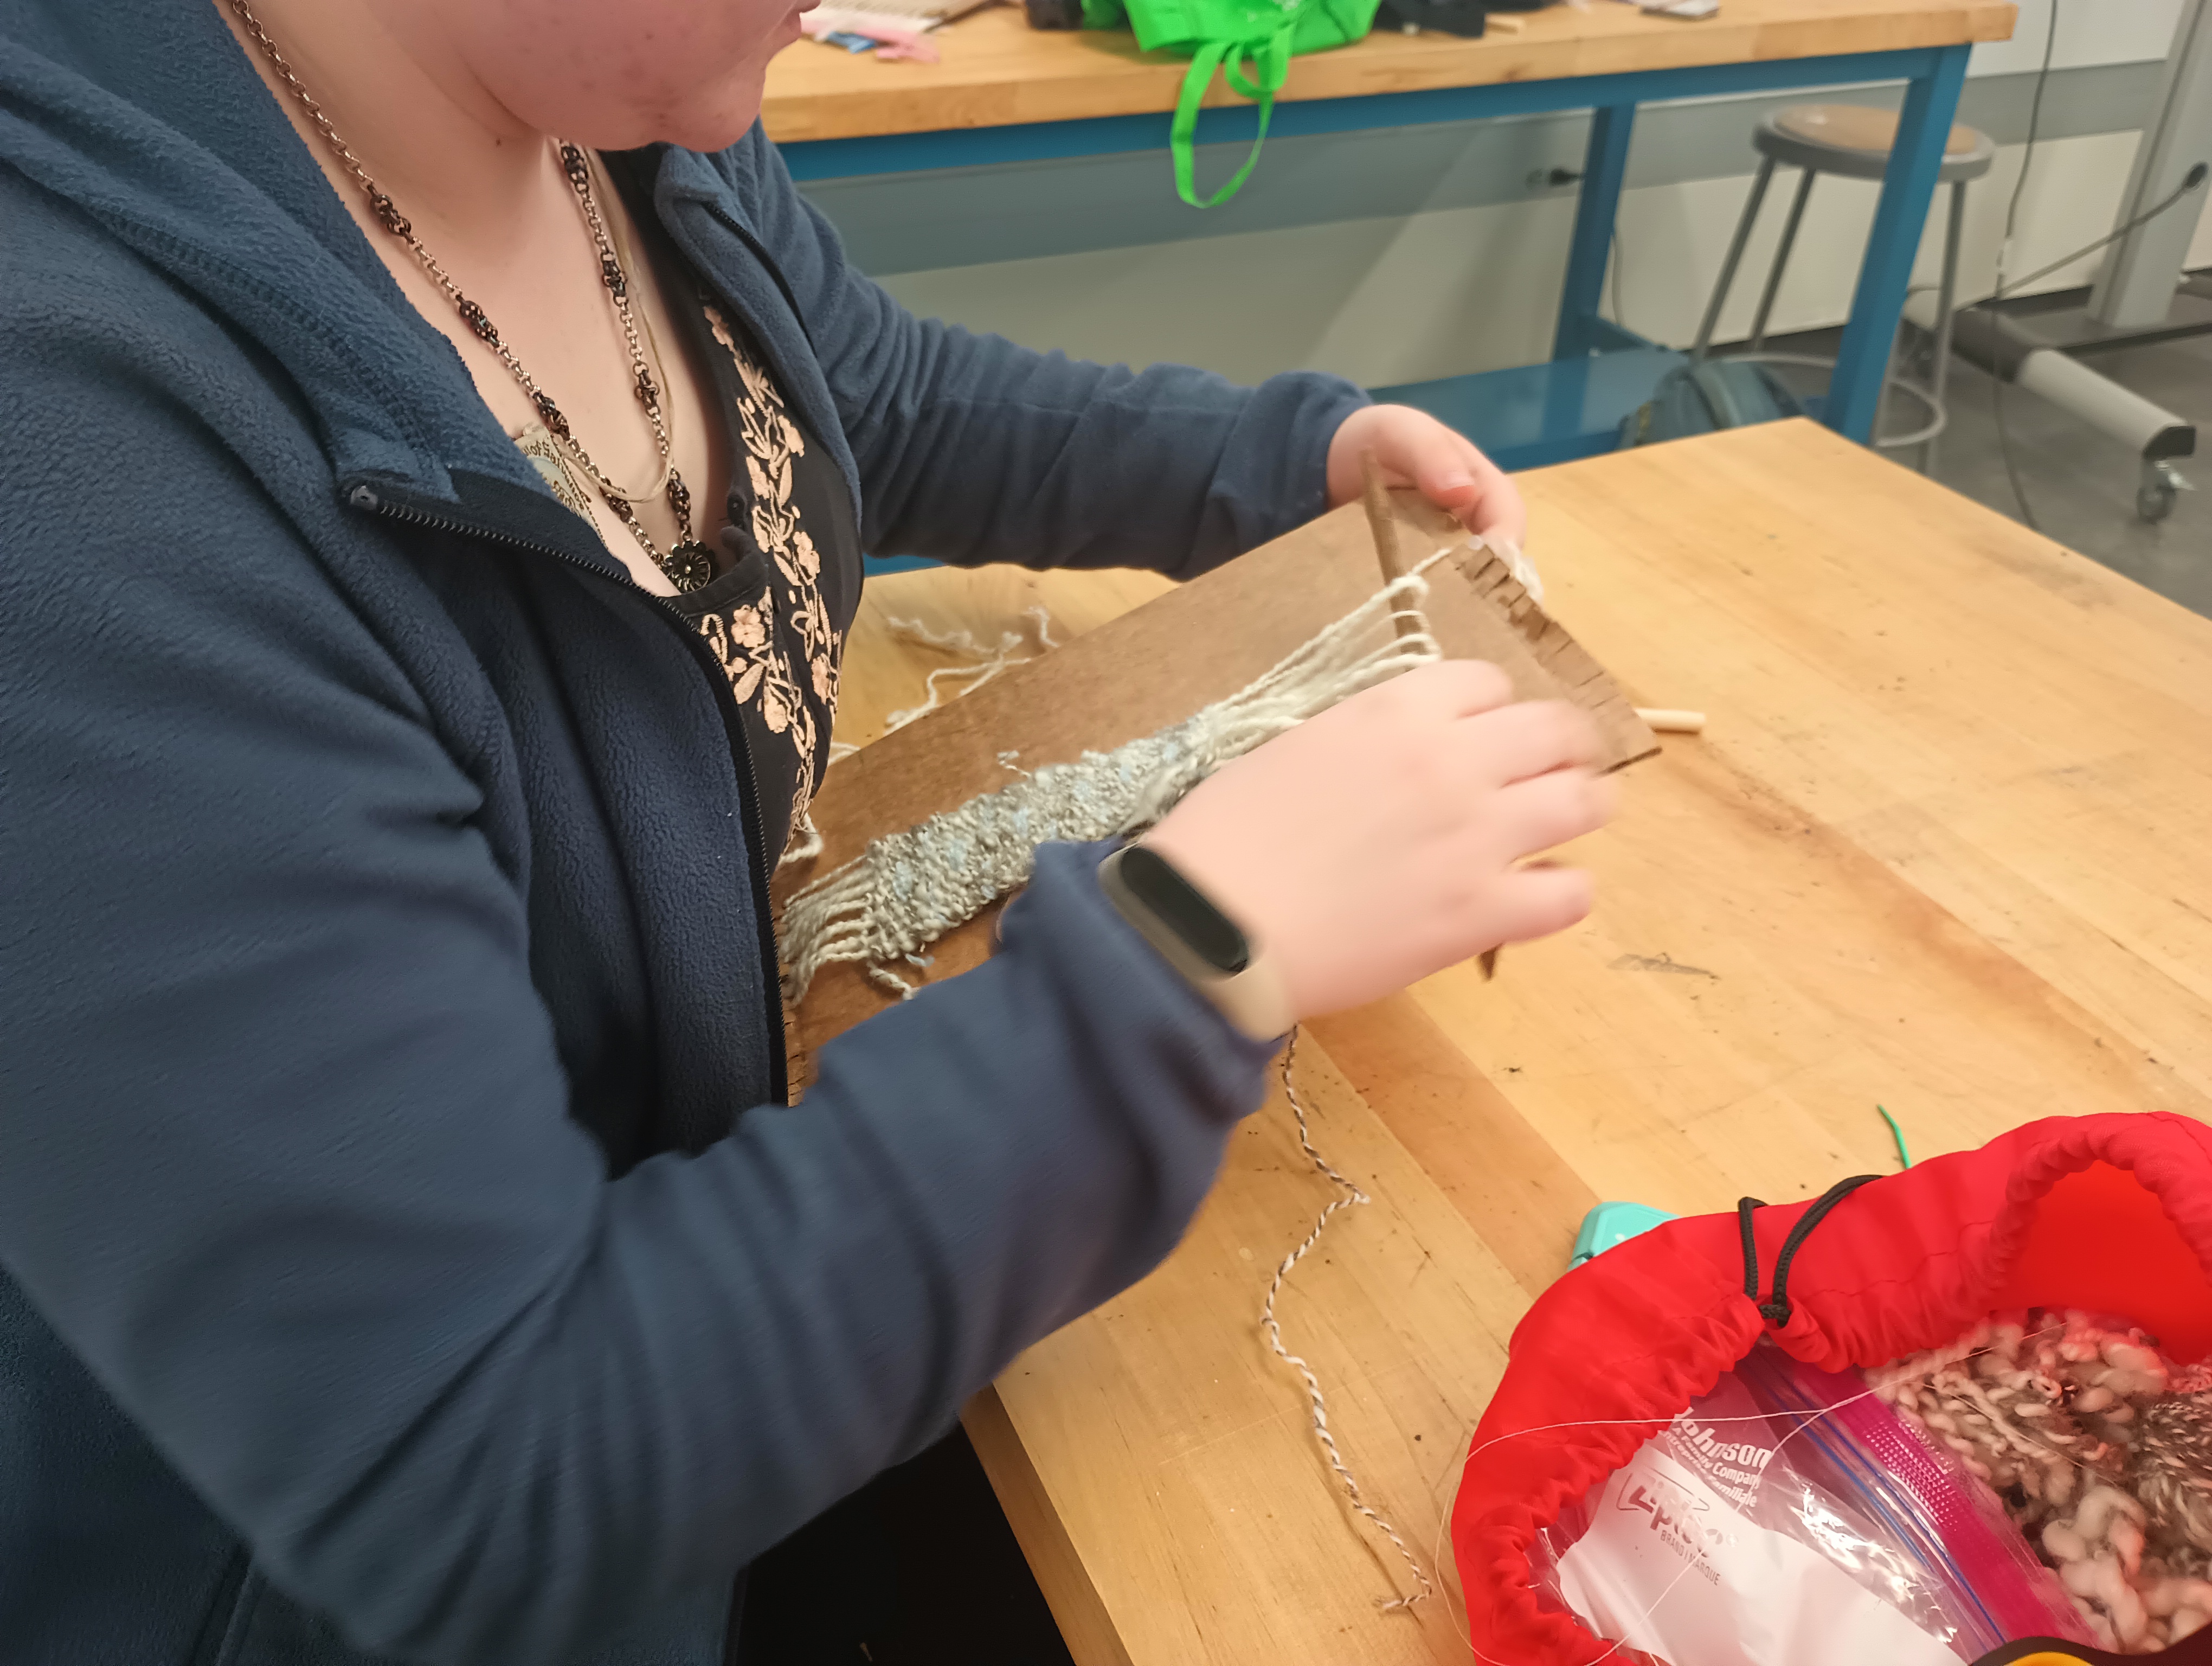
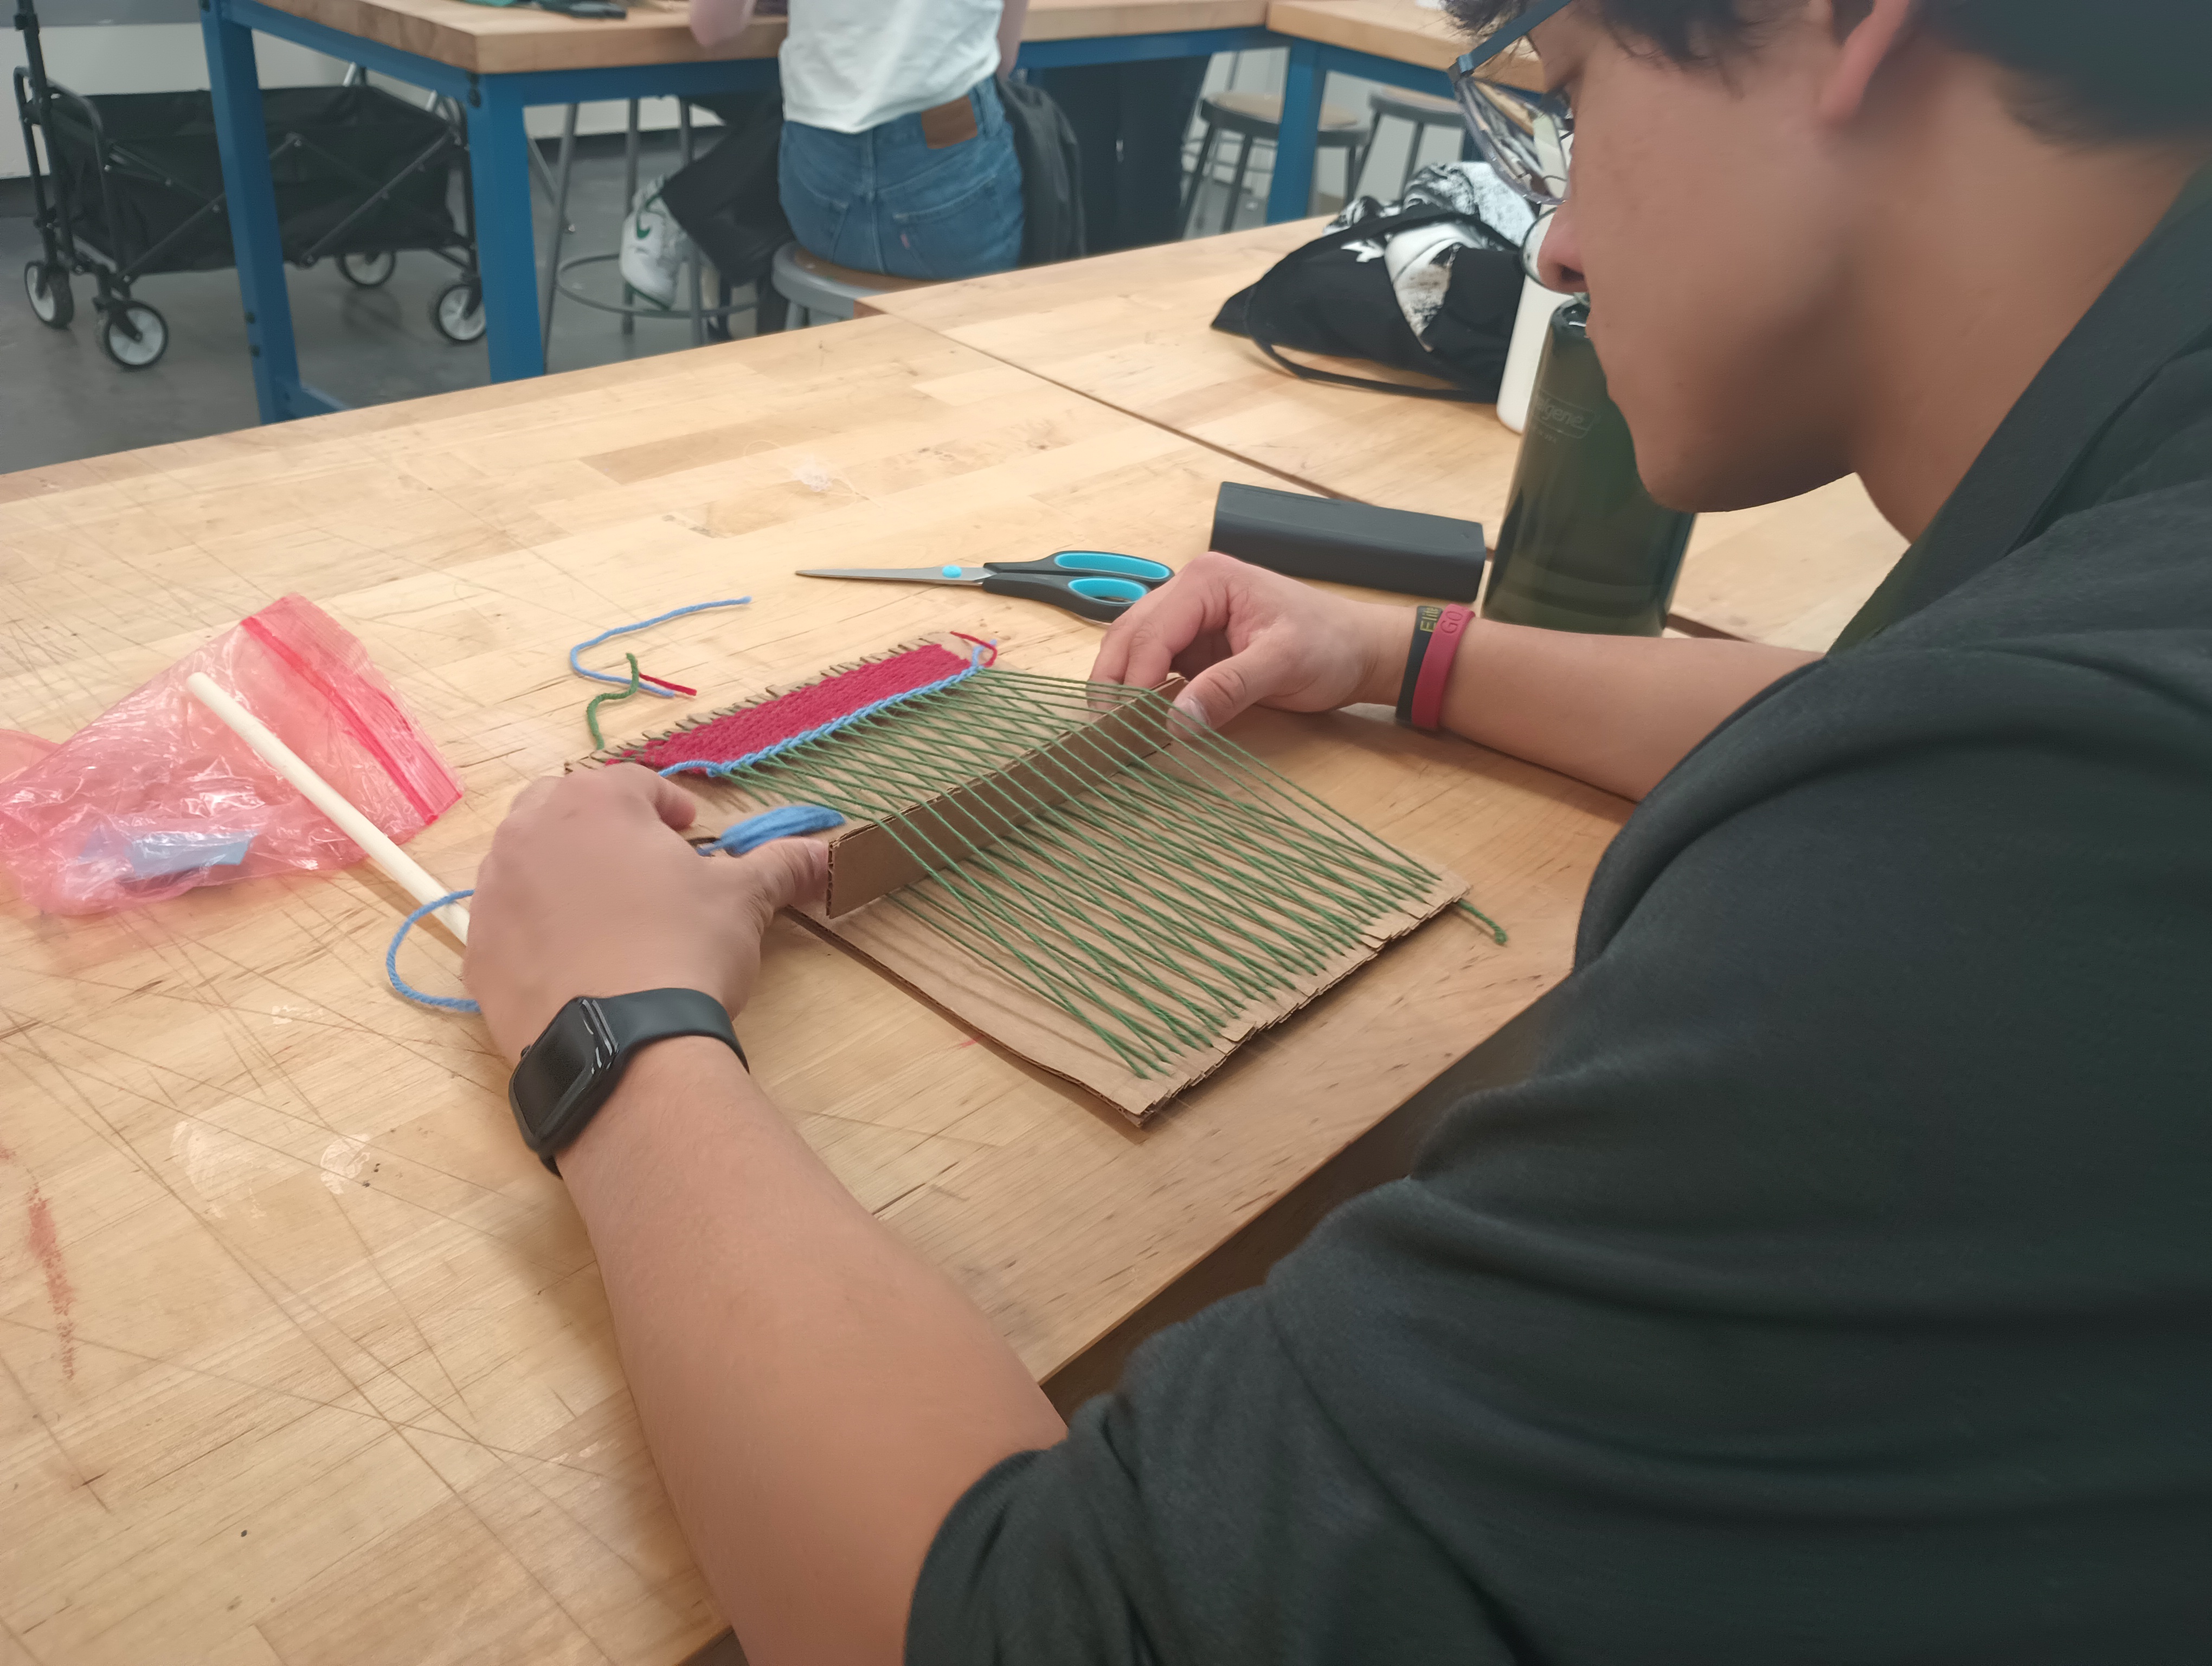
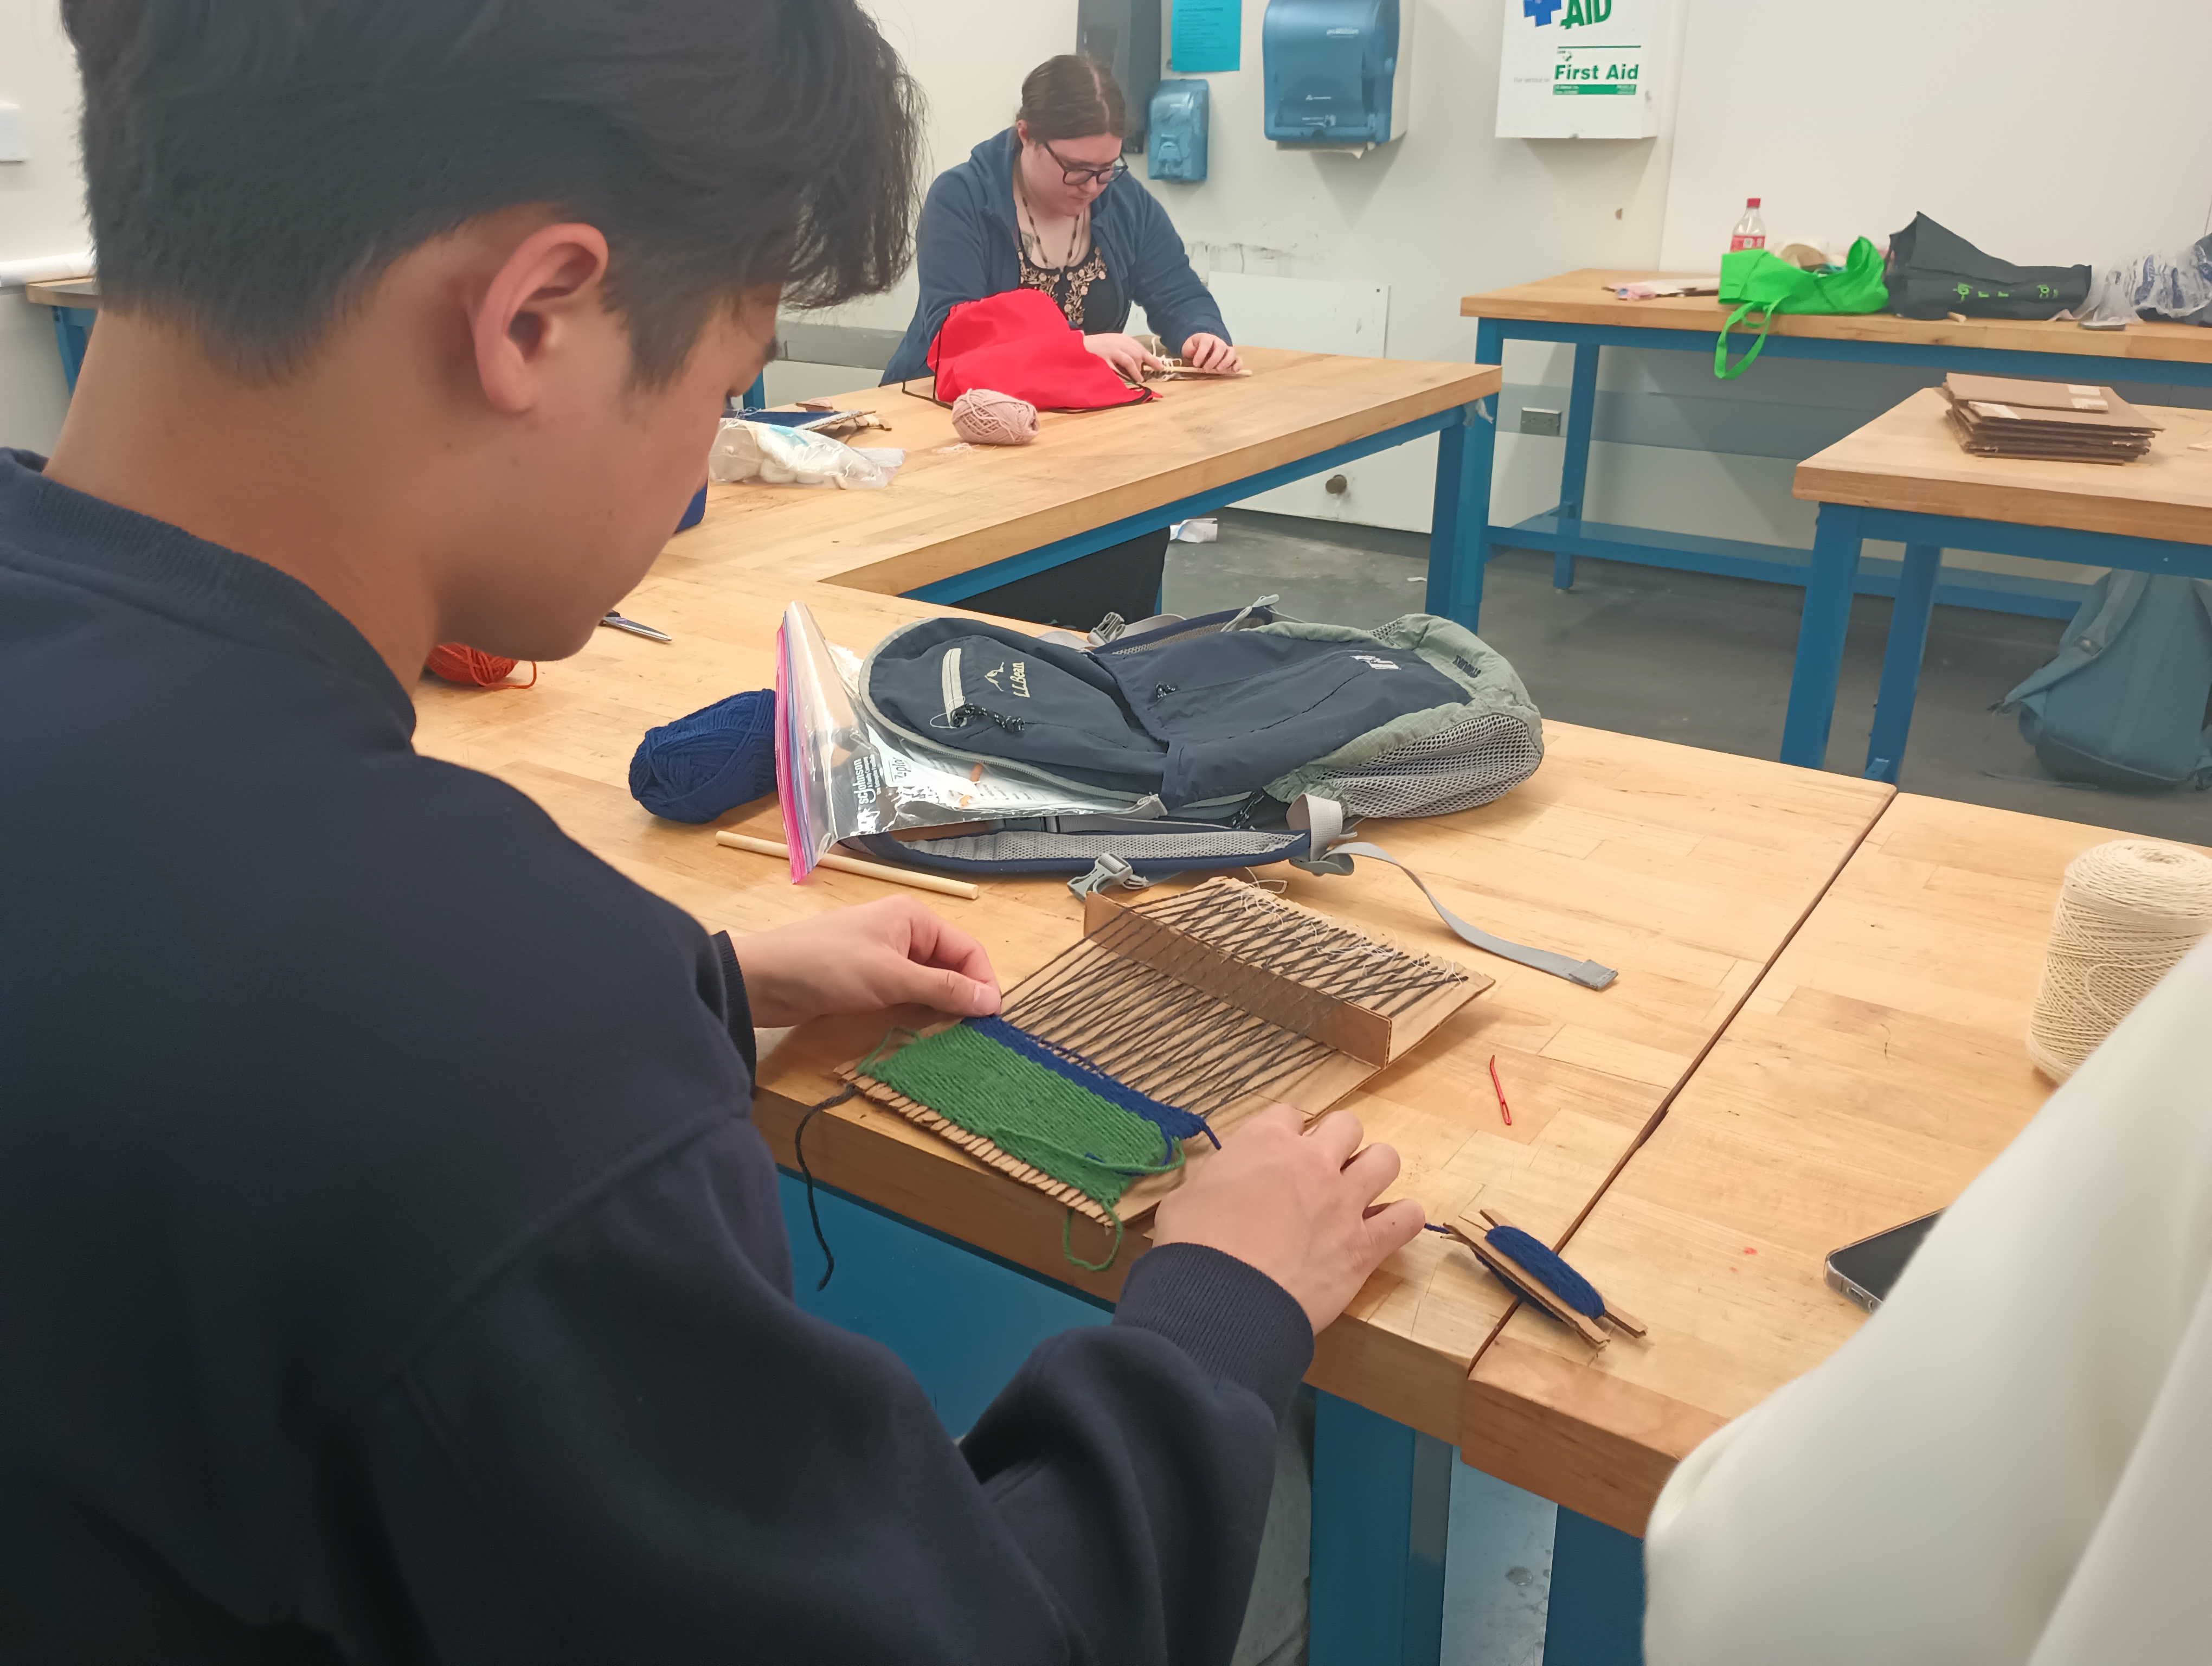
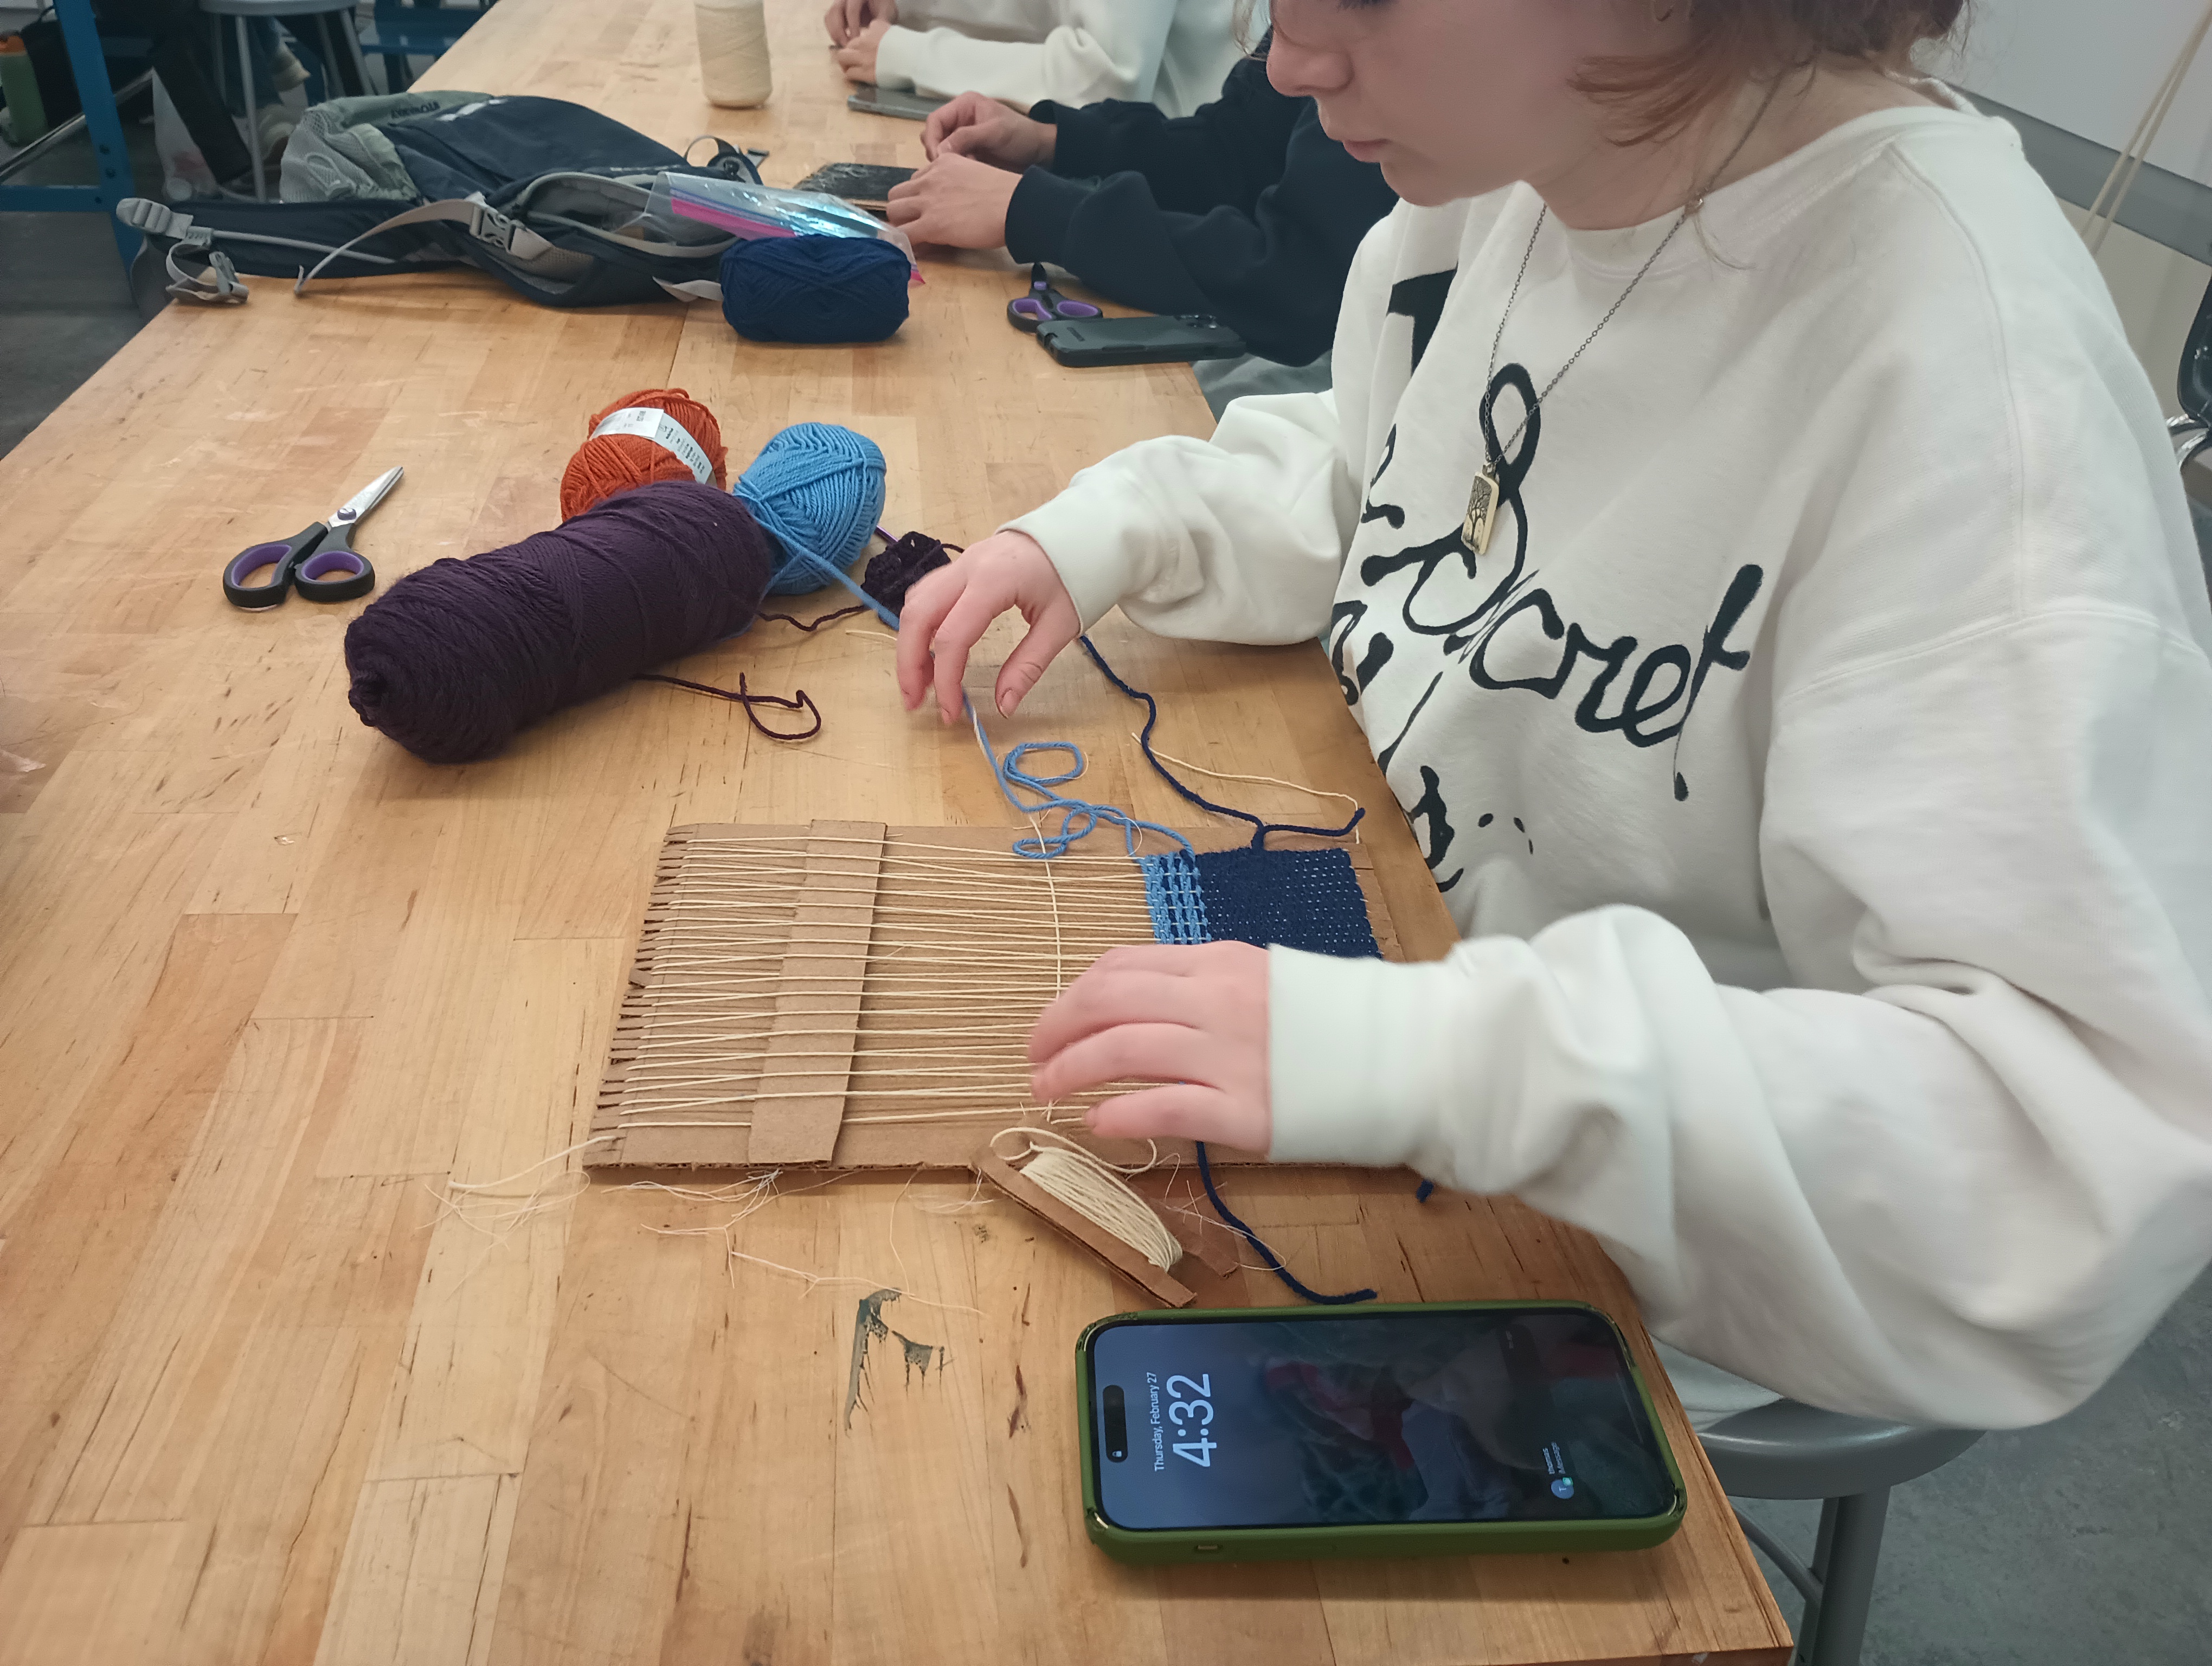
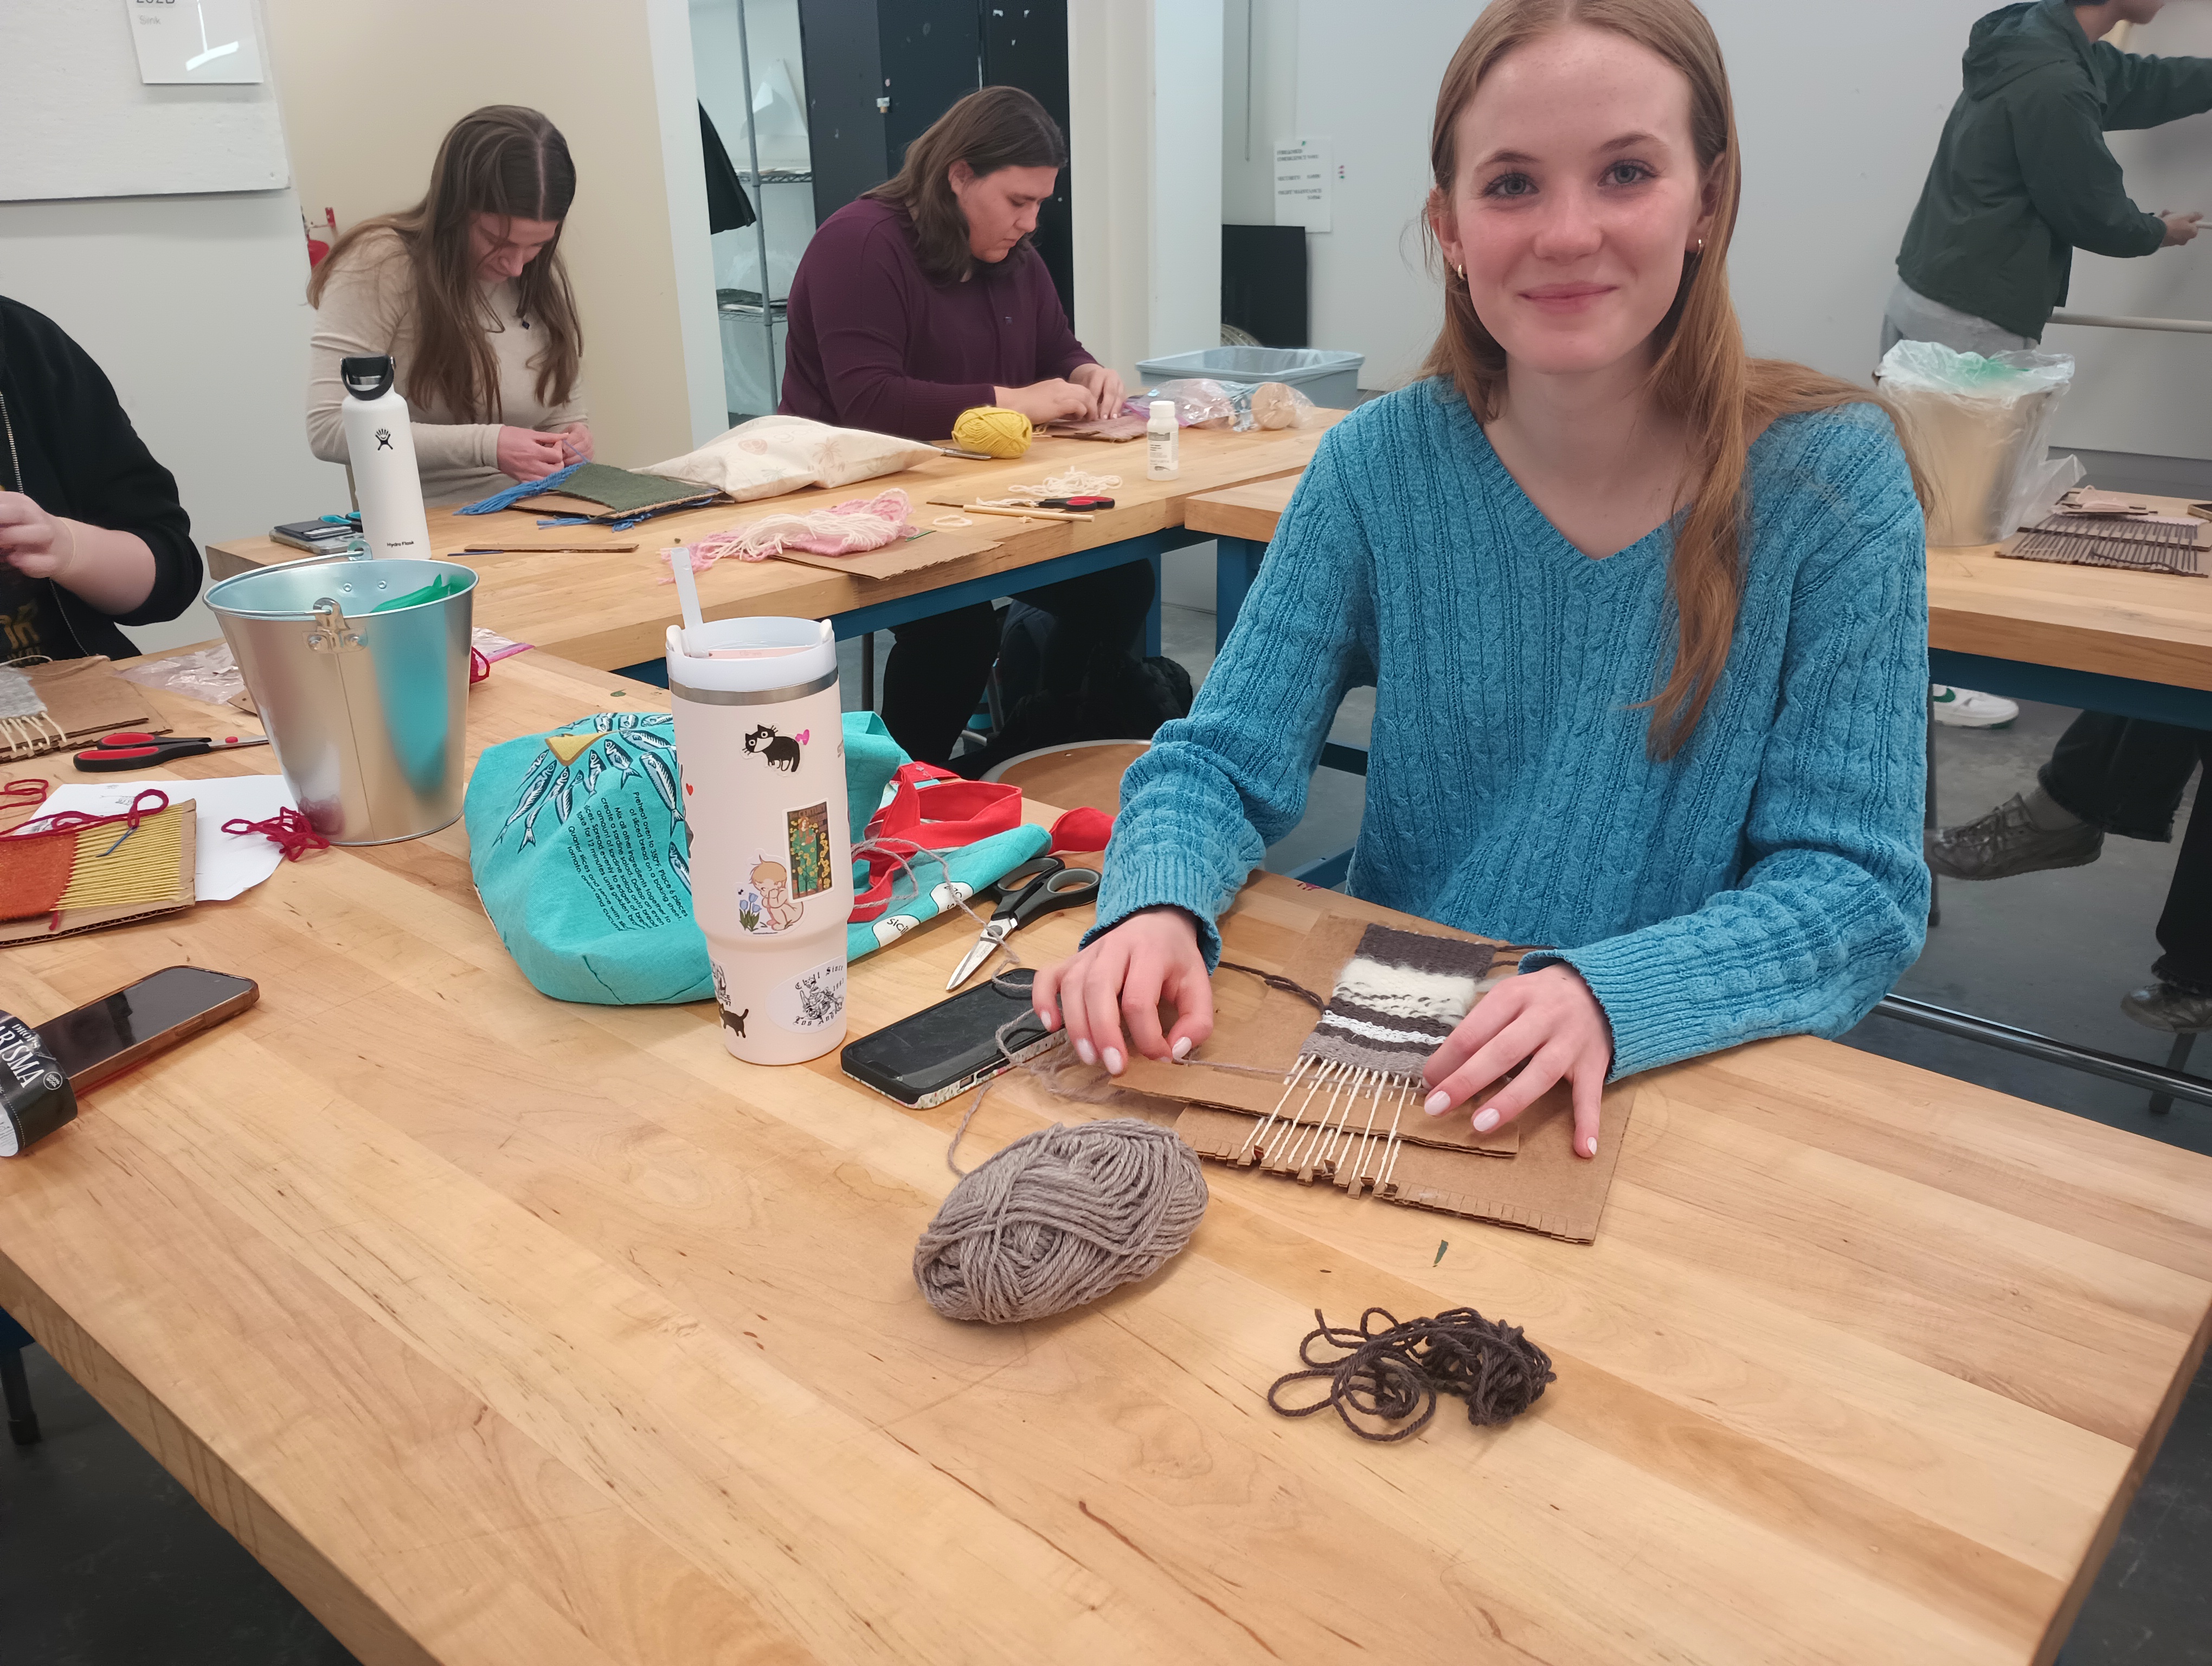
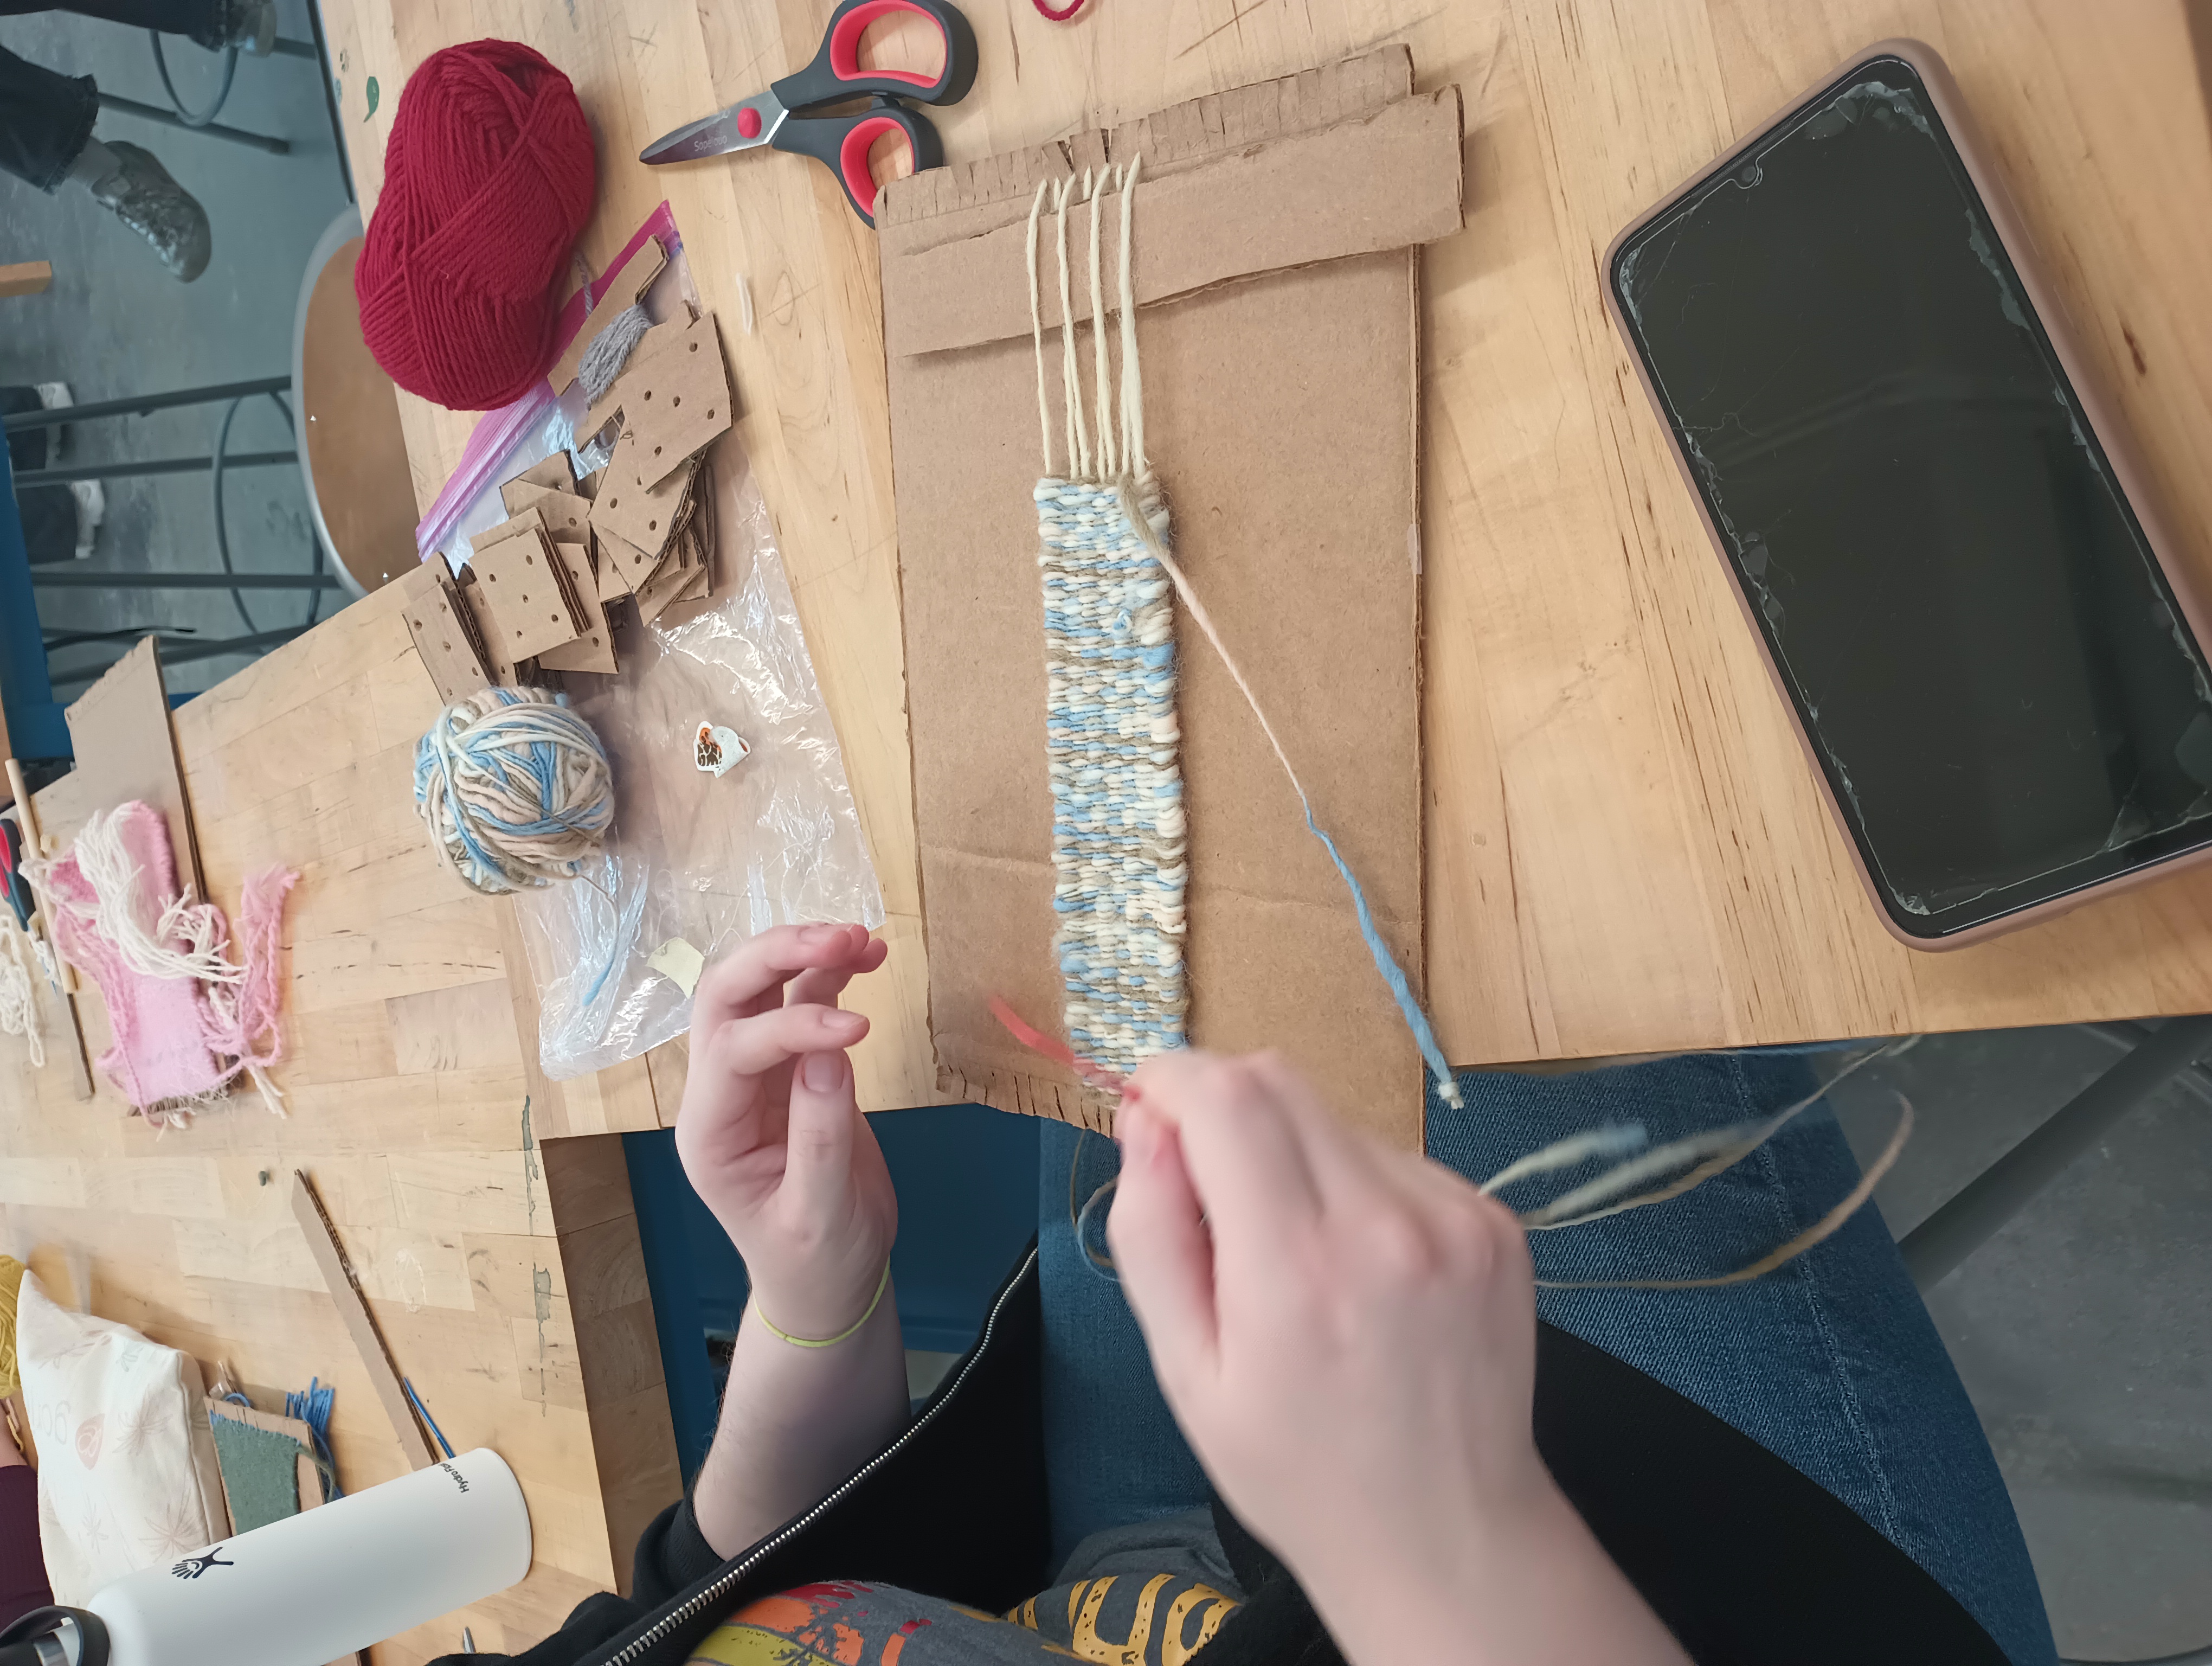
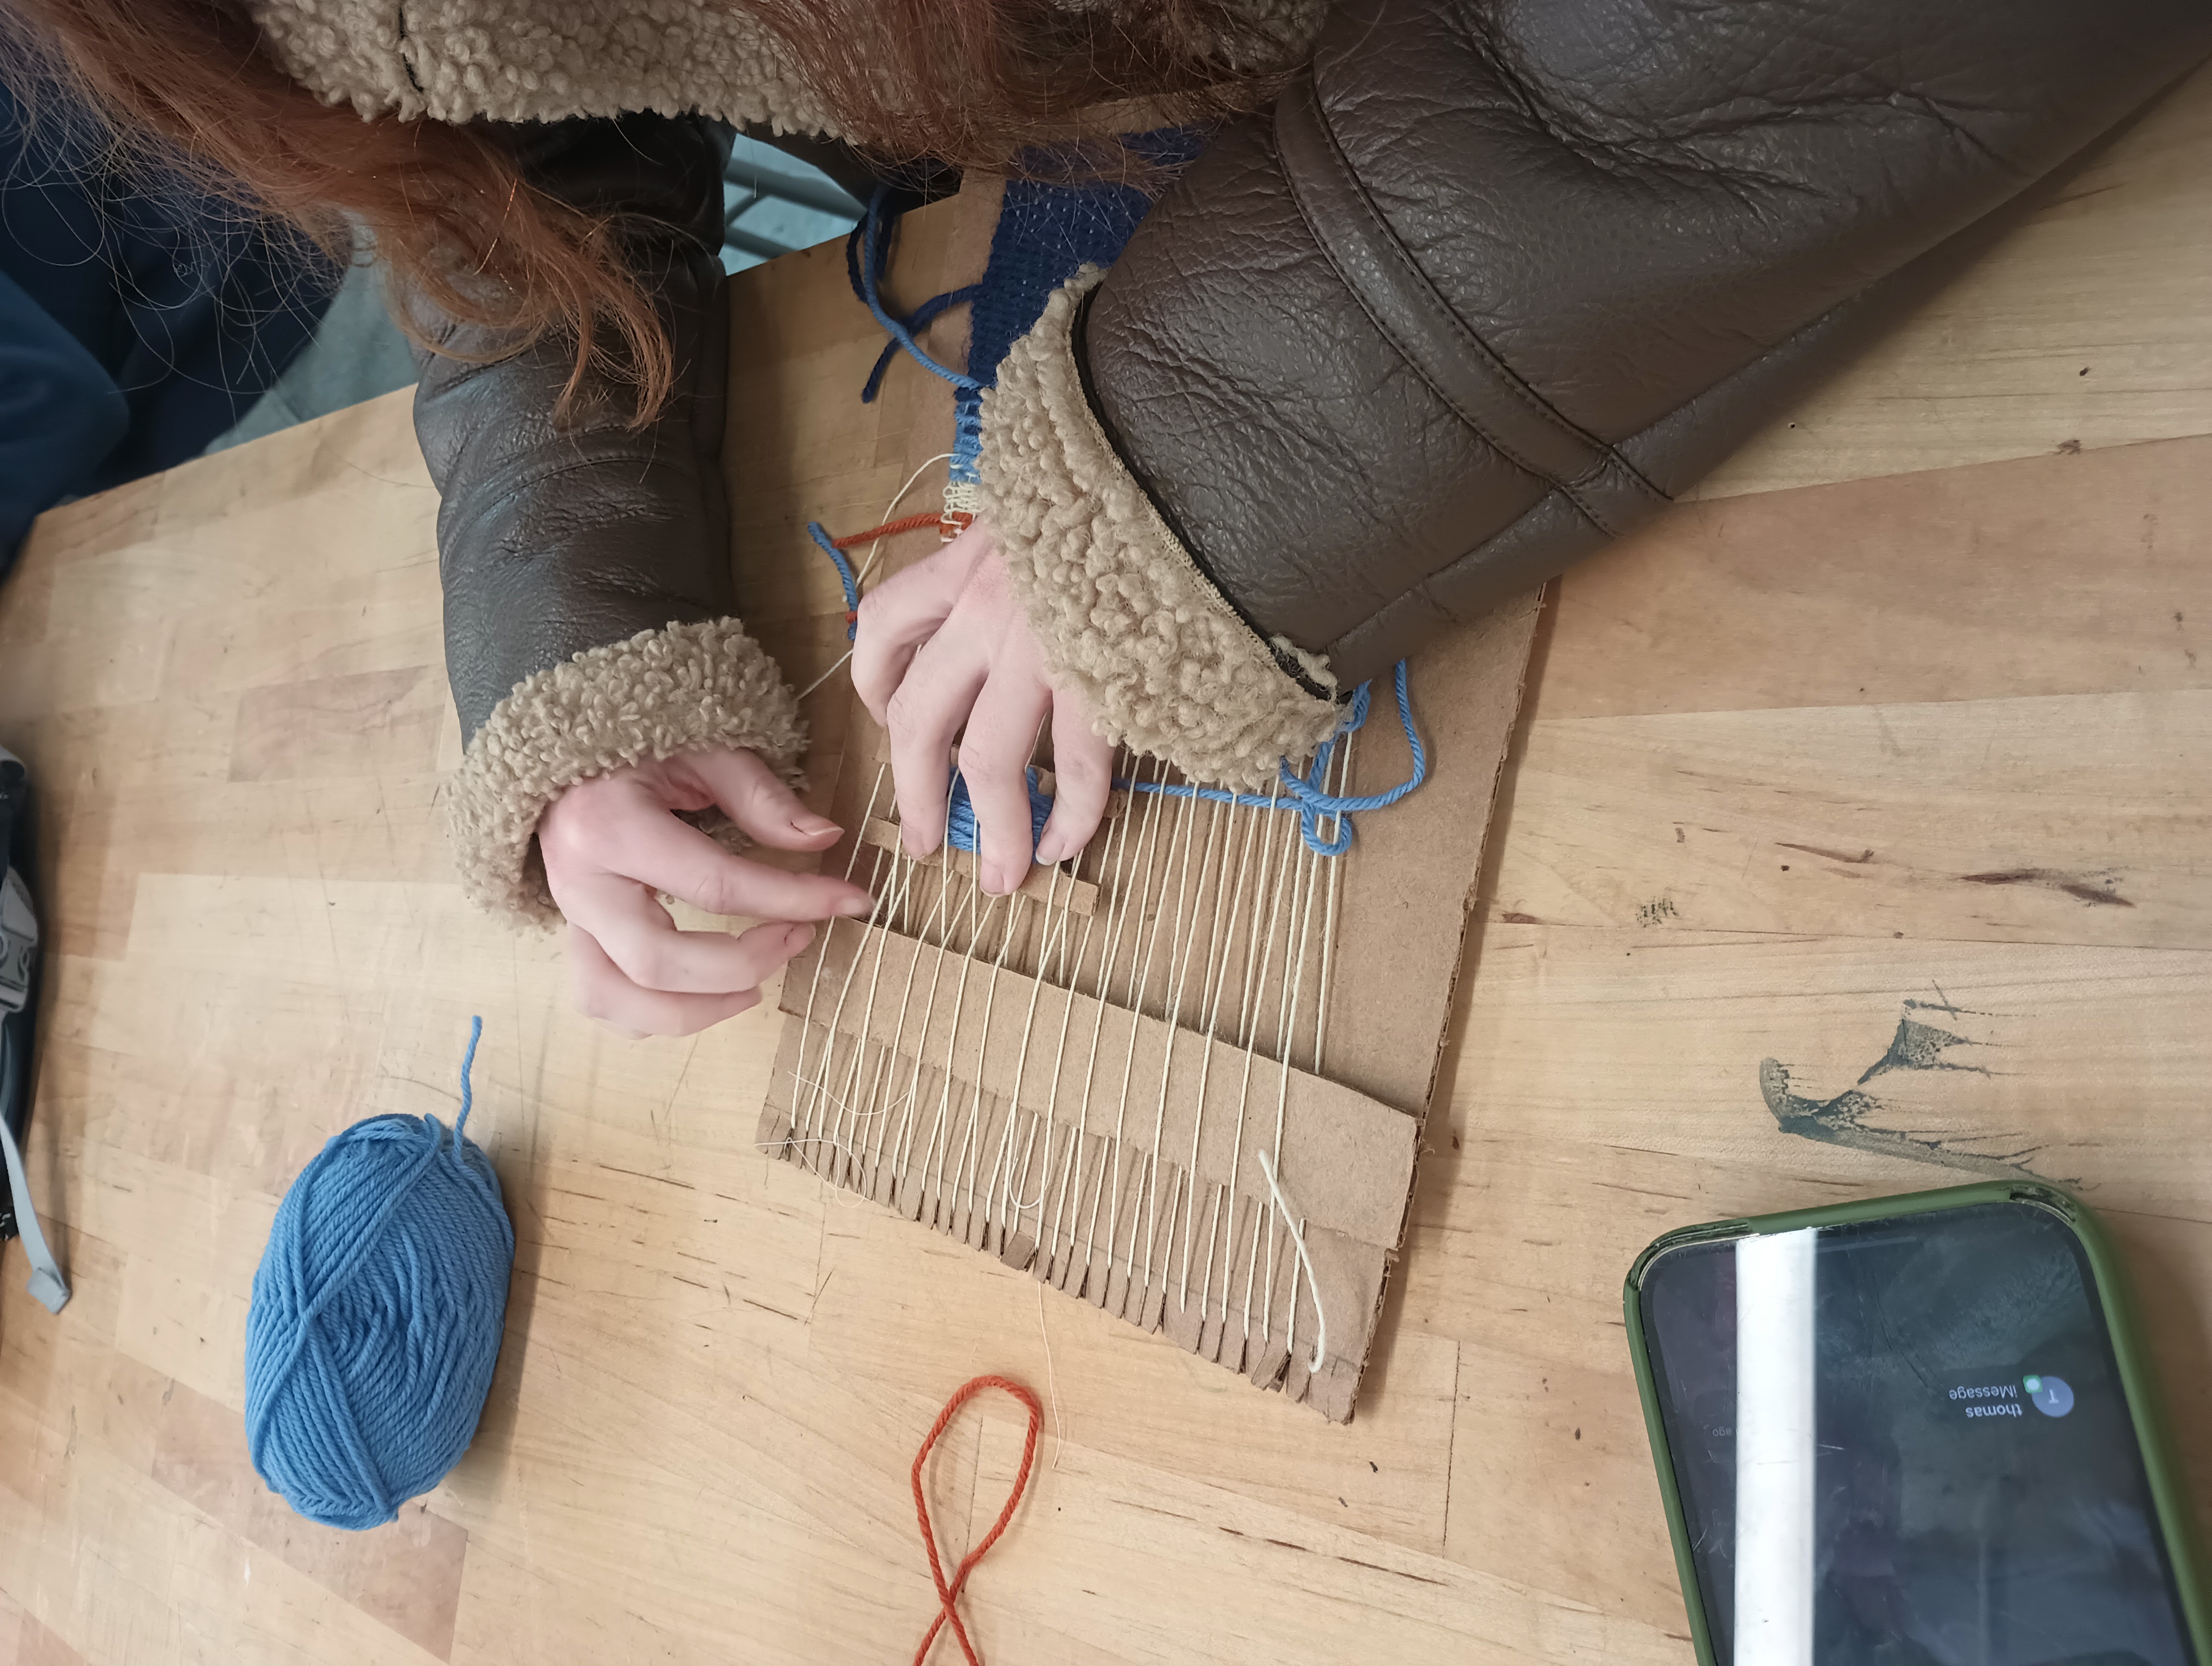
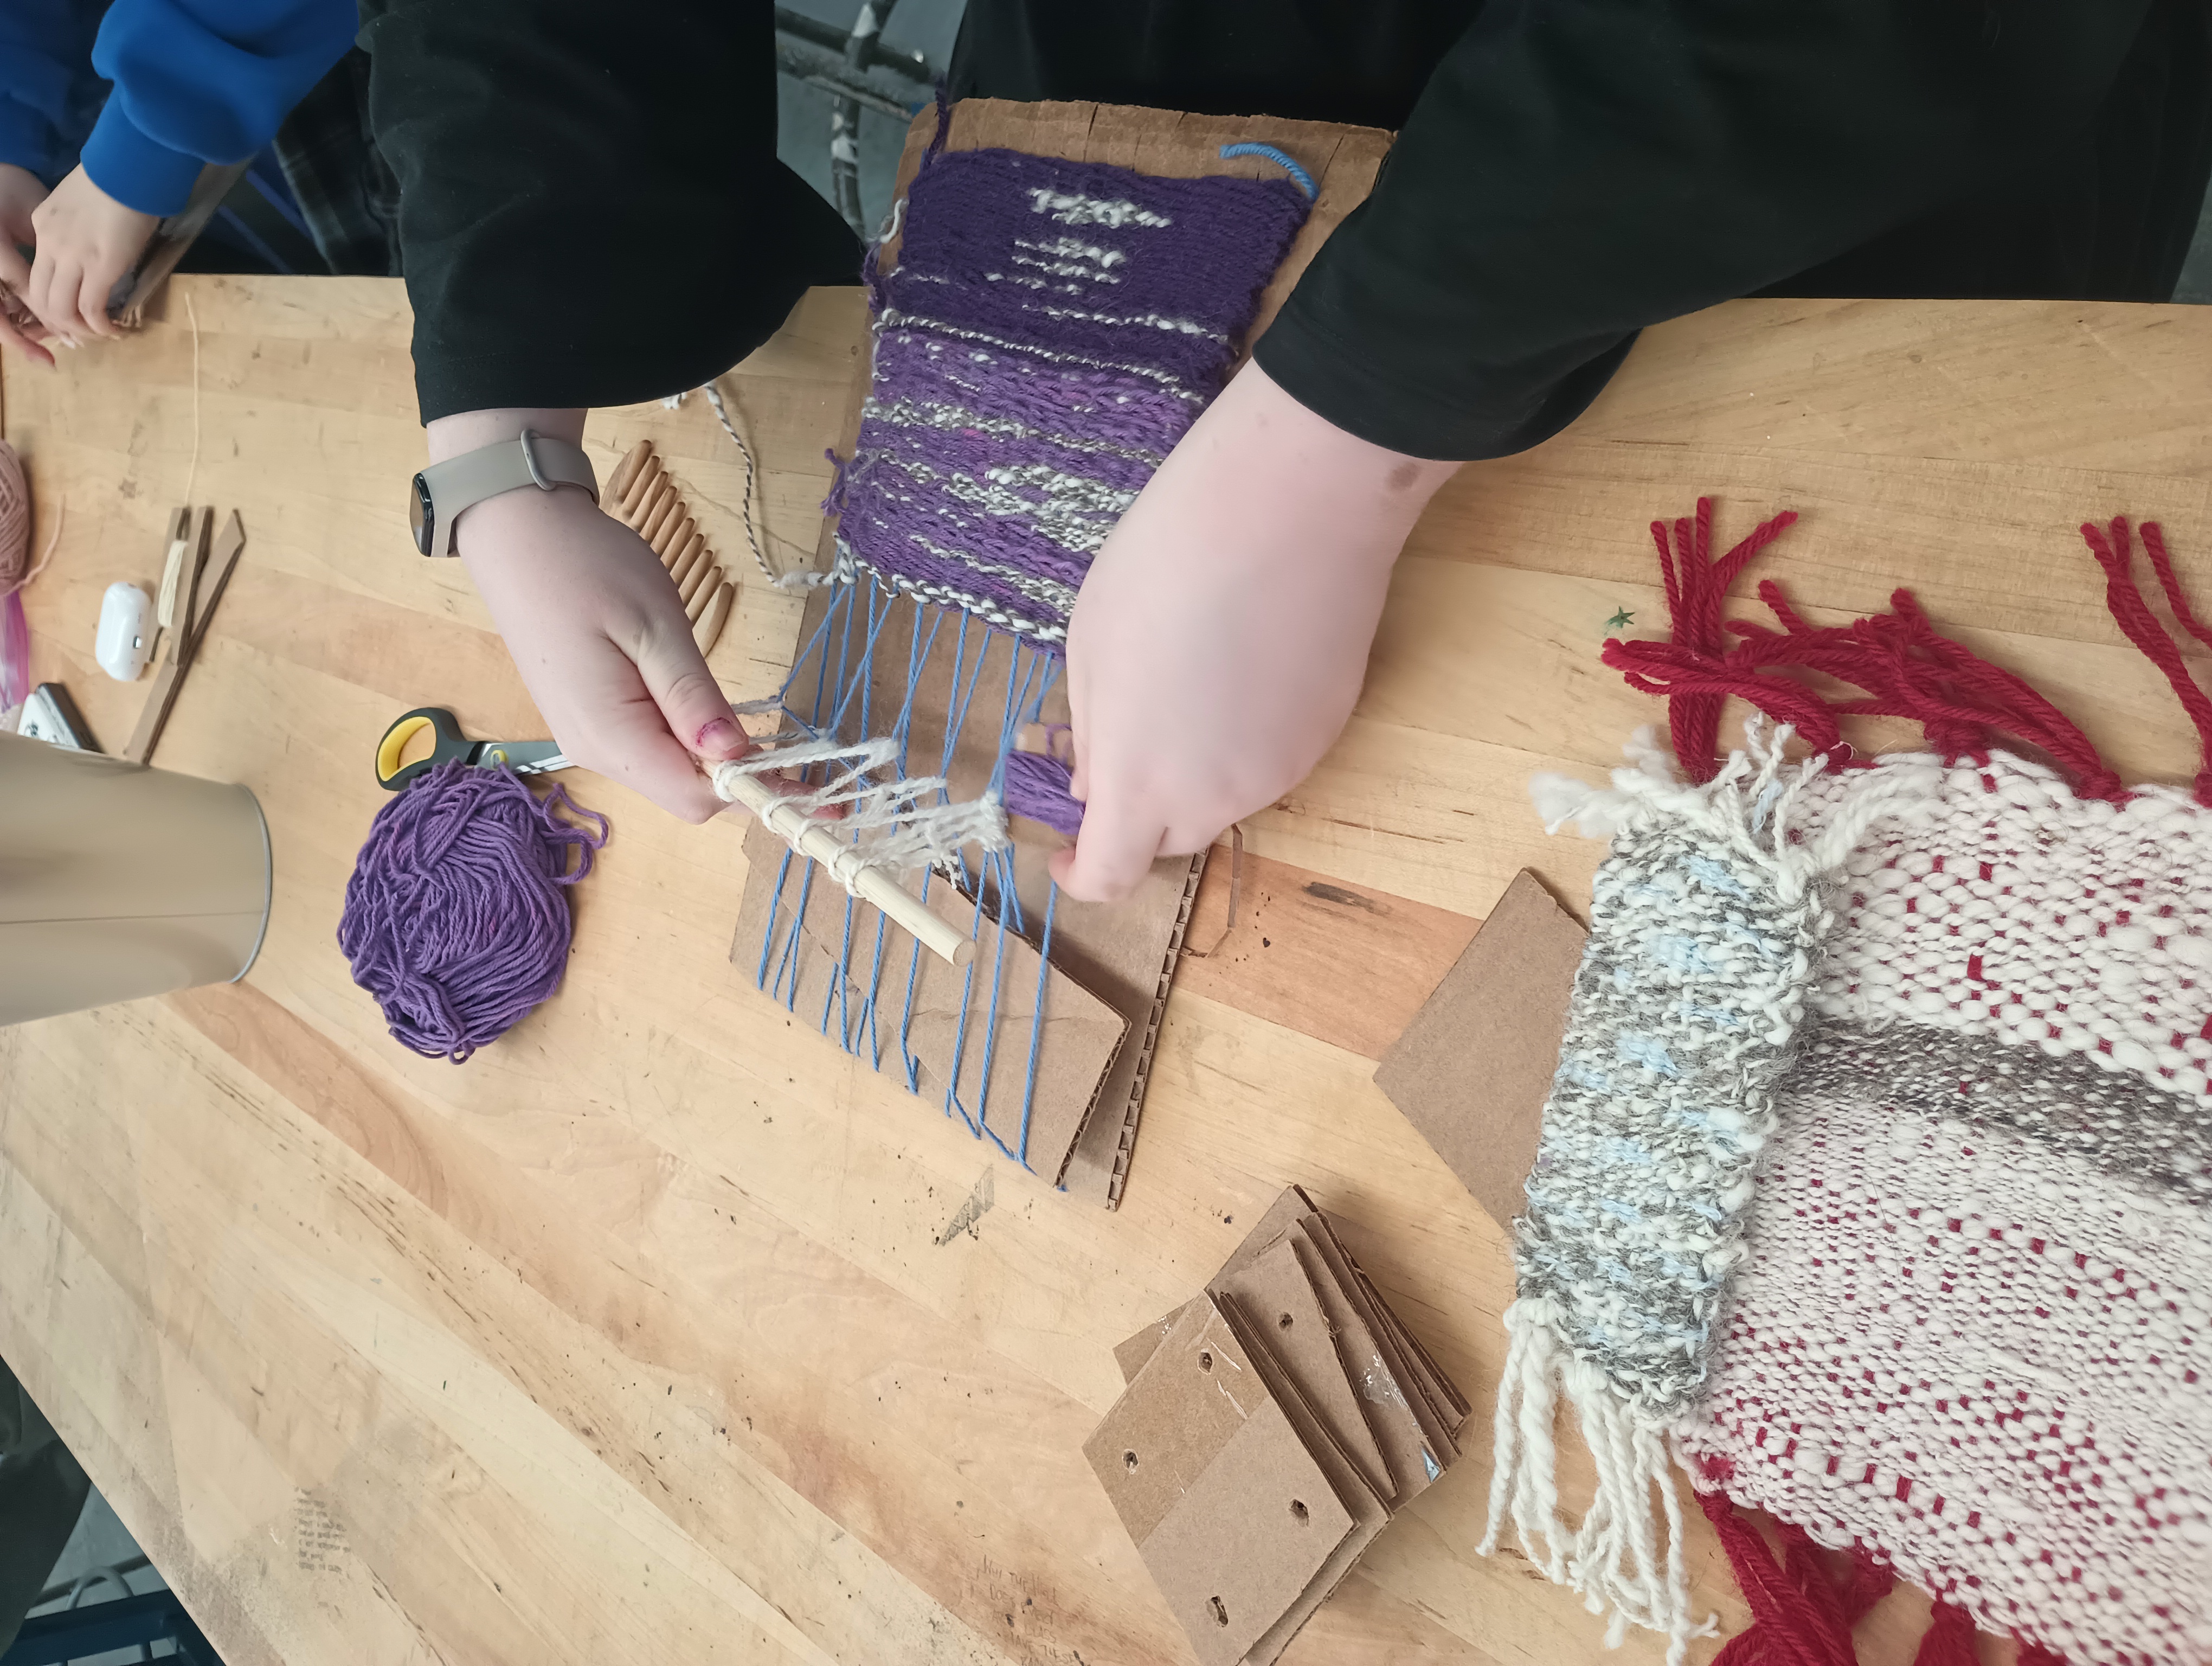
Studio 5 - Cardboard looms
Students learned about the basics of weaving using a simple cardboard loom. They warped their looms by winding yarn through the notches on either end, and then used their hands and tapestry needles to weave weft threads over and under alternating warp threads. Then they experimented with changing the shed by lifting up every other thread with a shed bar (a piece of cardboard), and/or heddles (pieces of string tied to a dowel and to every other warp thread).
Supplies
- Cardboard looms (rectangles of cardboard with shallow notches cut along either end)
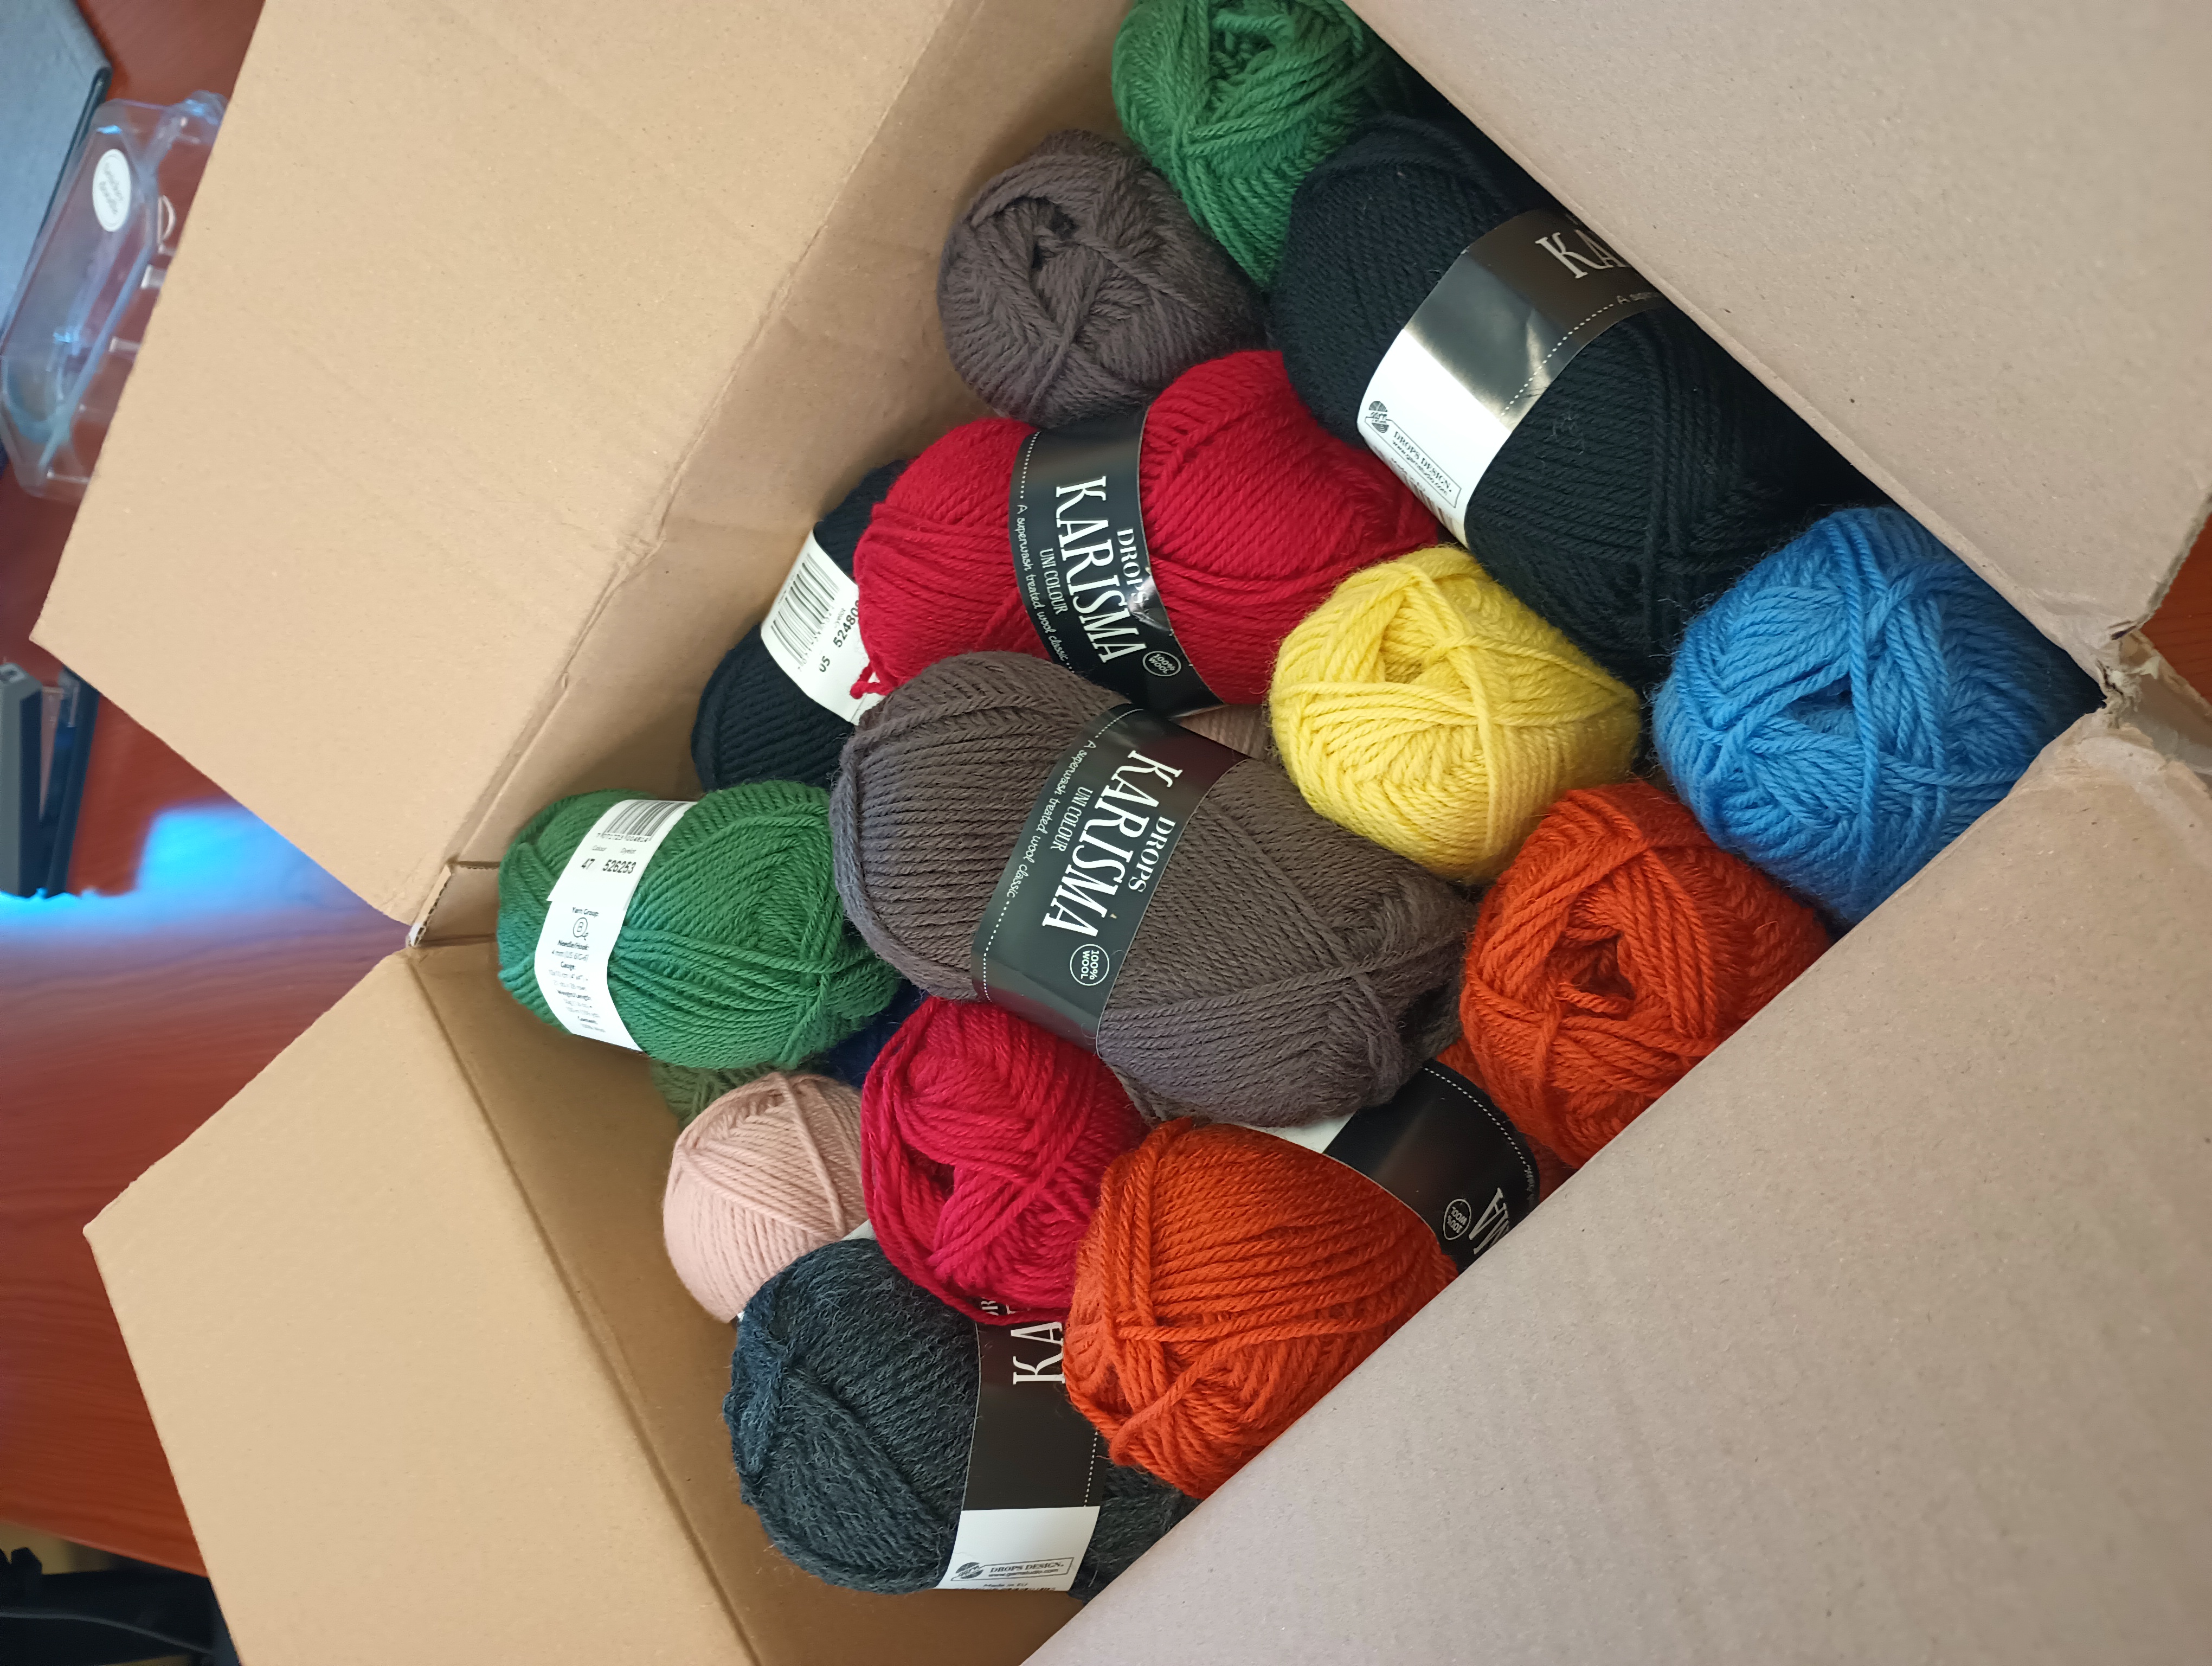
- Weaving yarn
- Cardboard shed bars and shuttles (rectangles of cardboard)
- Dowels for heddle bars or shed bars
- Tapestry needles
Pictures
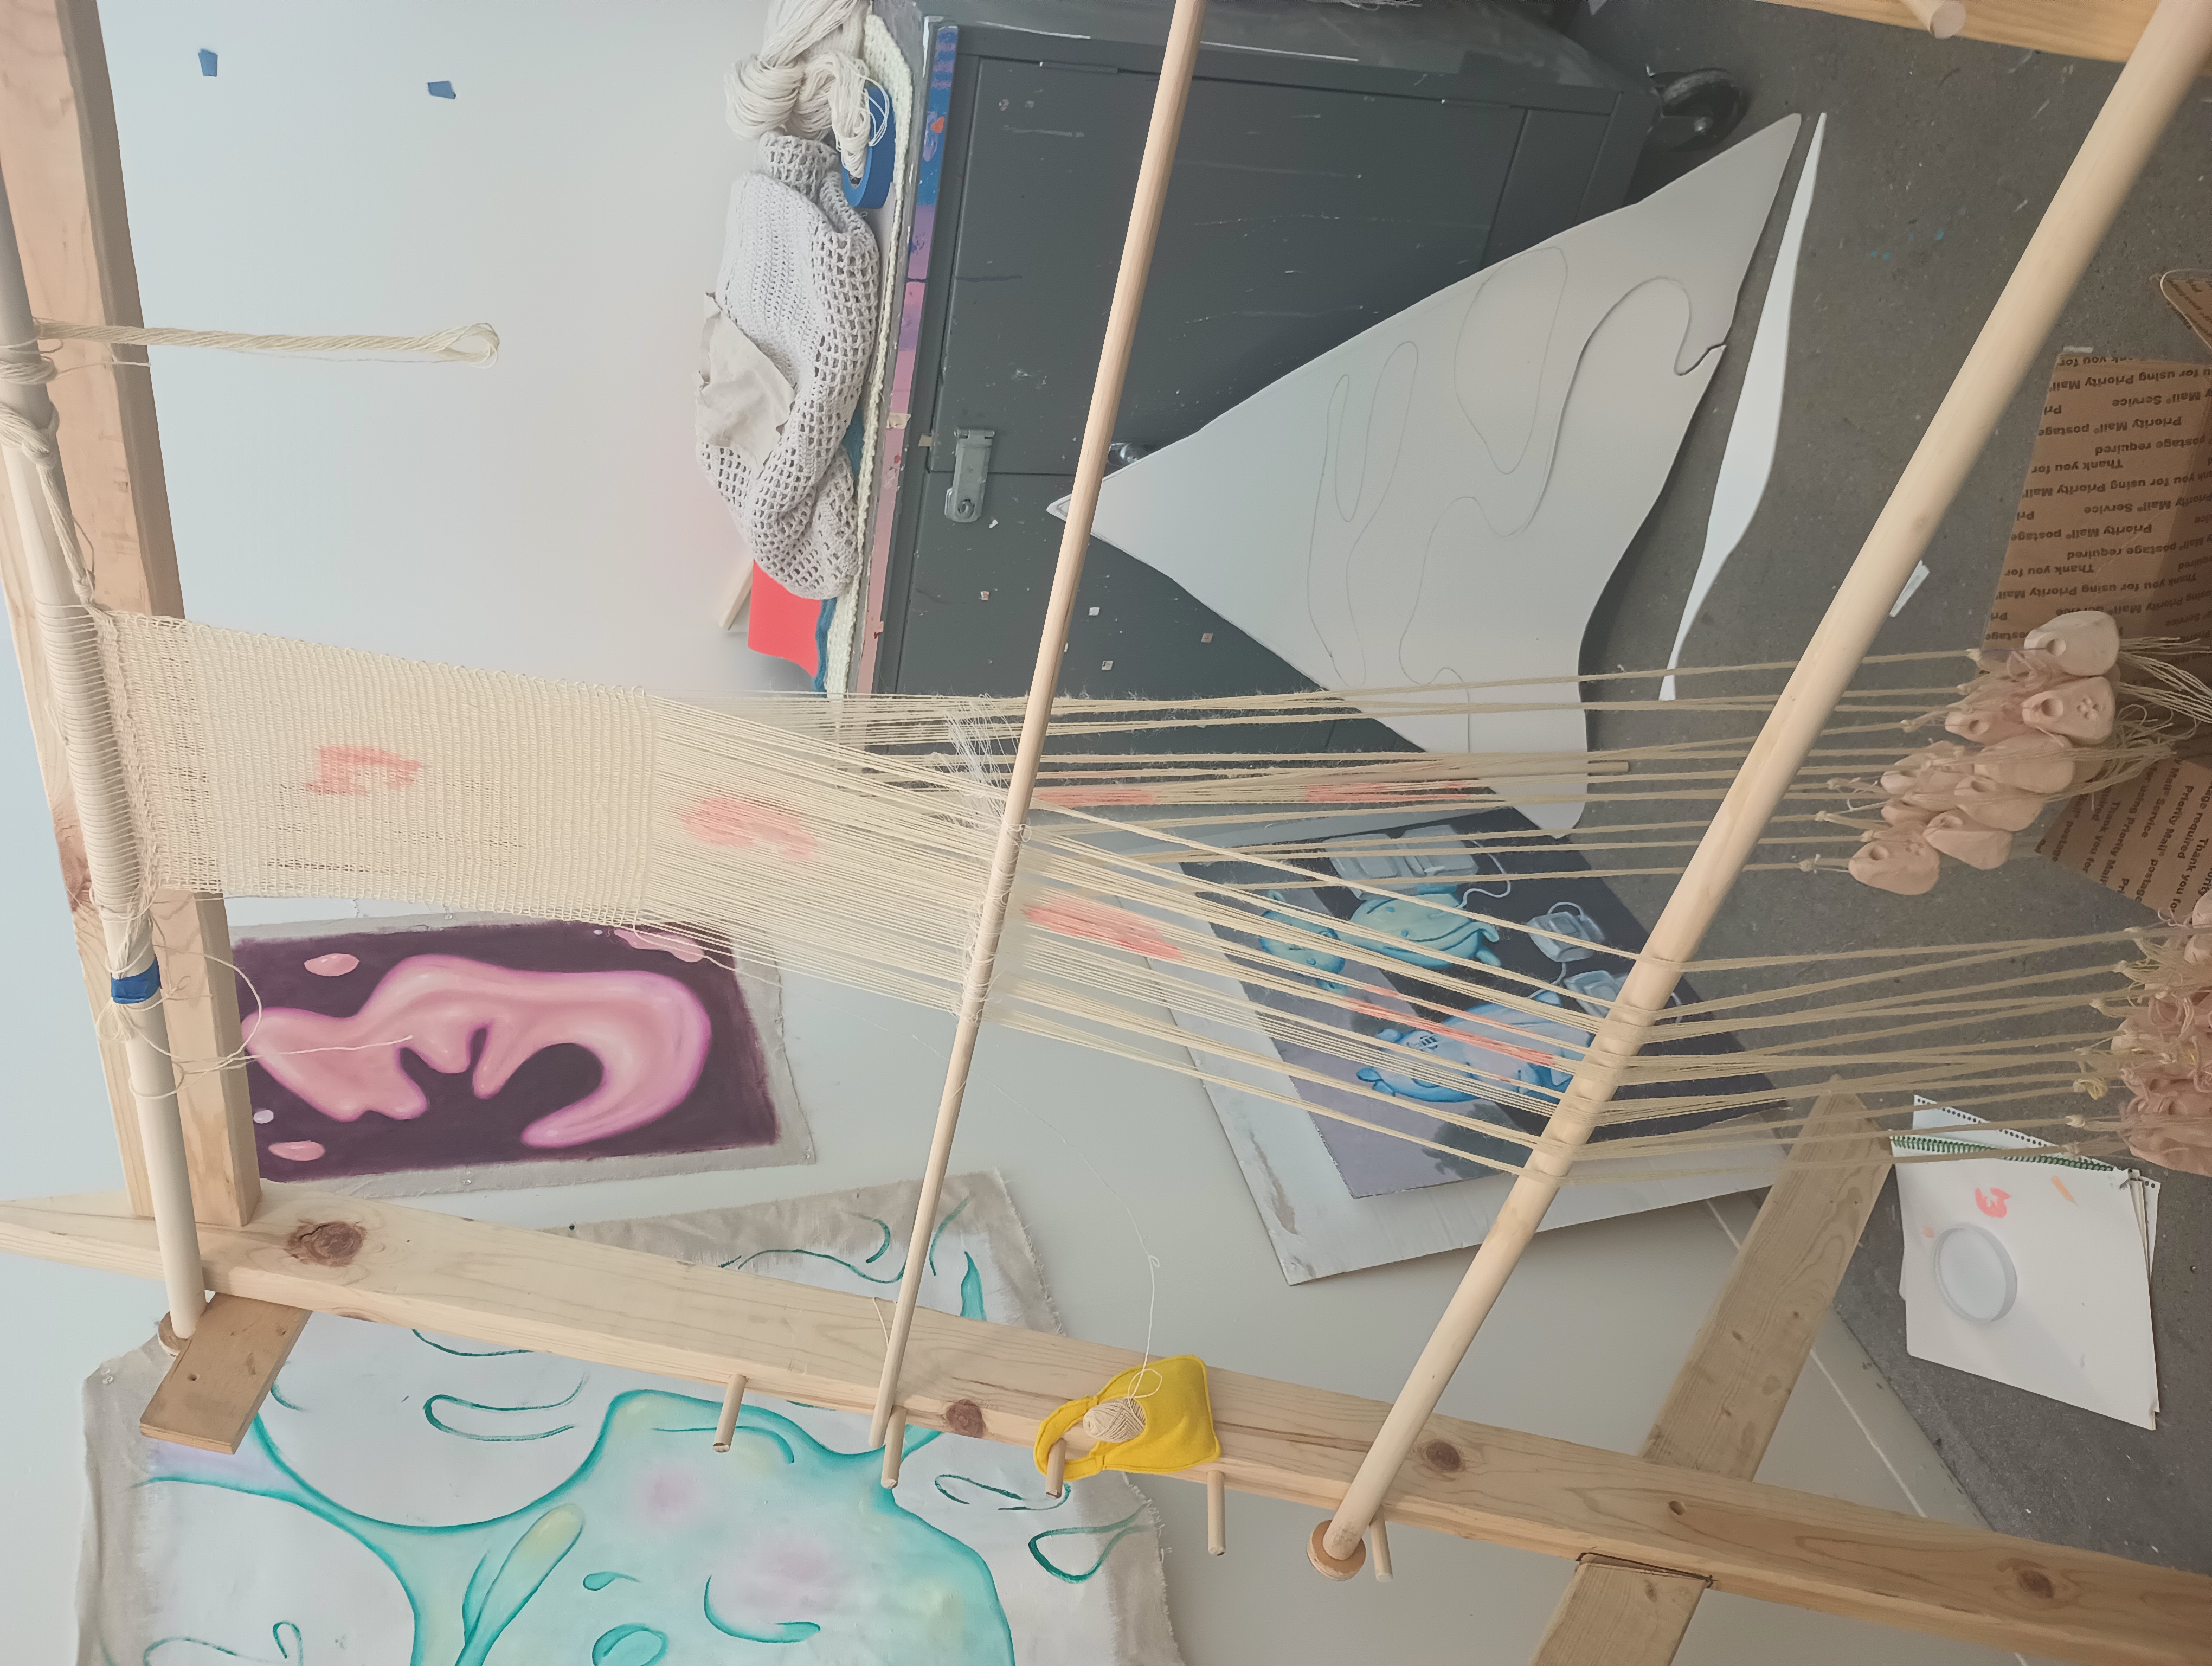
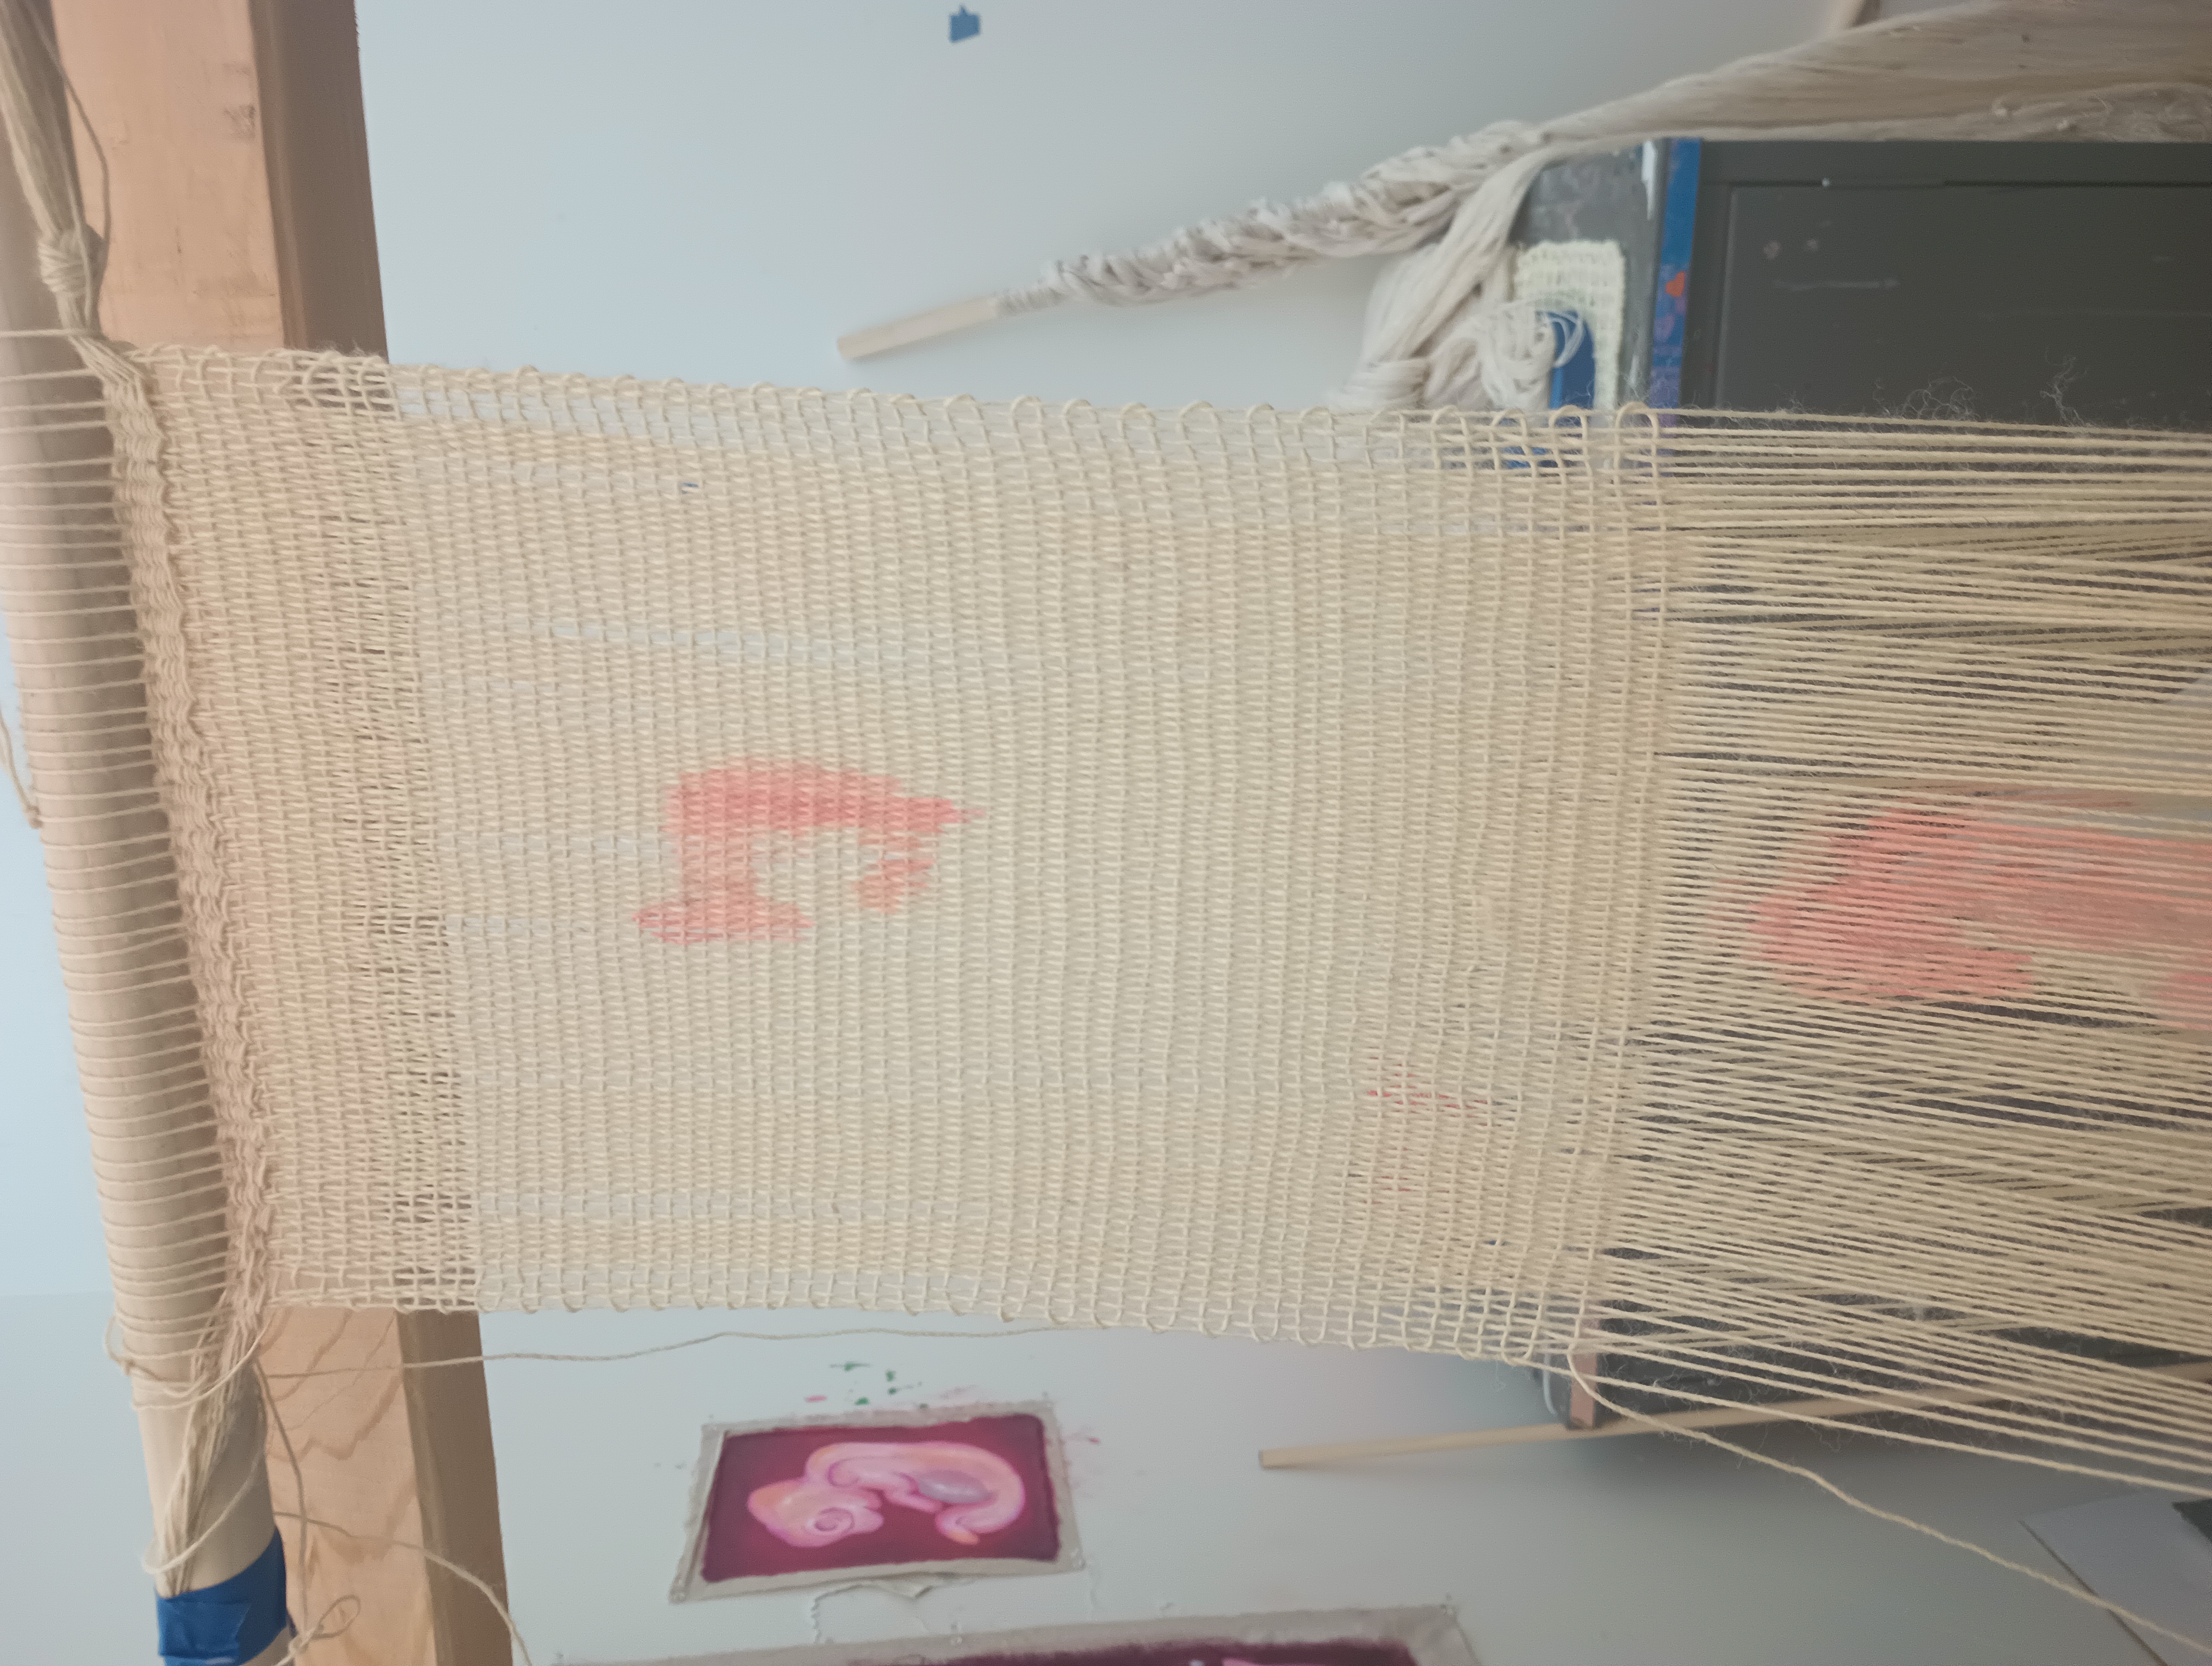
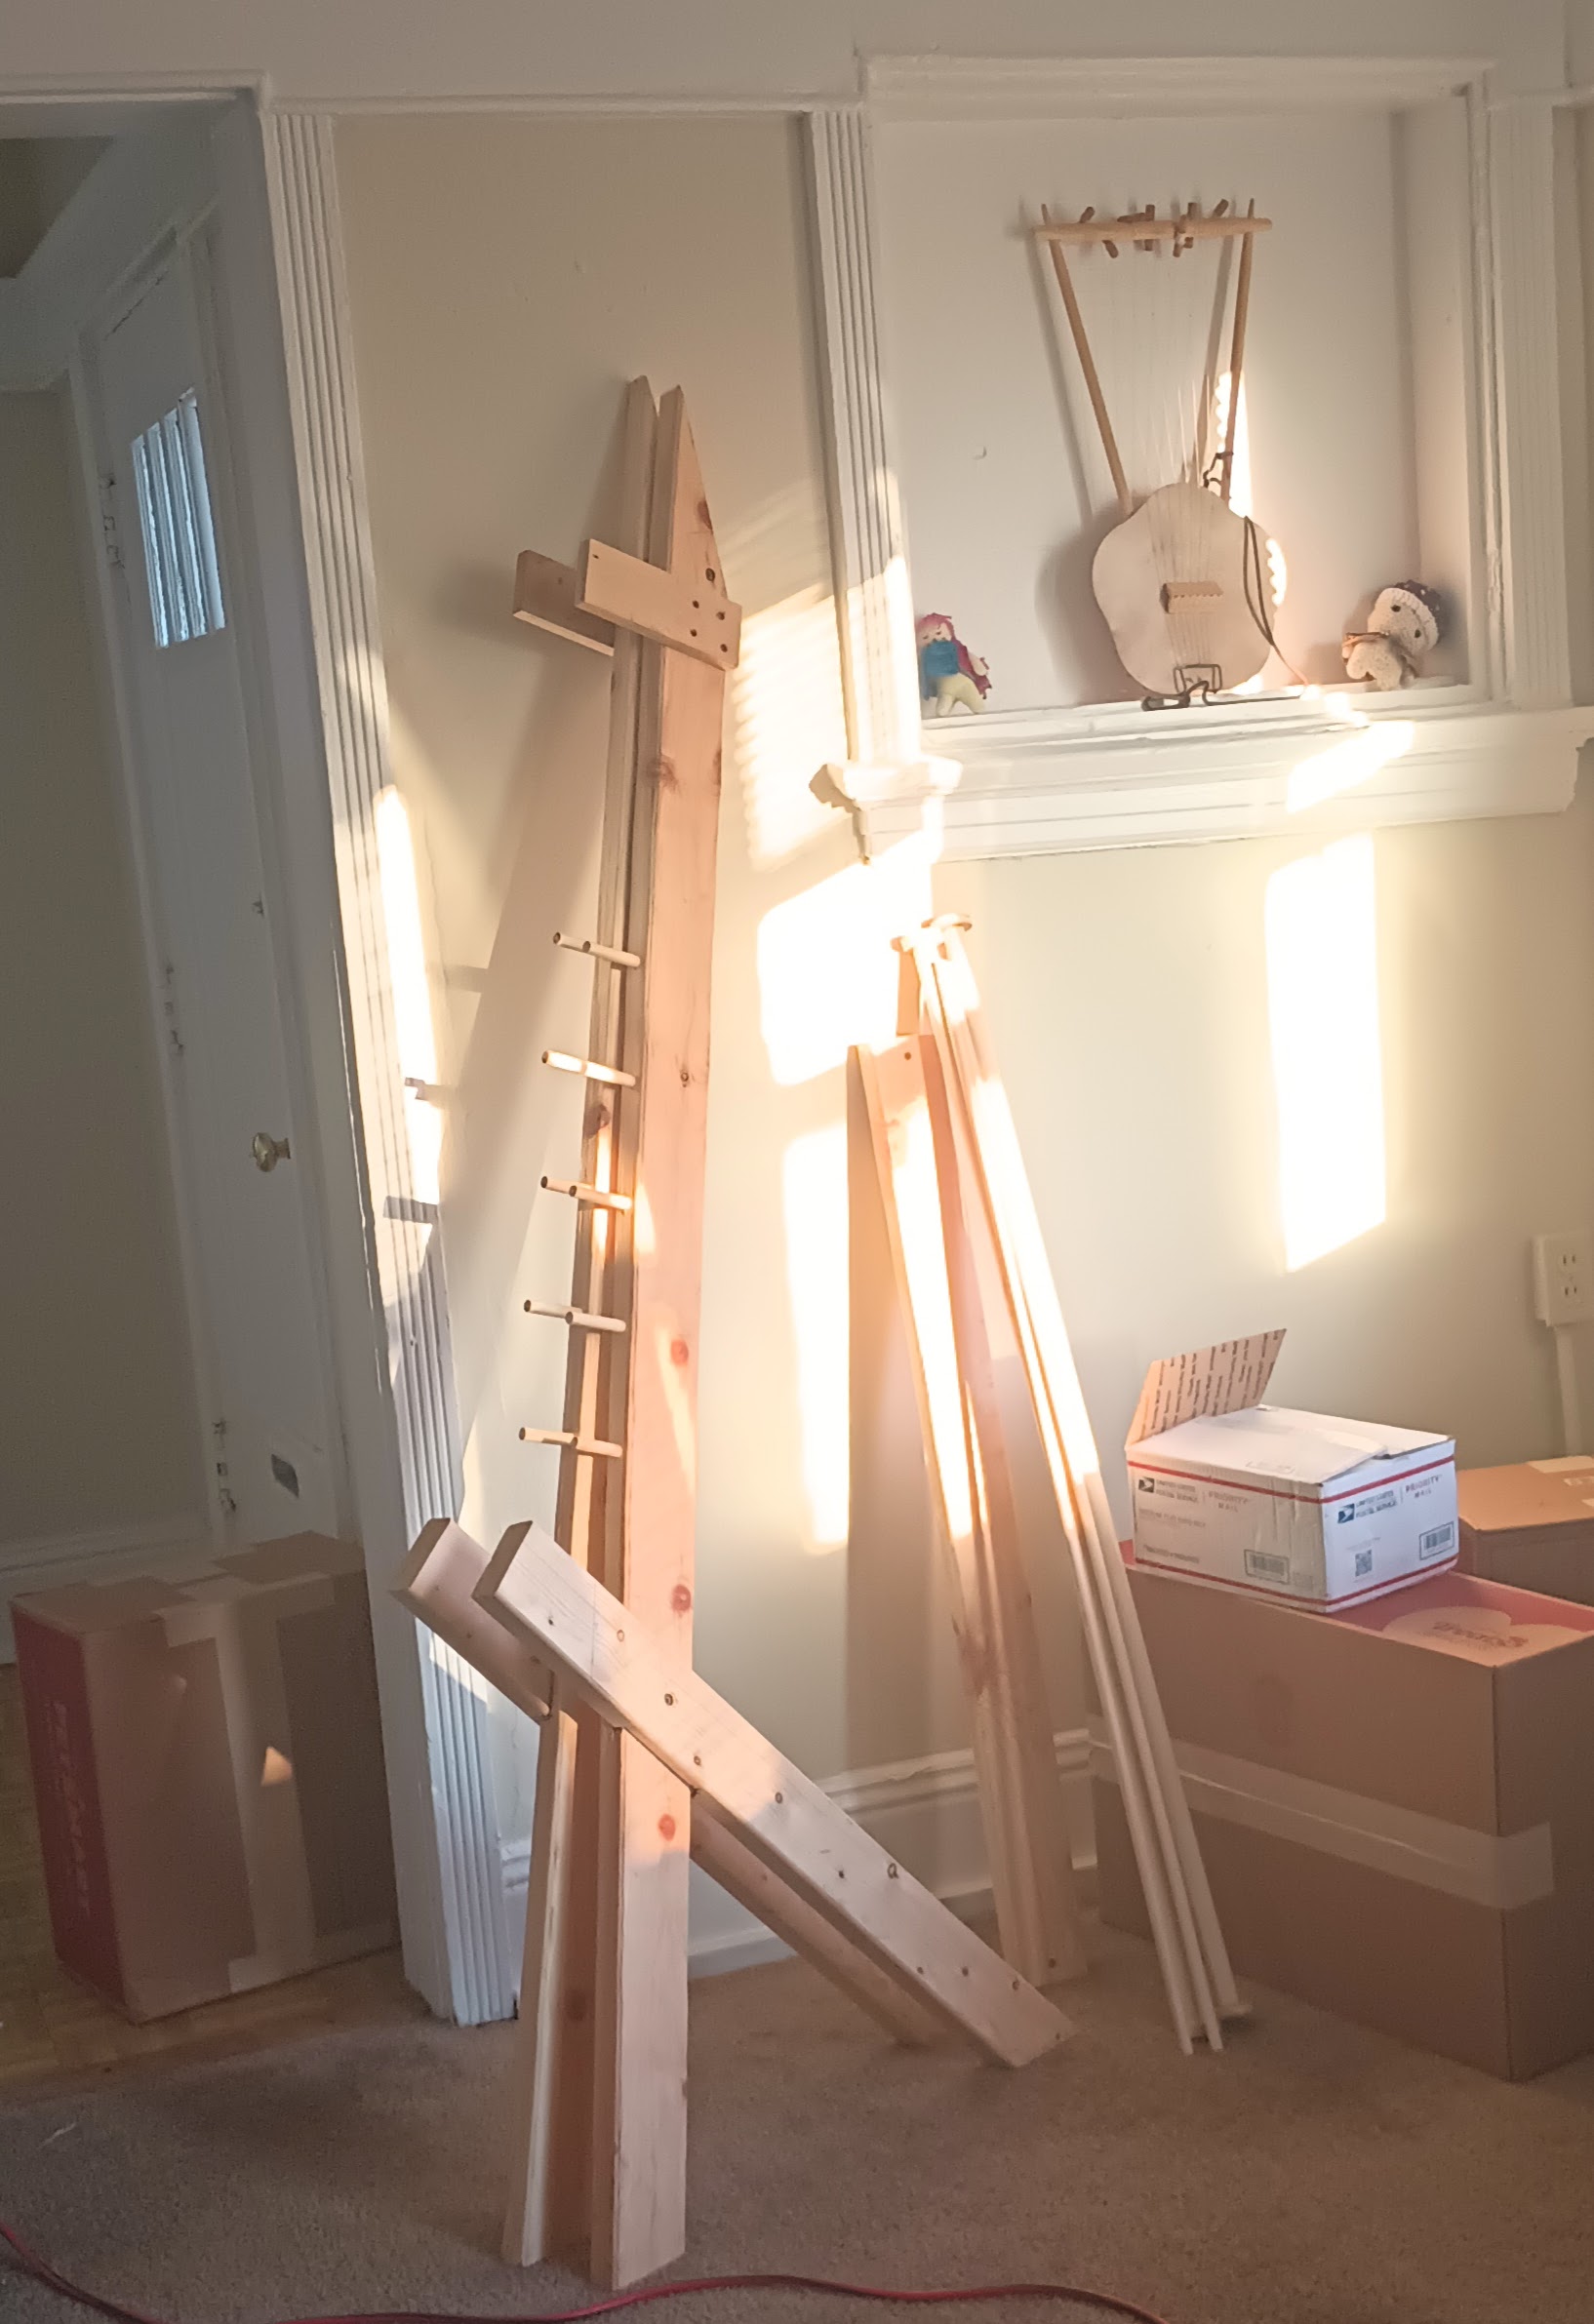
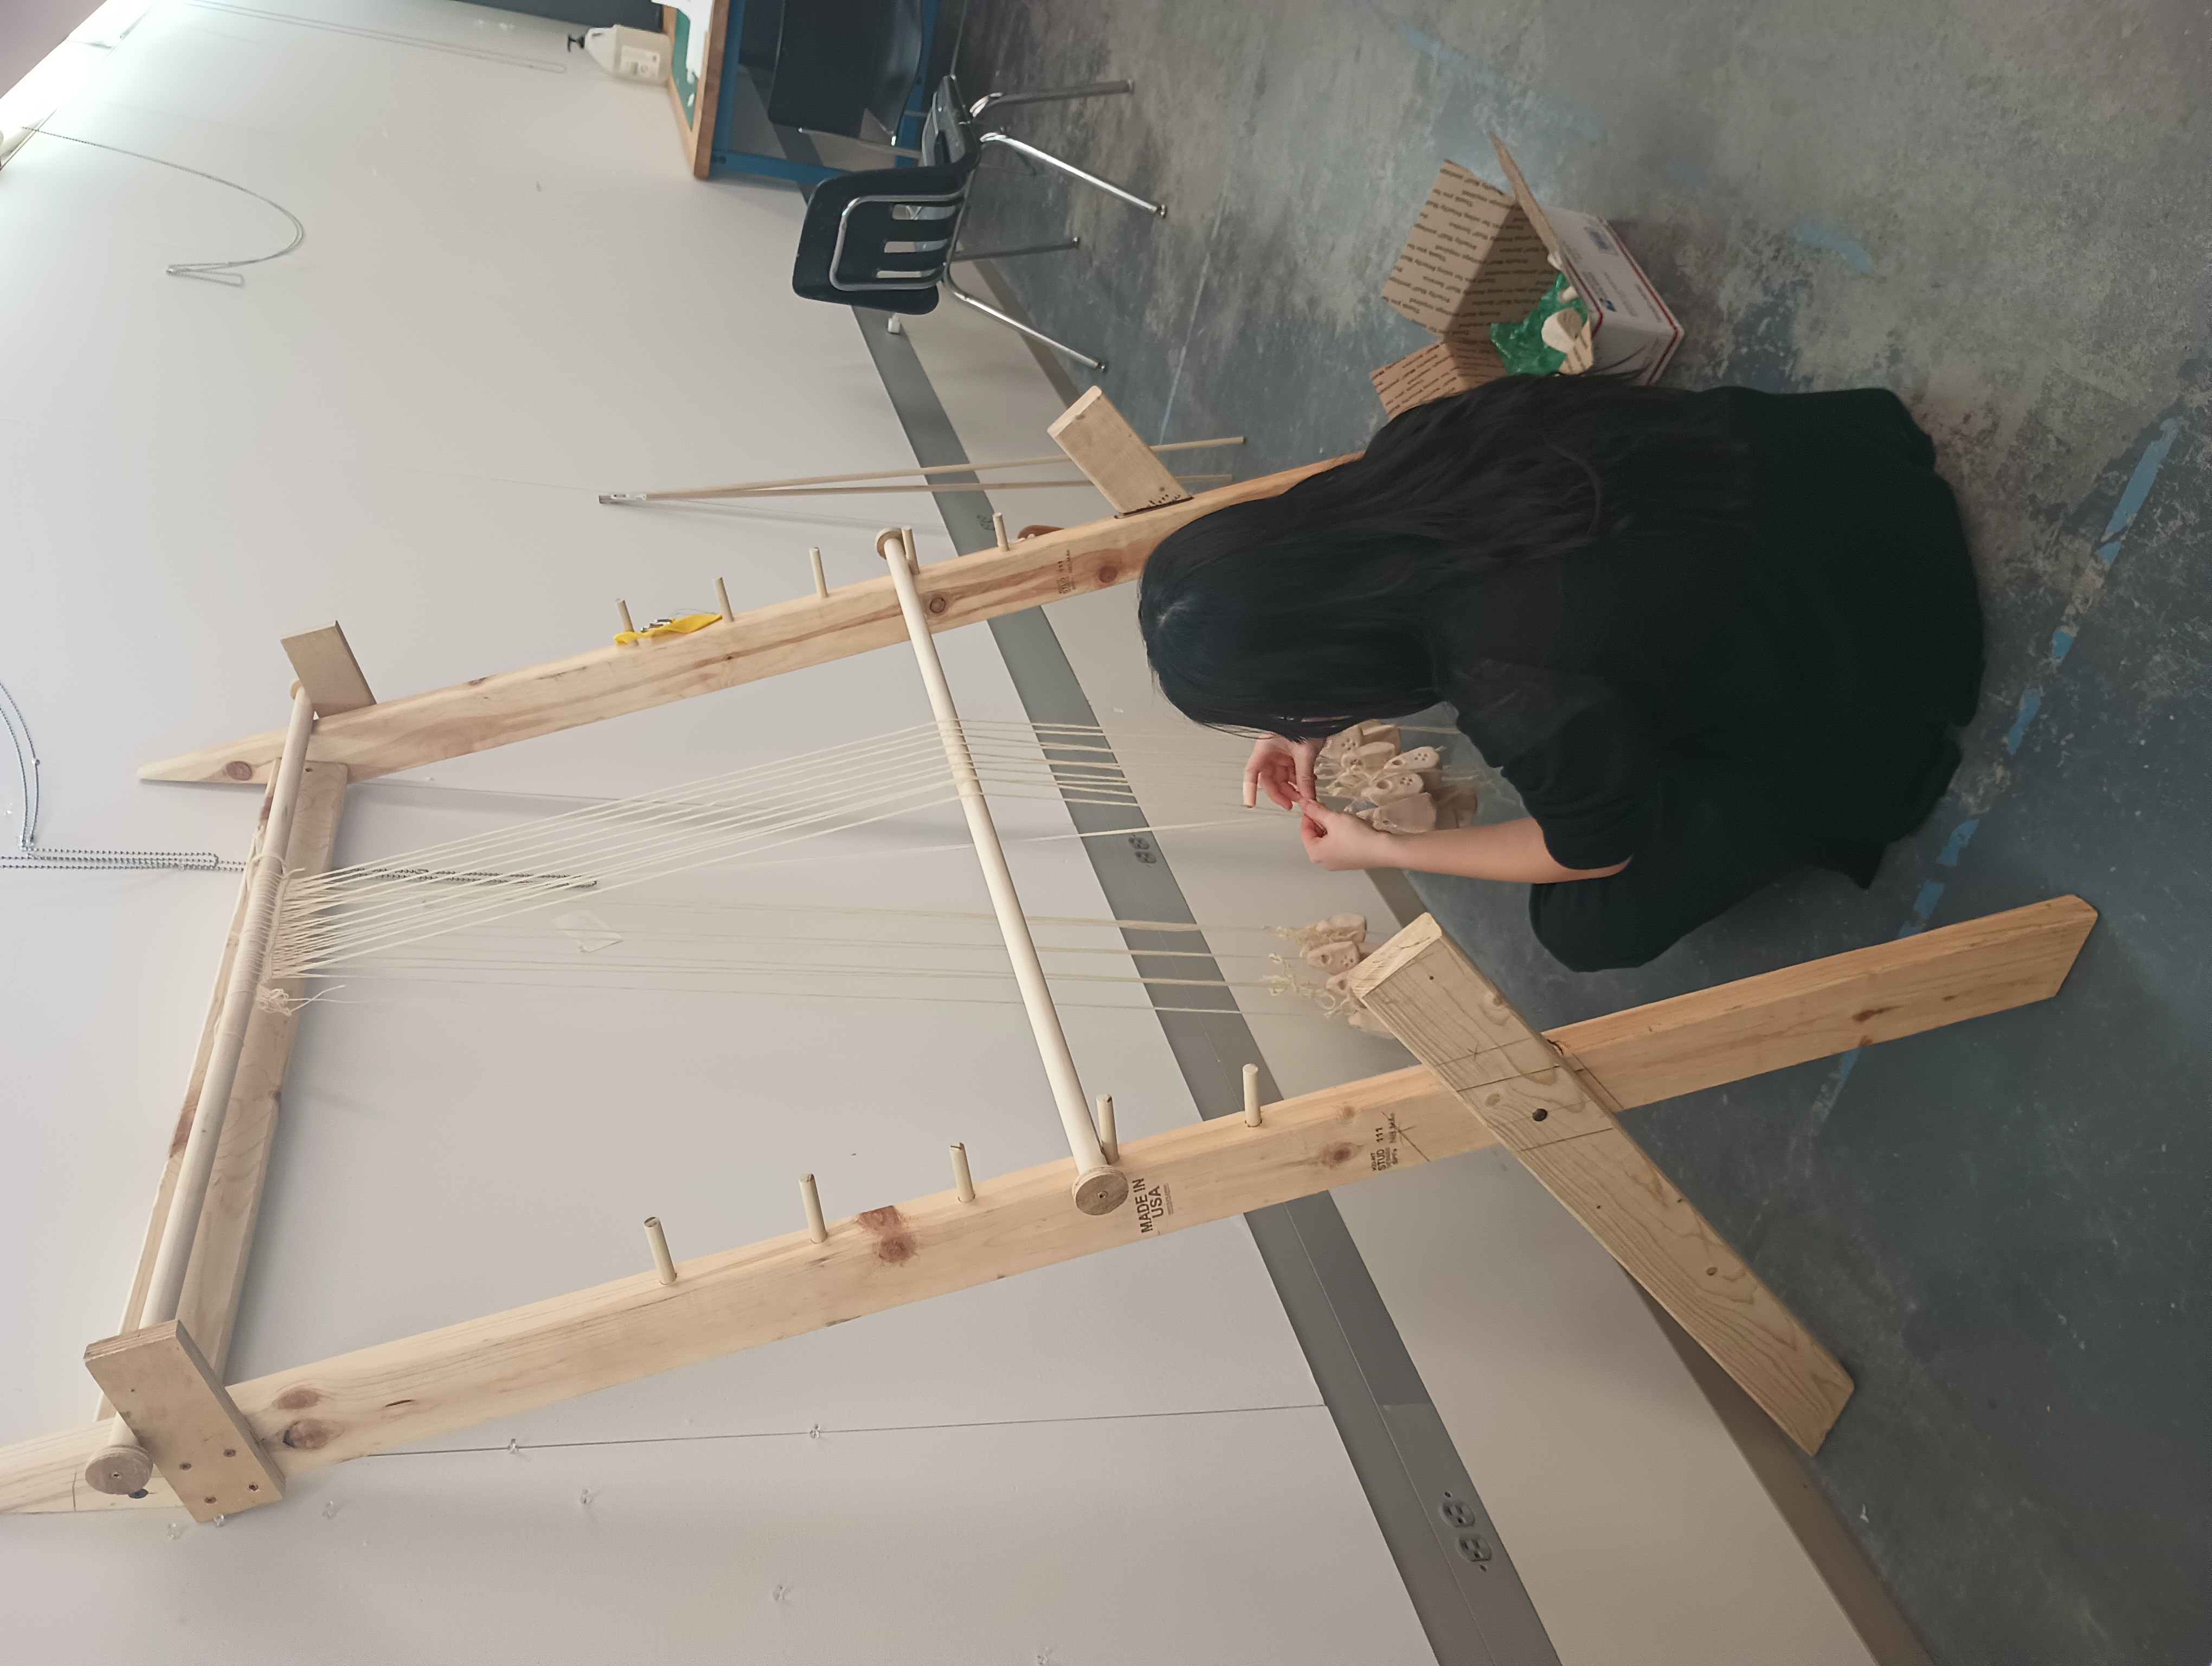
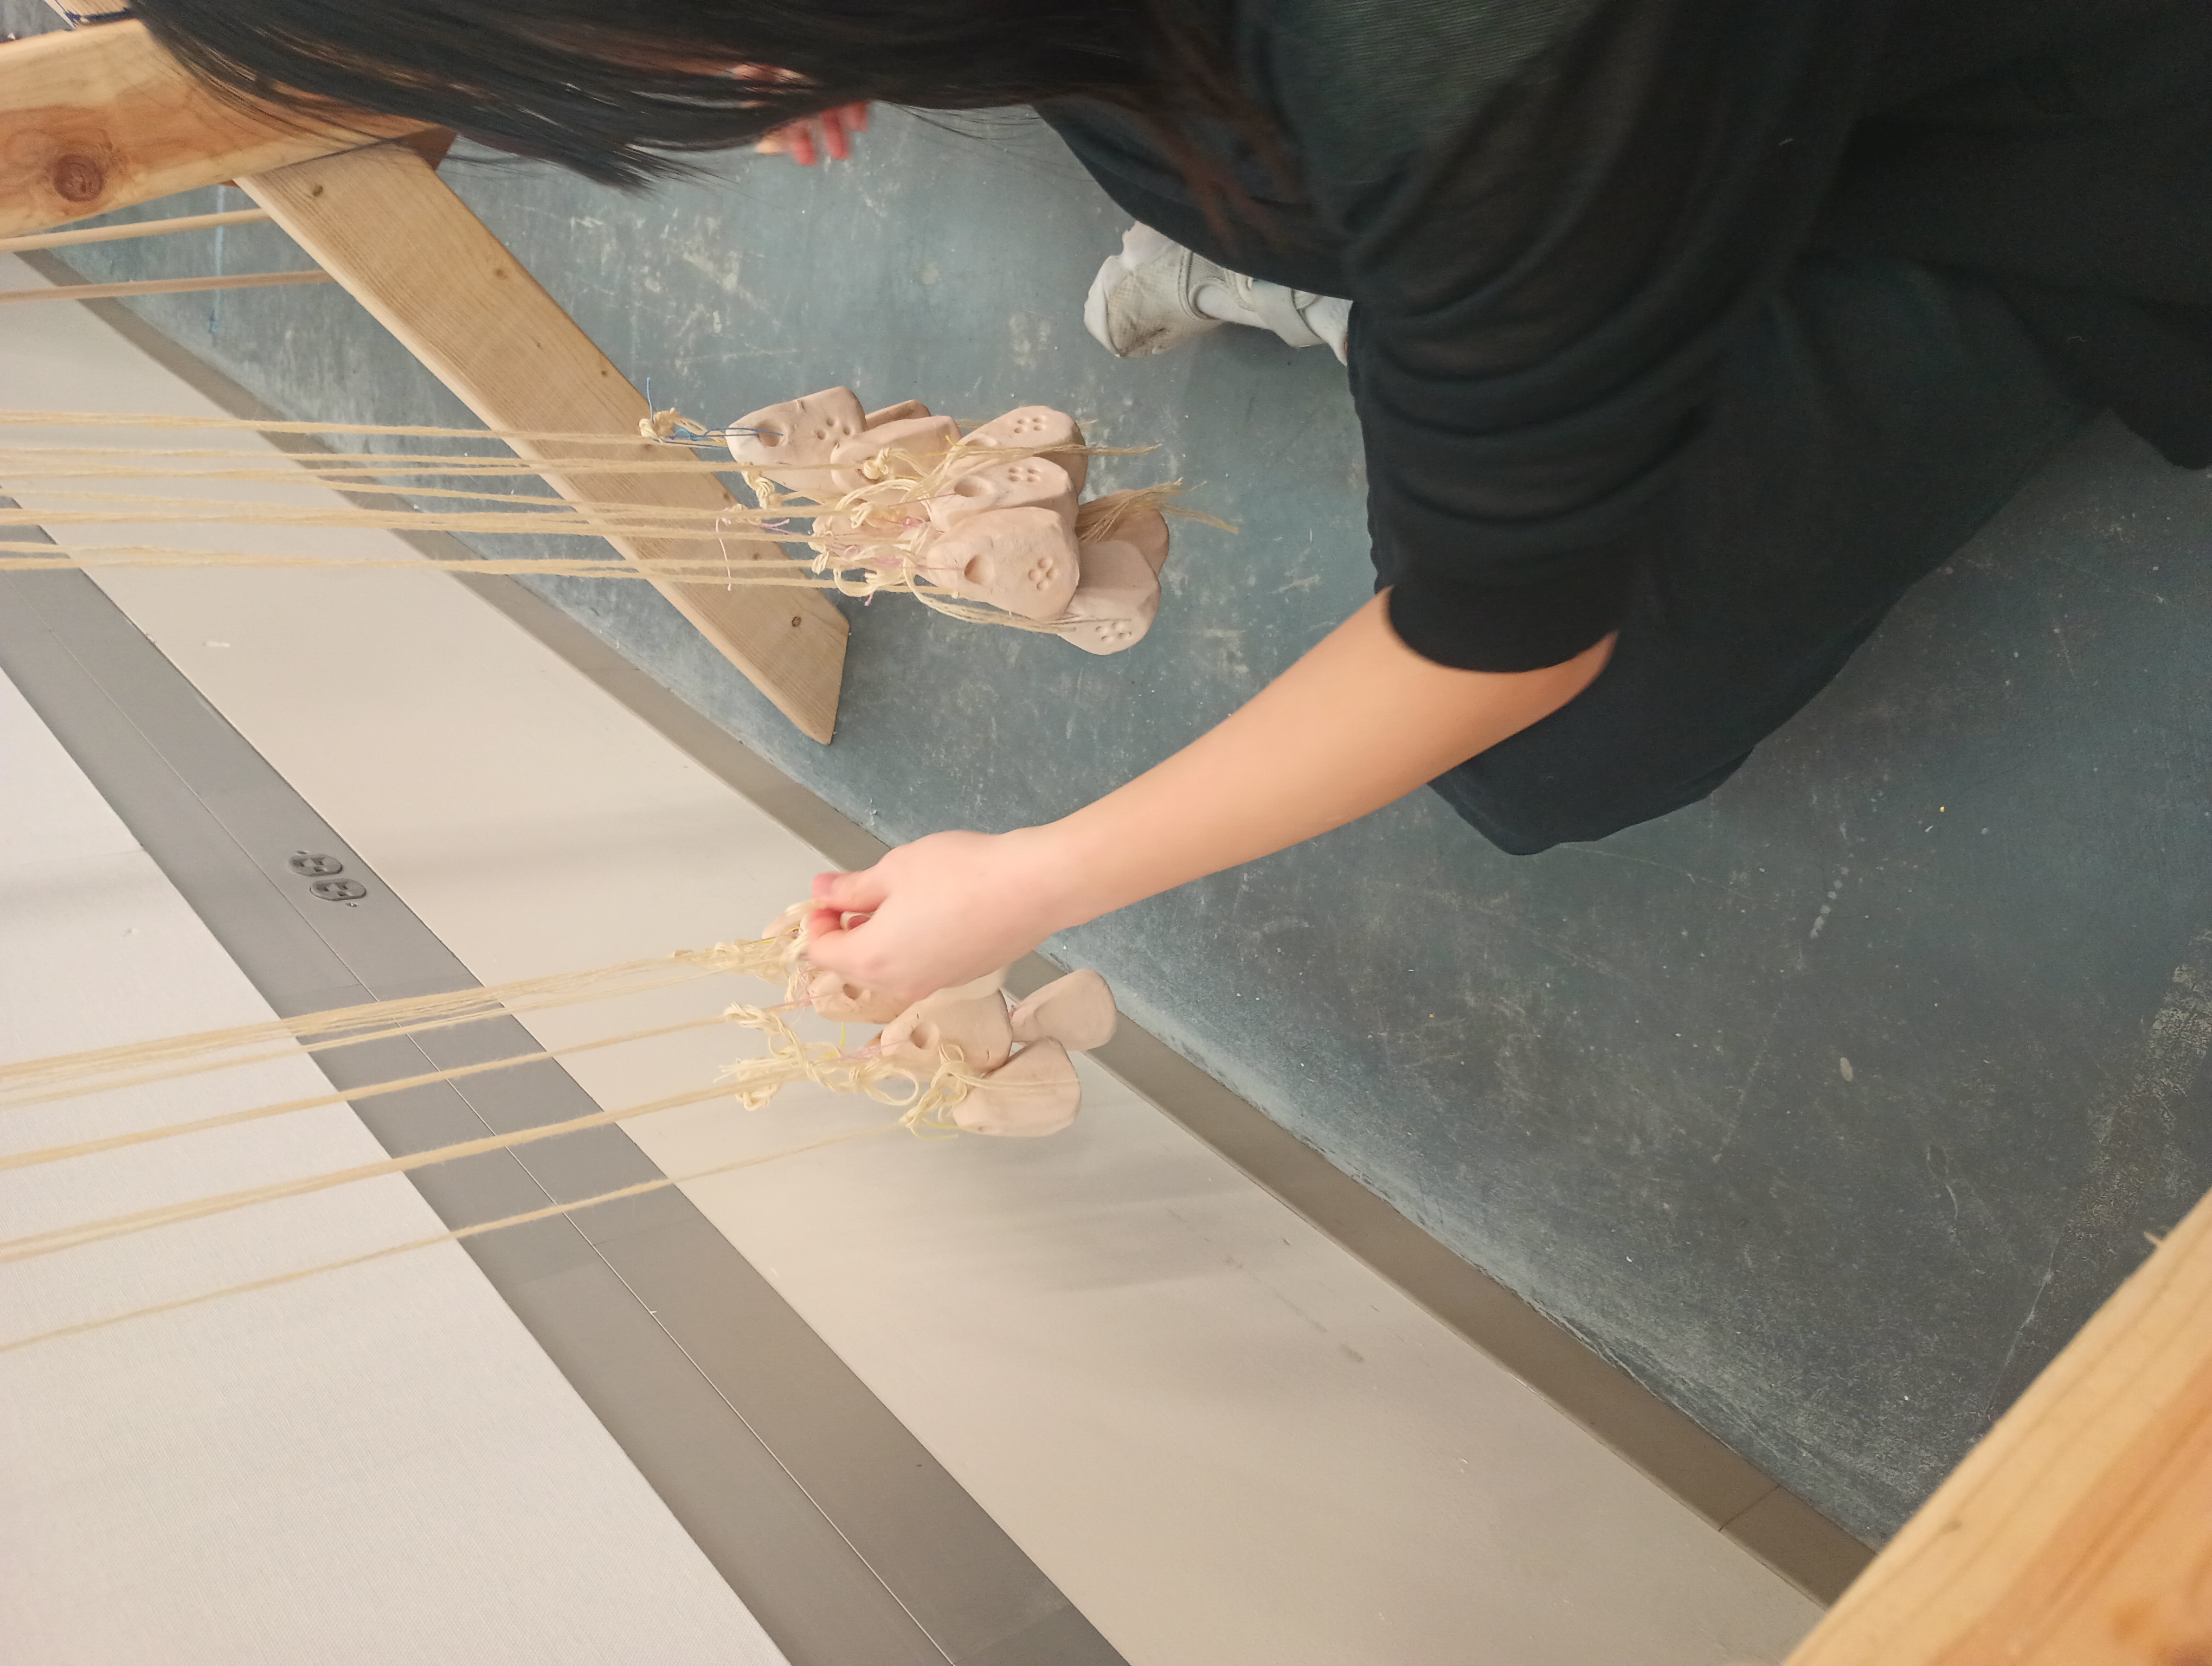
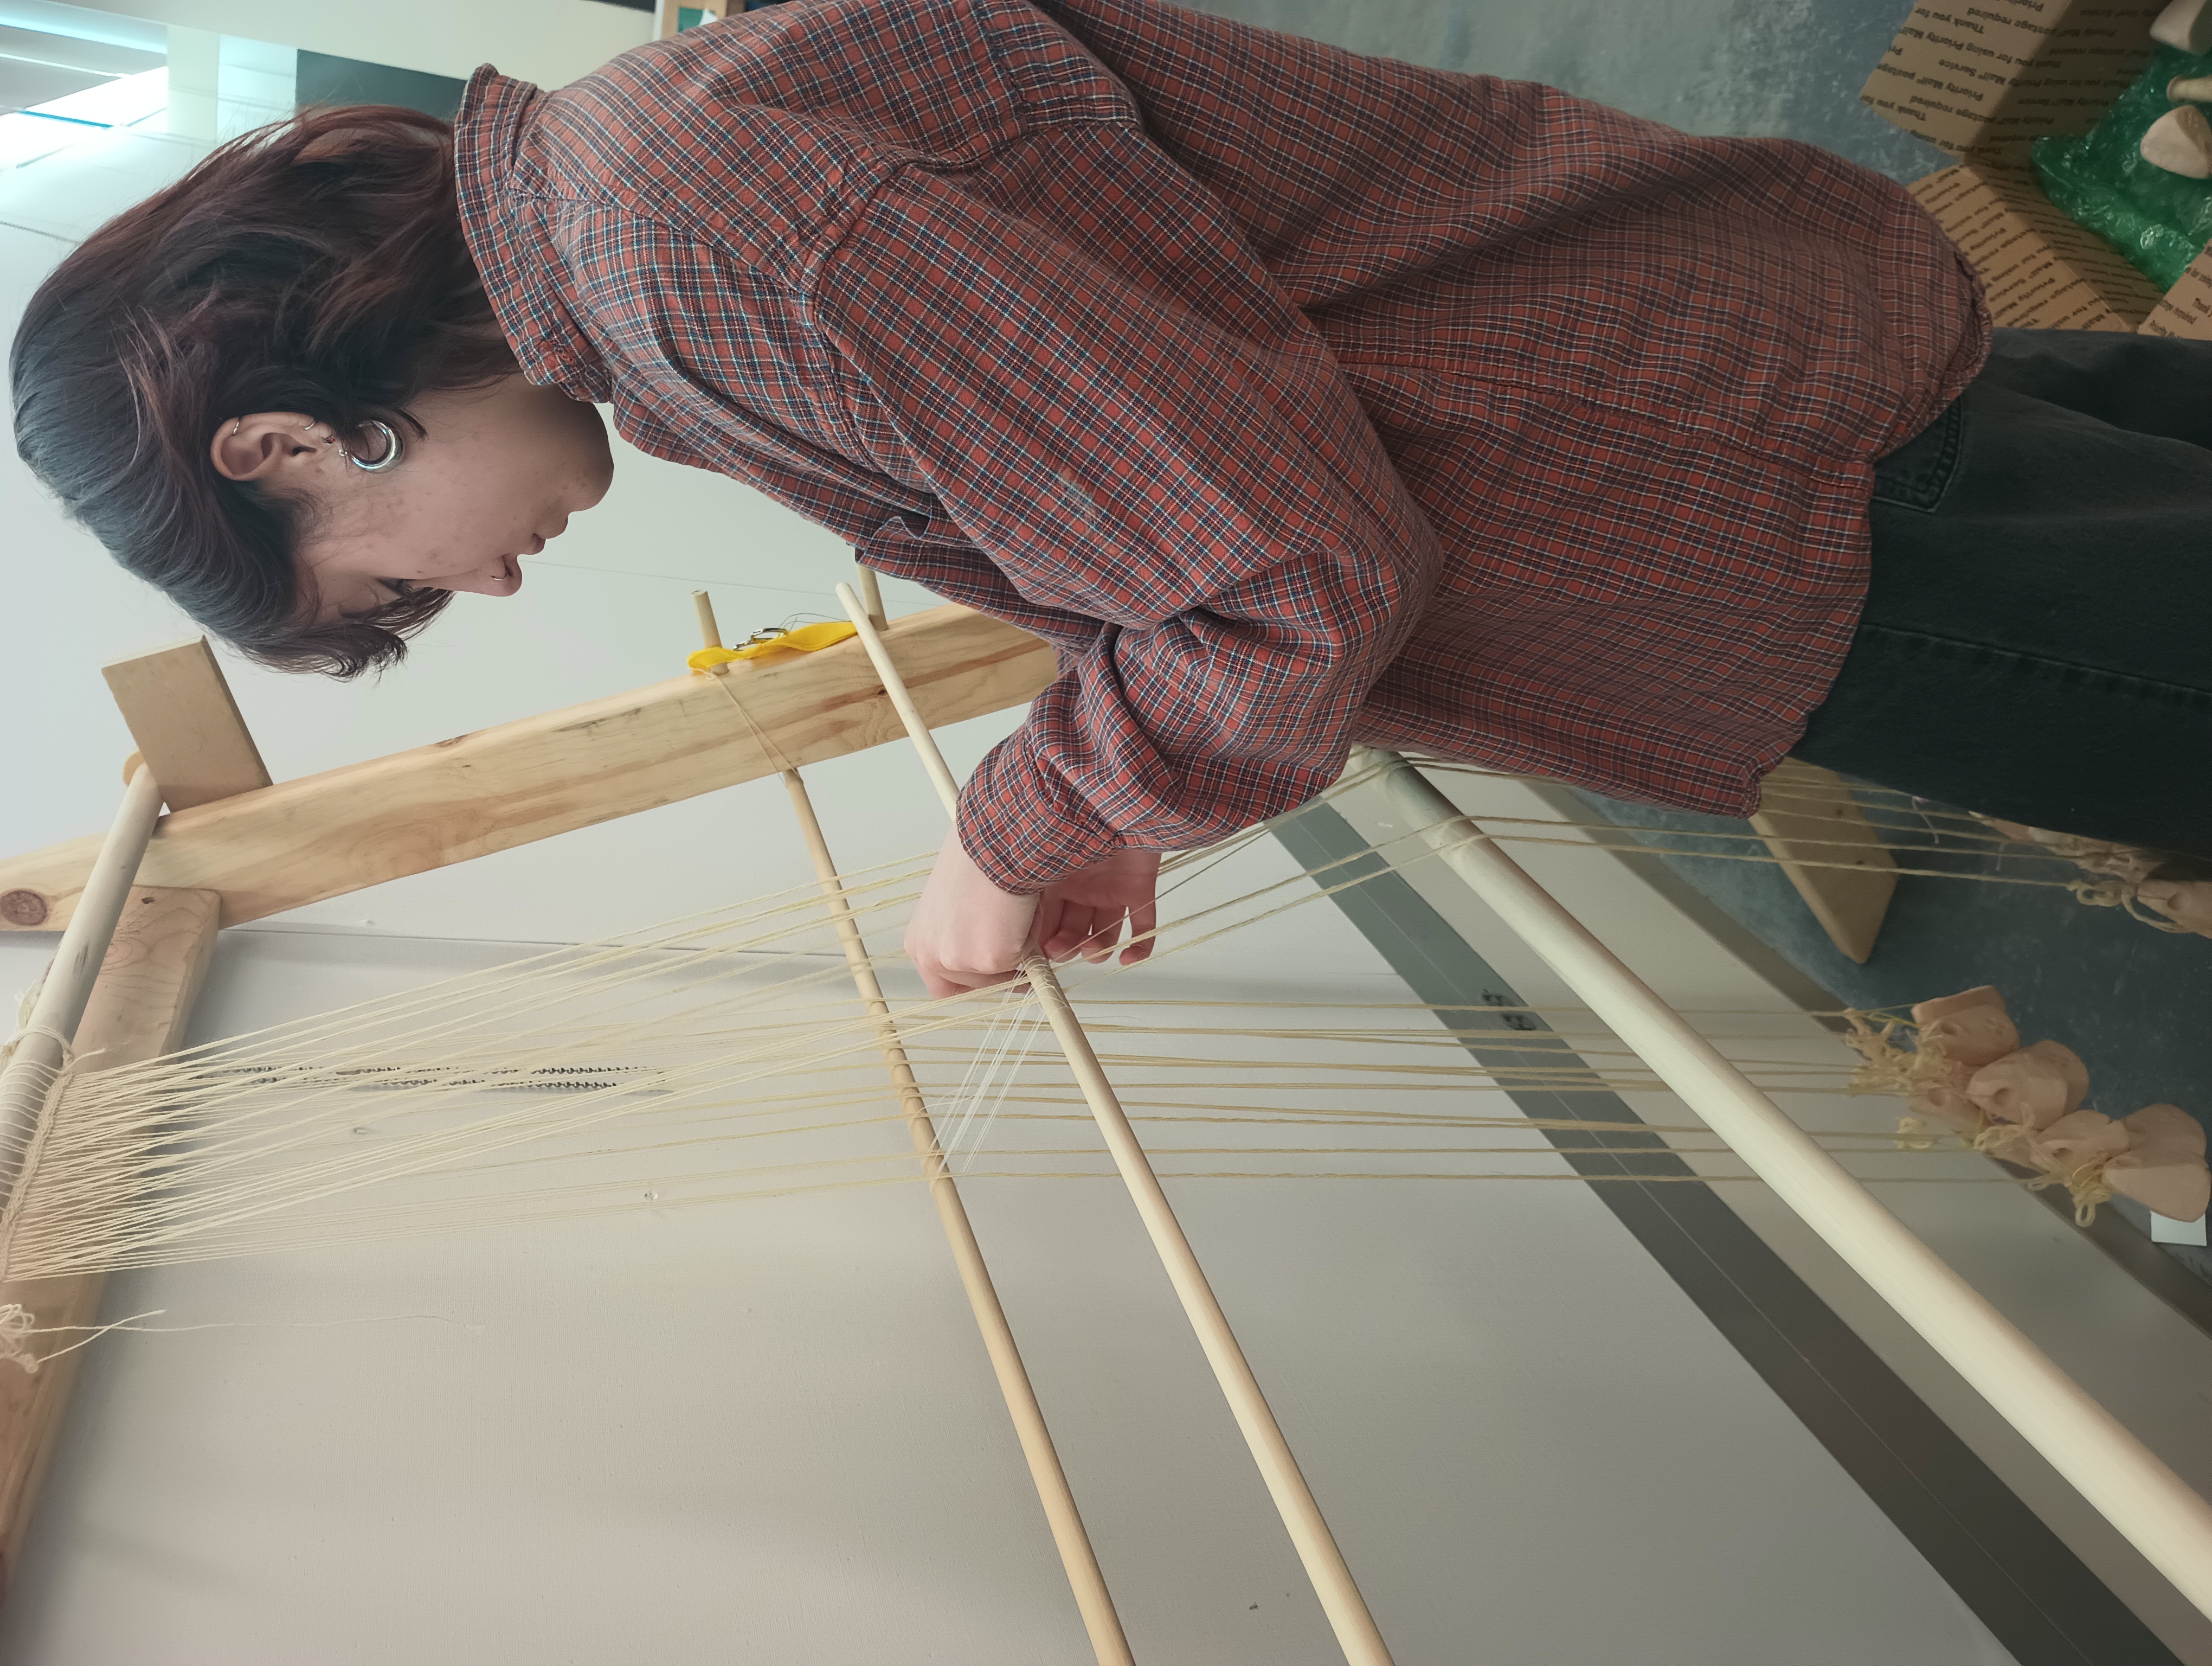
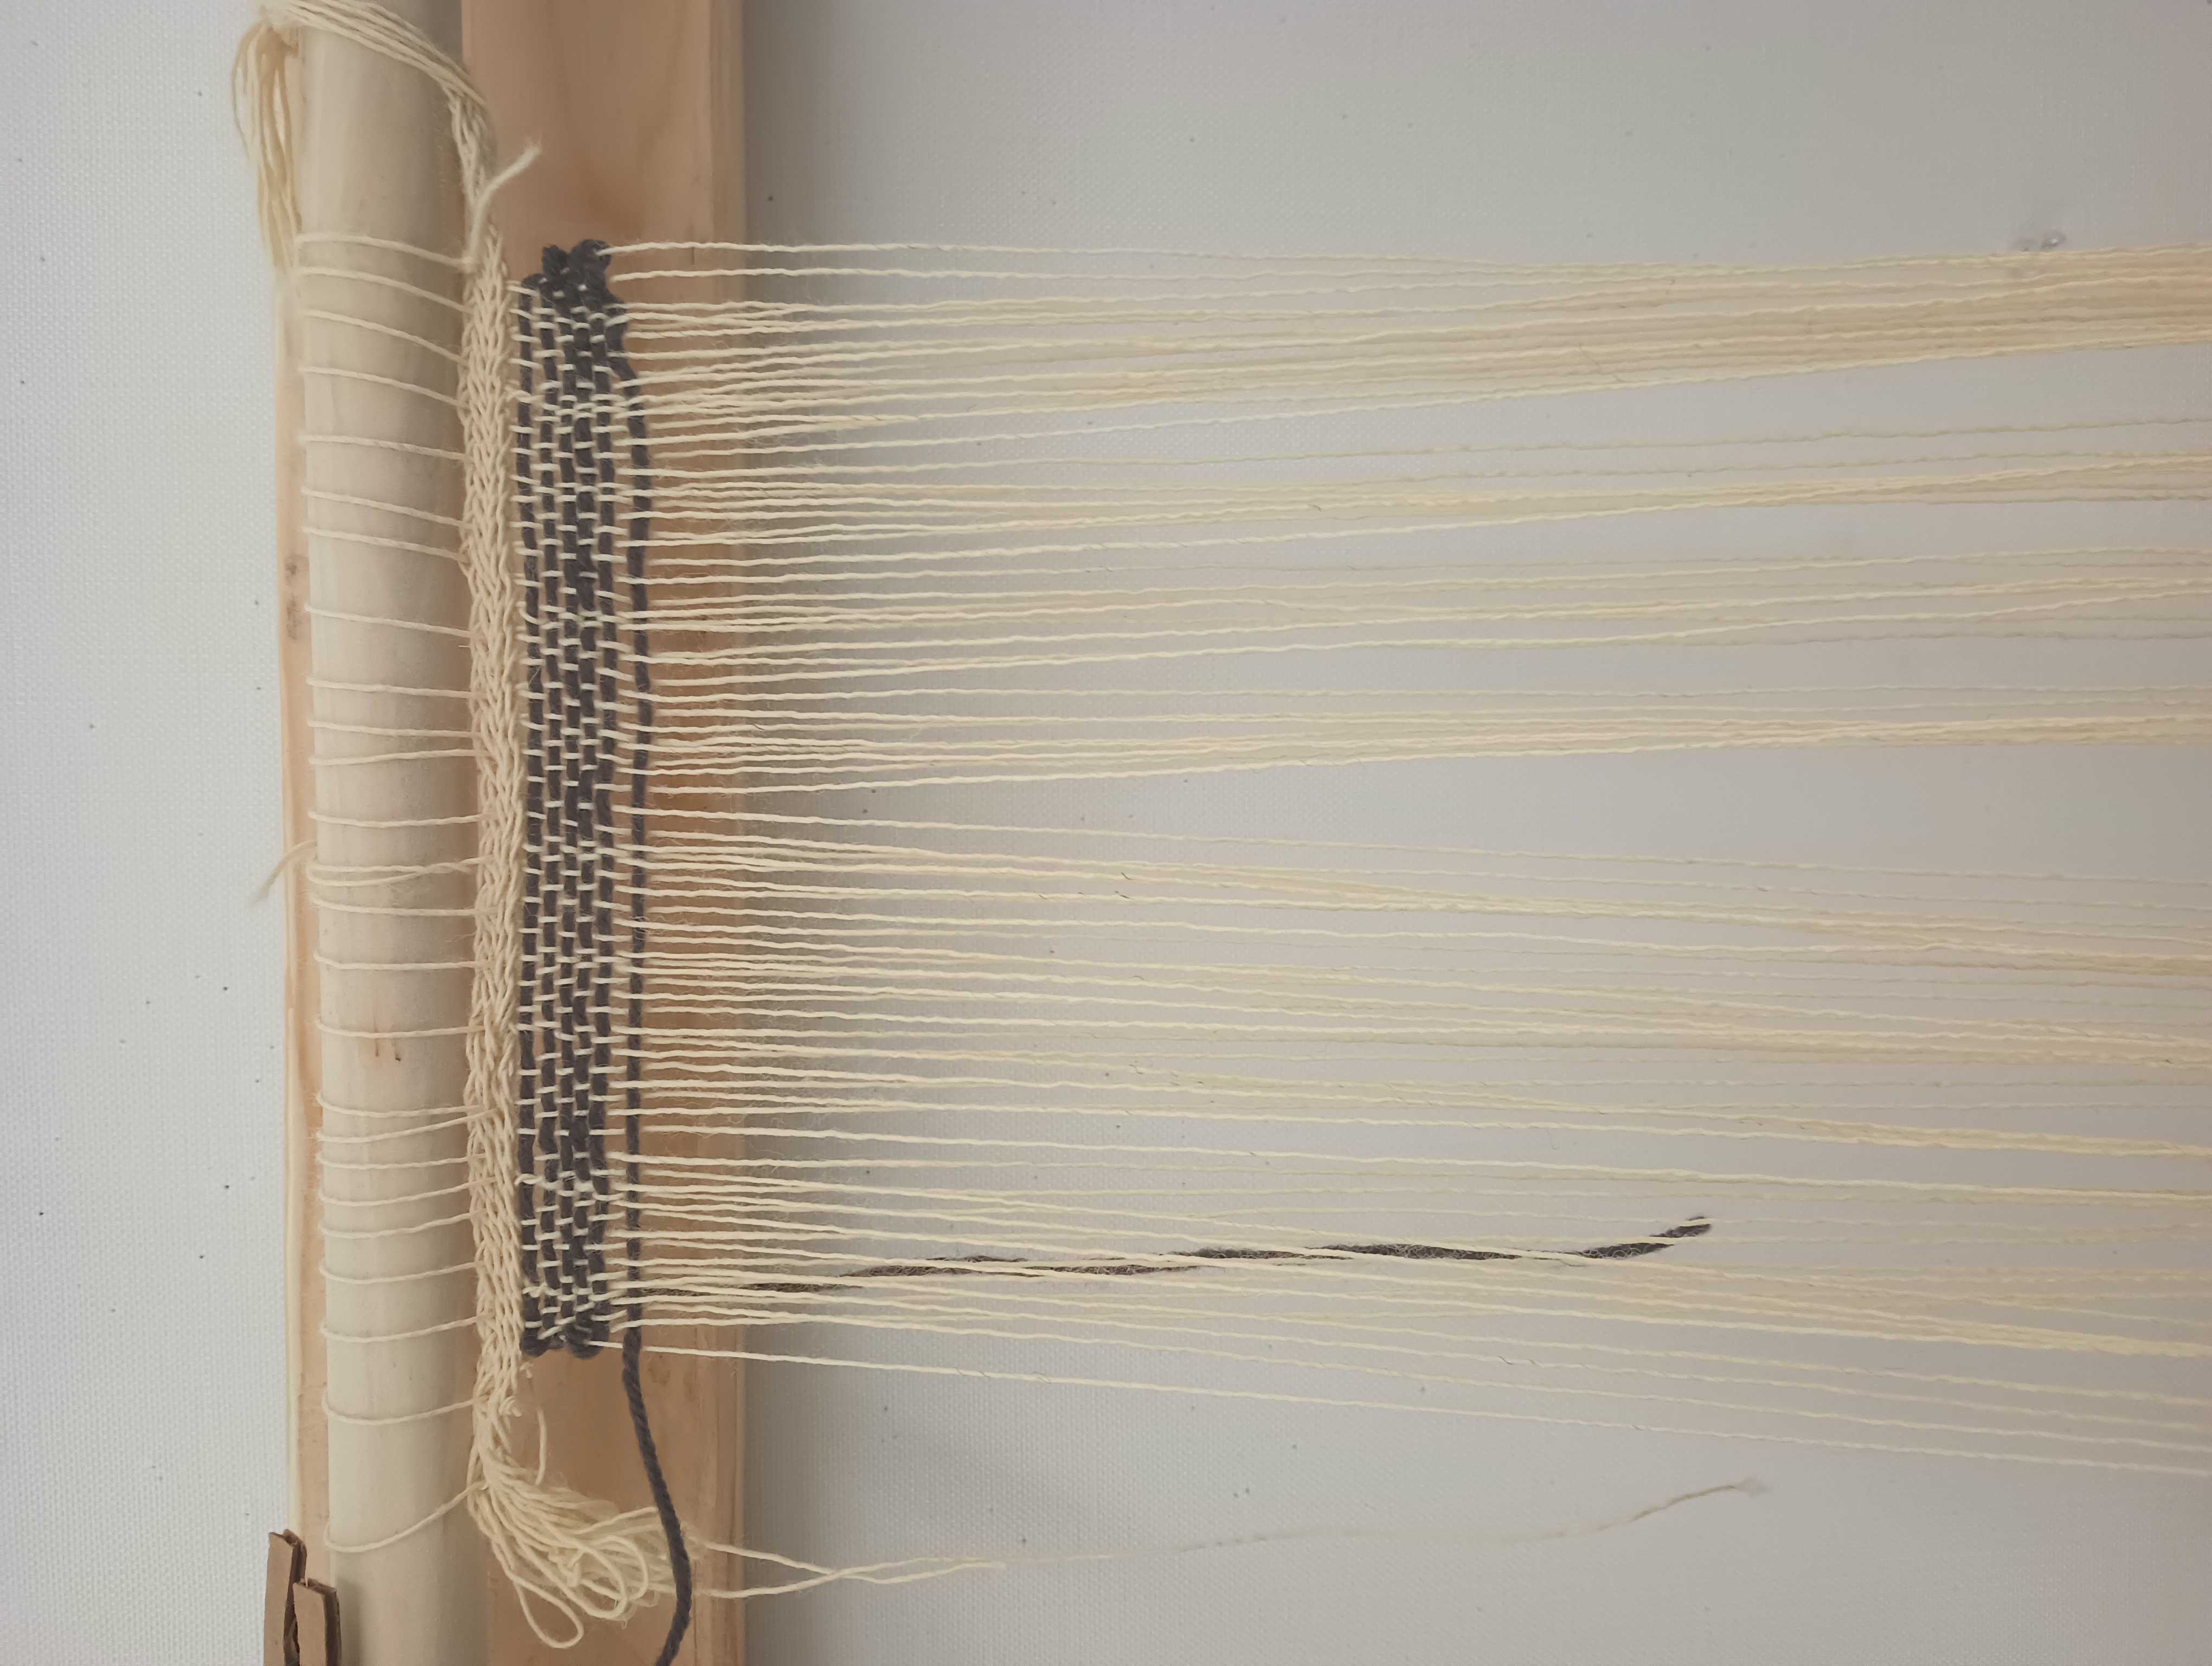
Studio 6 - Warp-weighted loom setup
Students set up a warp-weighted loom similar to those used by the ancient Greeks and Romans. Before class, I prepared a starting band and warm and bound the starting ban to the cloth beam at the top of the loom. The warp was divided in half so that every other thread hung alternately in front or behind the lower shed bar. Then the warp threads were divided into even bundles which the students tied on to hanging clay weights to introduce tension into the warp. Next students knit heddles: a string was wound around a horizonal dowel and around every warp string that hung behind the shed bar. This set-up took most of class, but at the end students began to weave in trios, with one person operating the heddle bar, one passing through the weft, and one beating the weft into place. While students worked in rotating groups on the warp-weighted loom, others continued working on their personal weaving projects on the cardboard looms.
Supplies
- Warp-weighted loom (uprights, shed bar, cloth beam, heddle bars)
- Loom weights
- Warp yarn
- Weft yarn
- Beater (weaving sword, fork/comb/pin-beater)
- Cardboard looms + accessories
Pictures
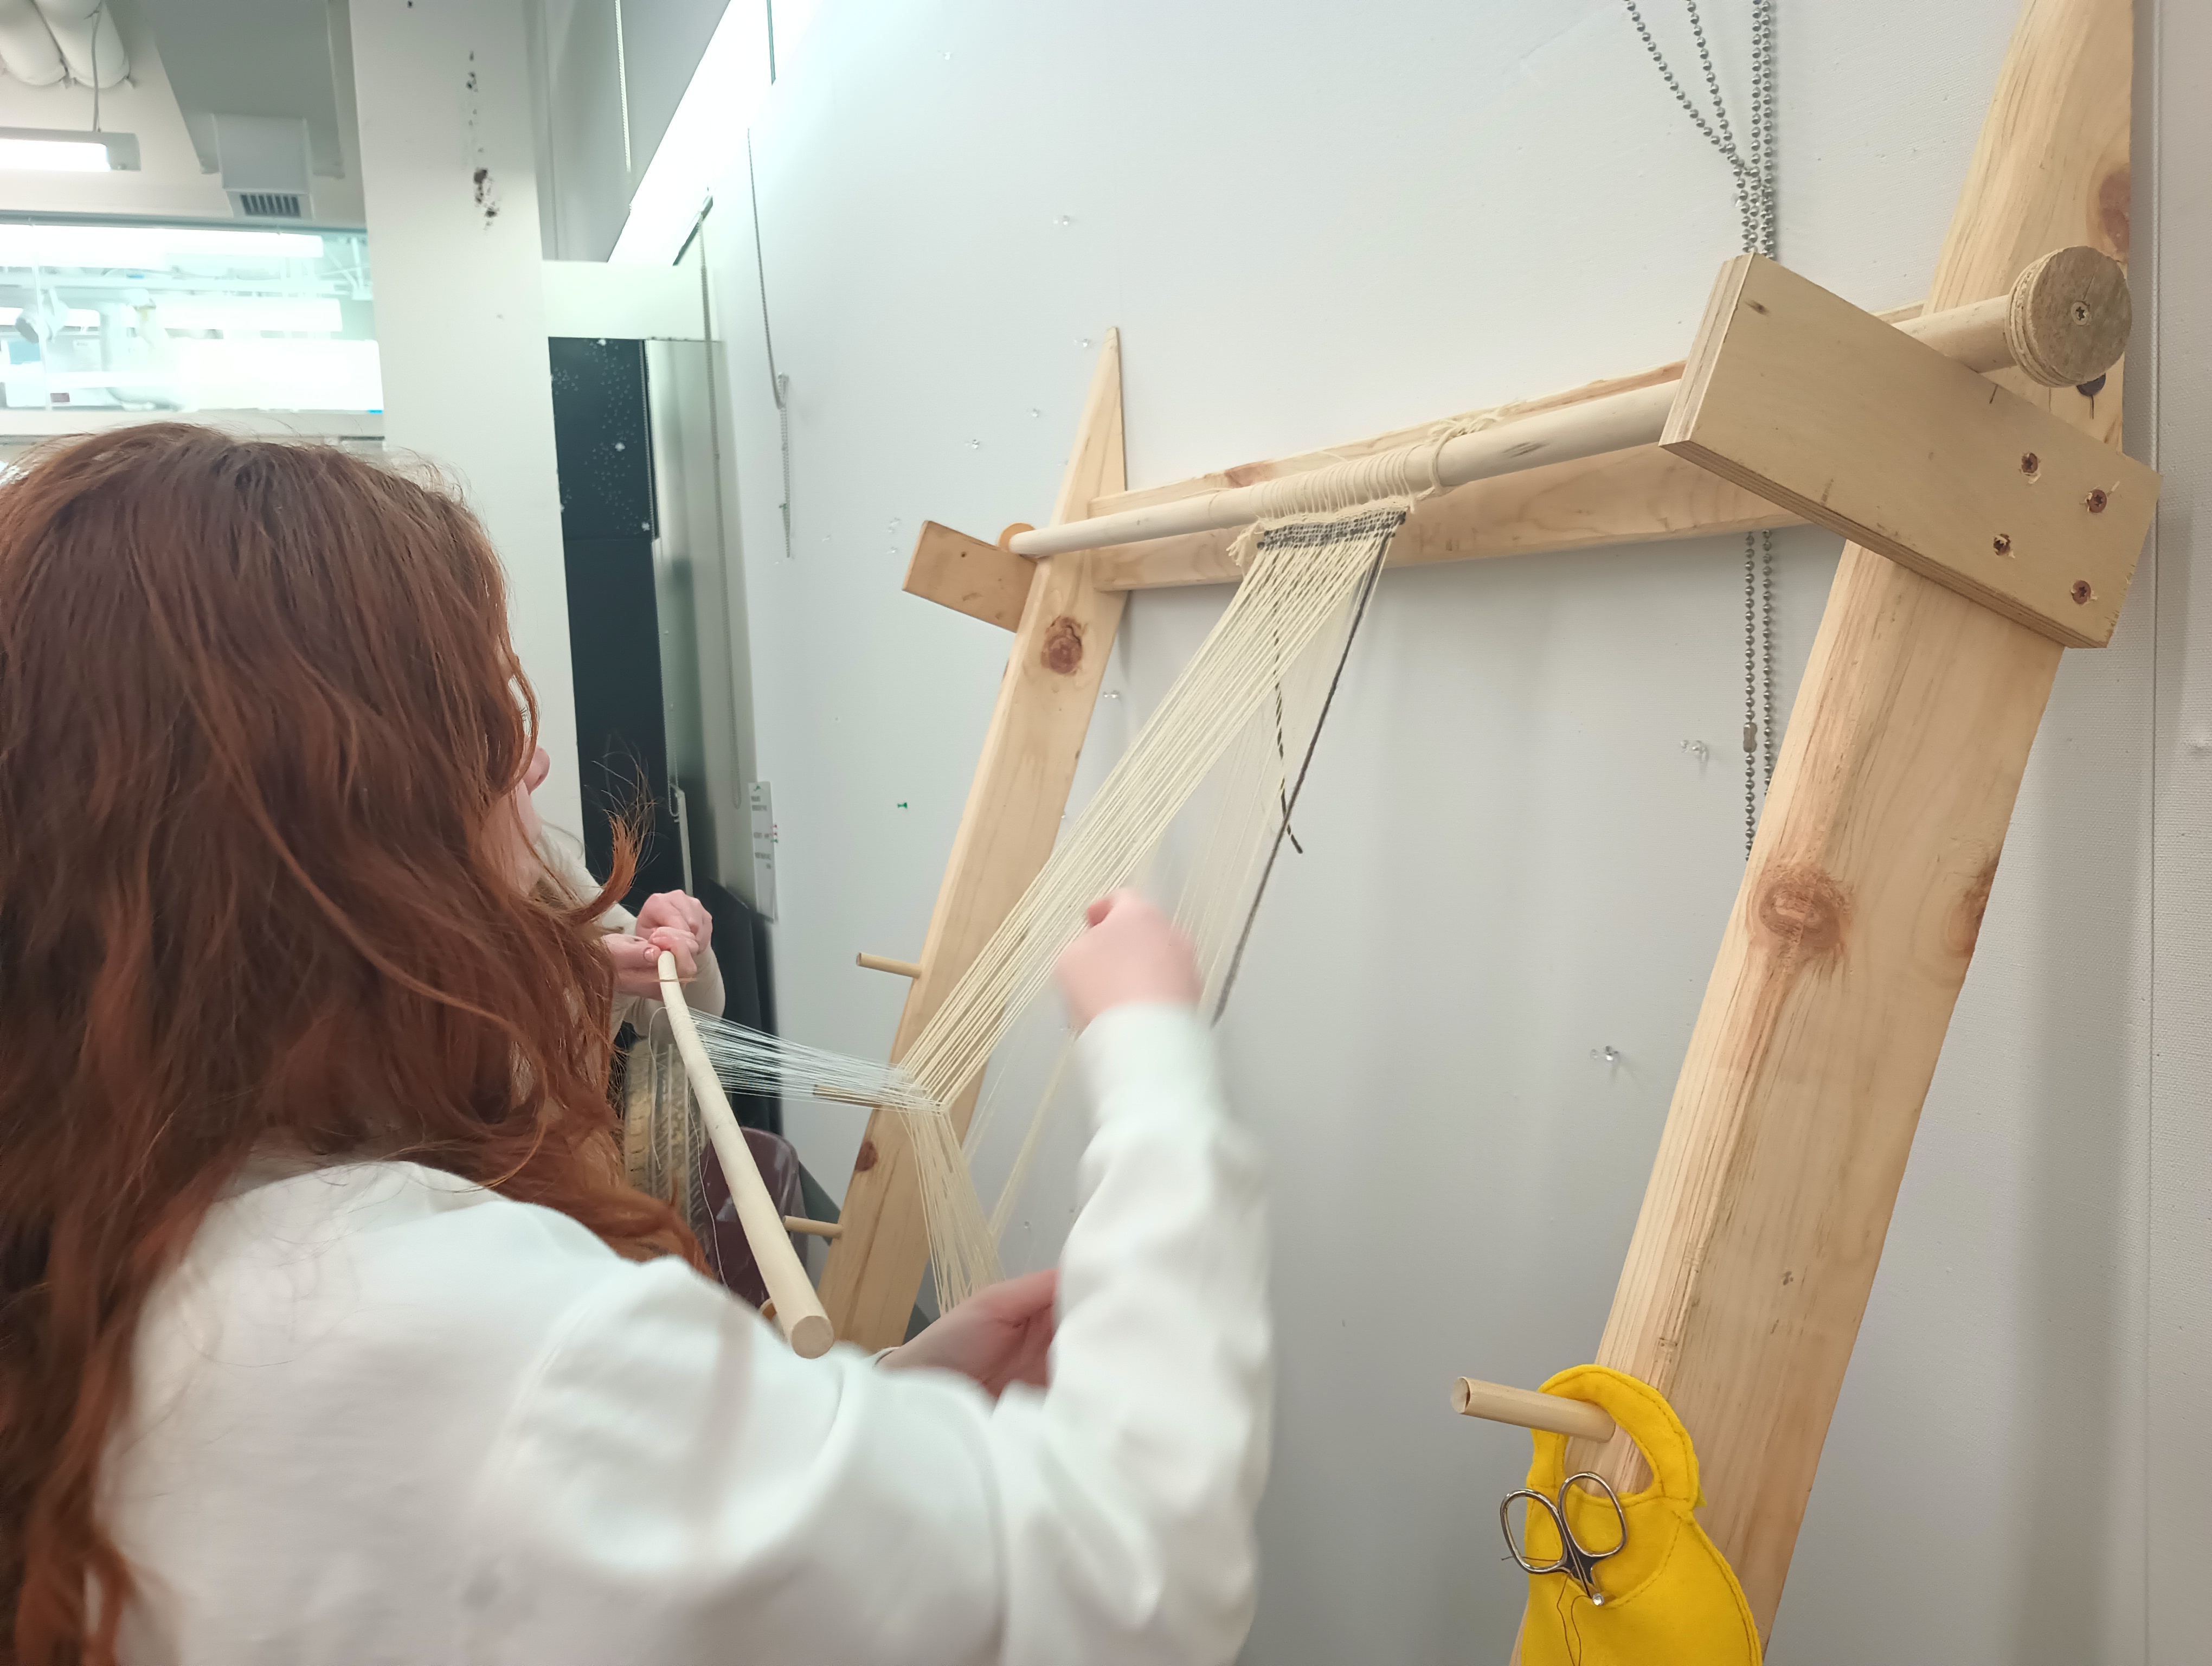

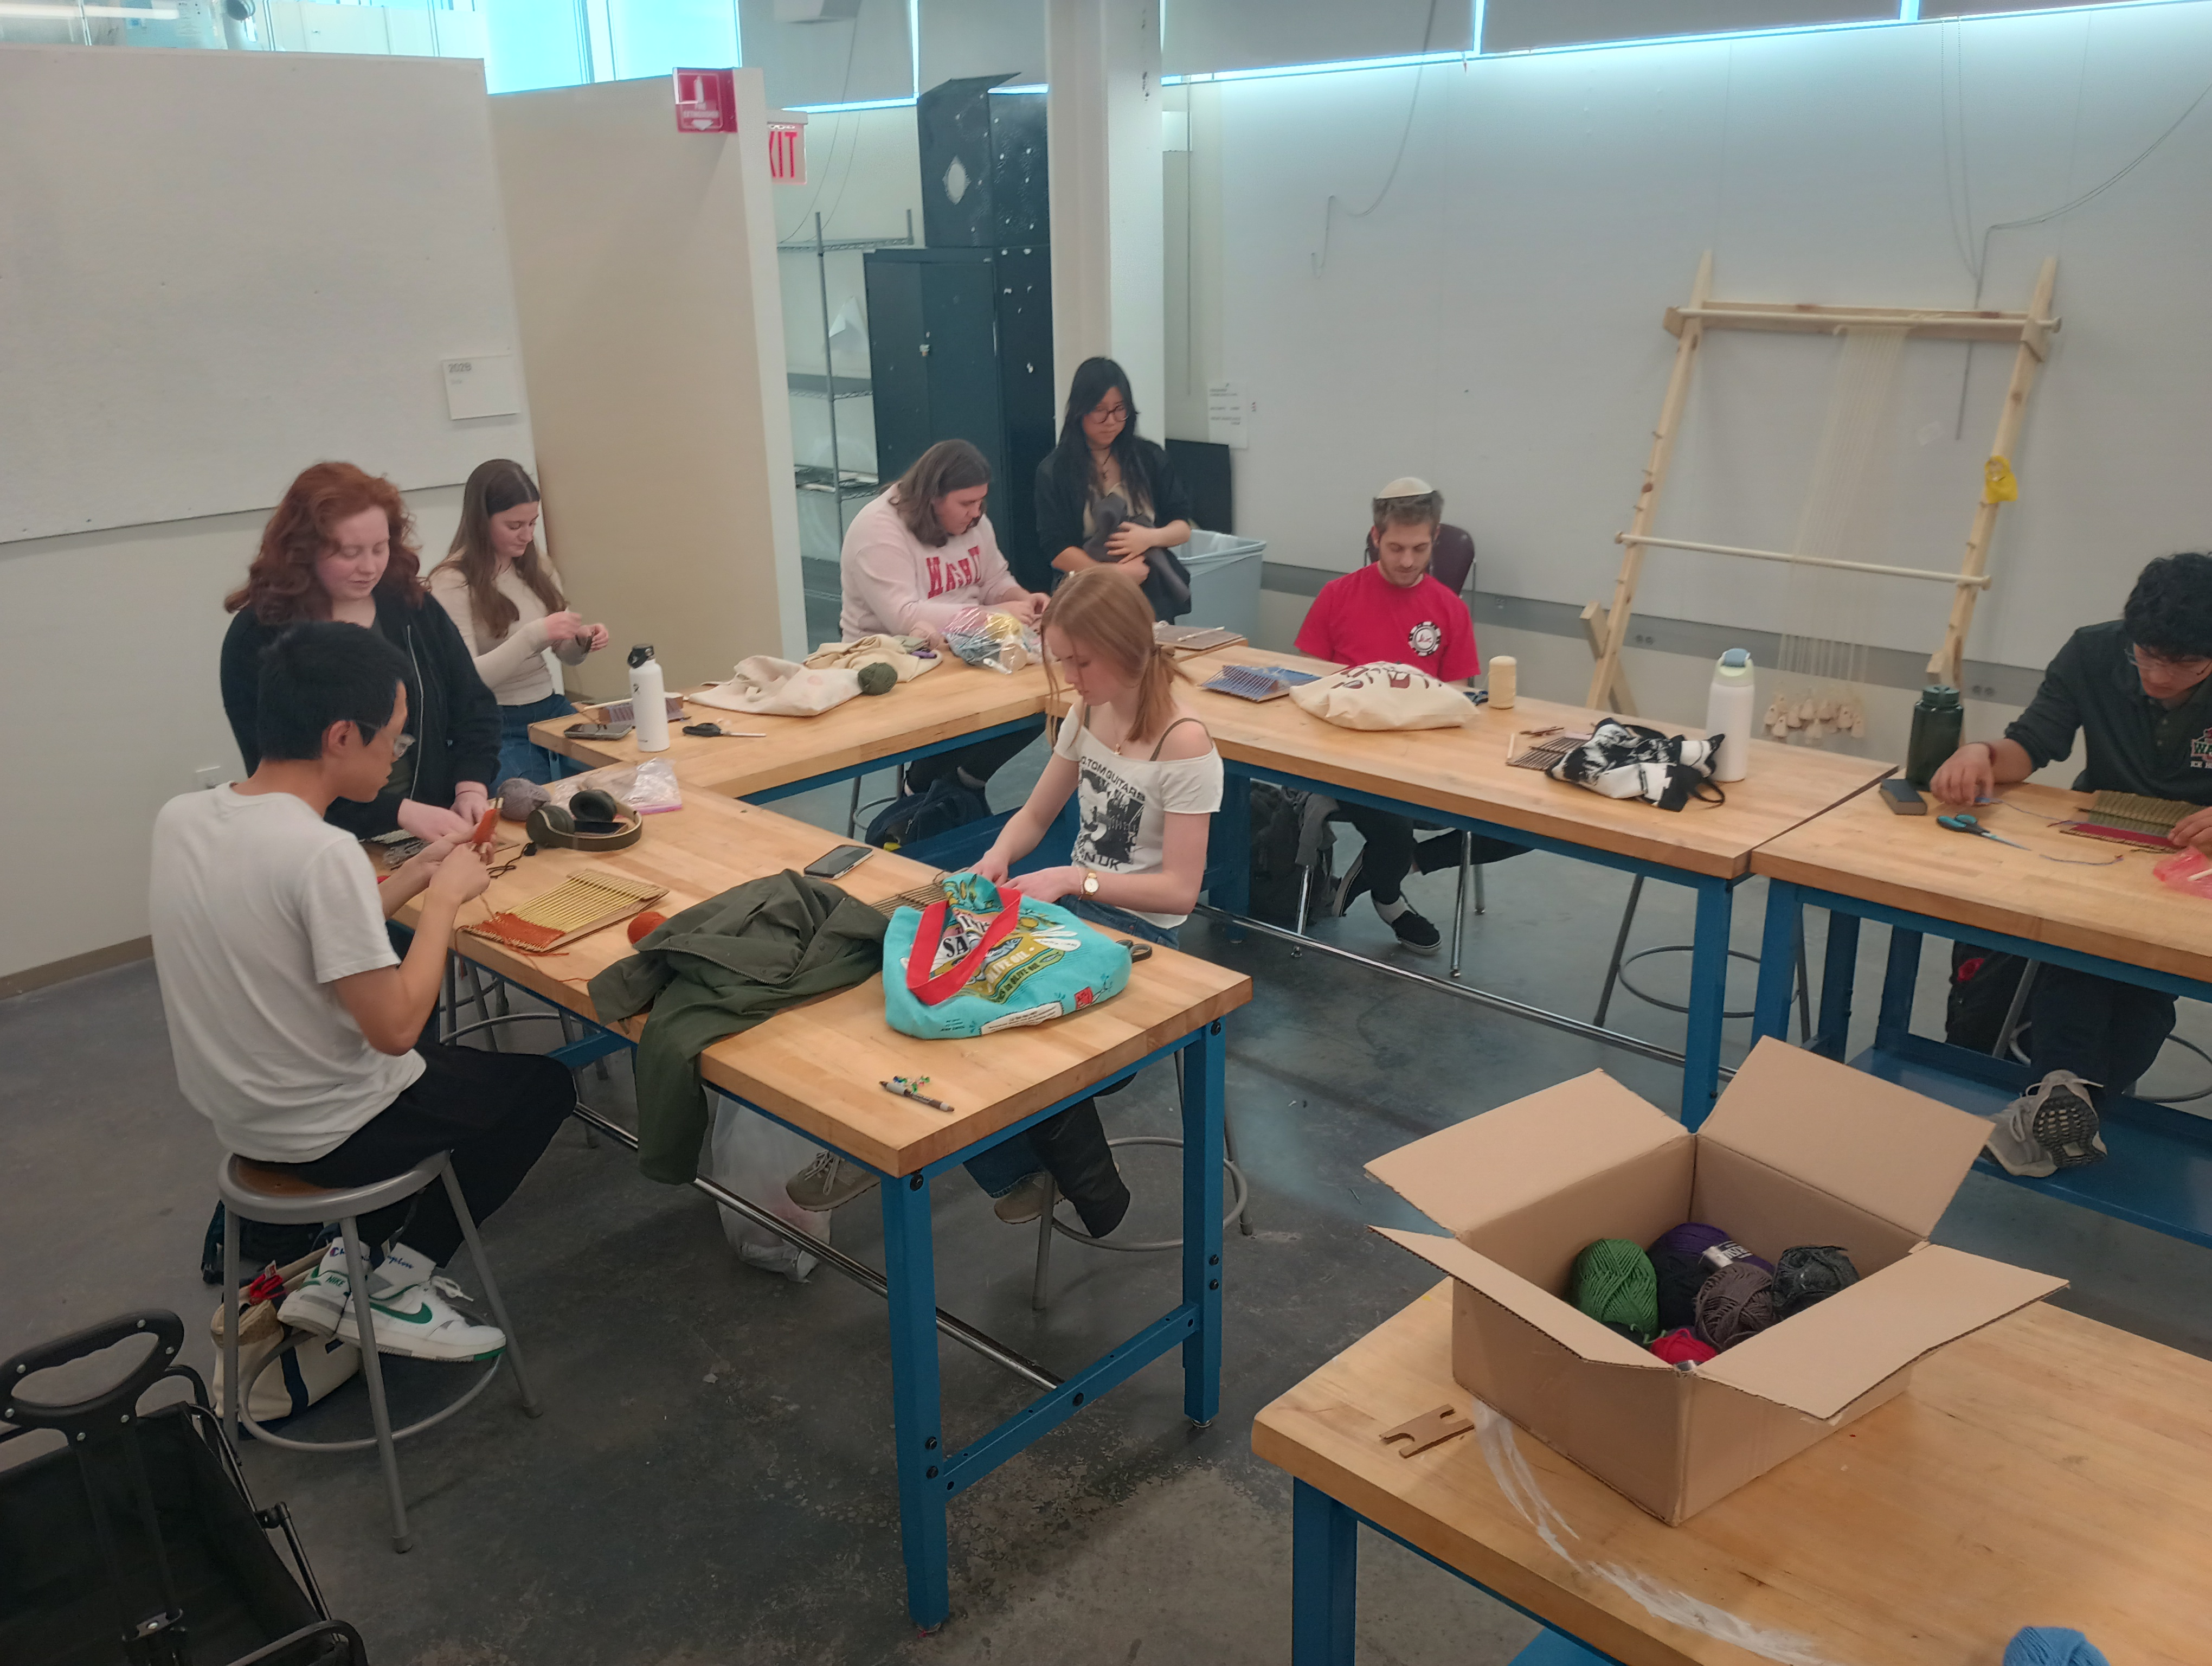
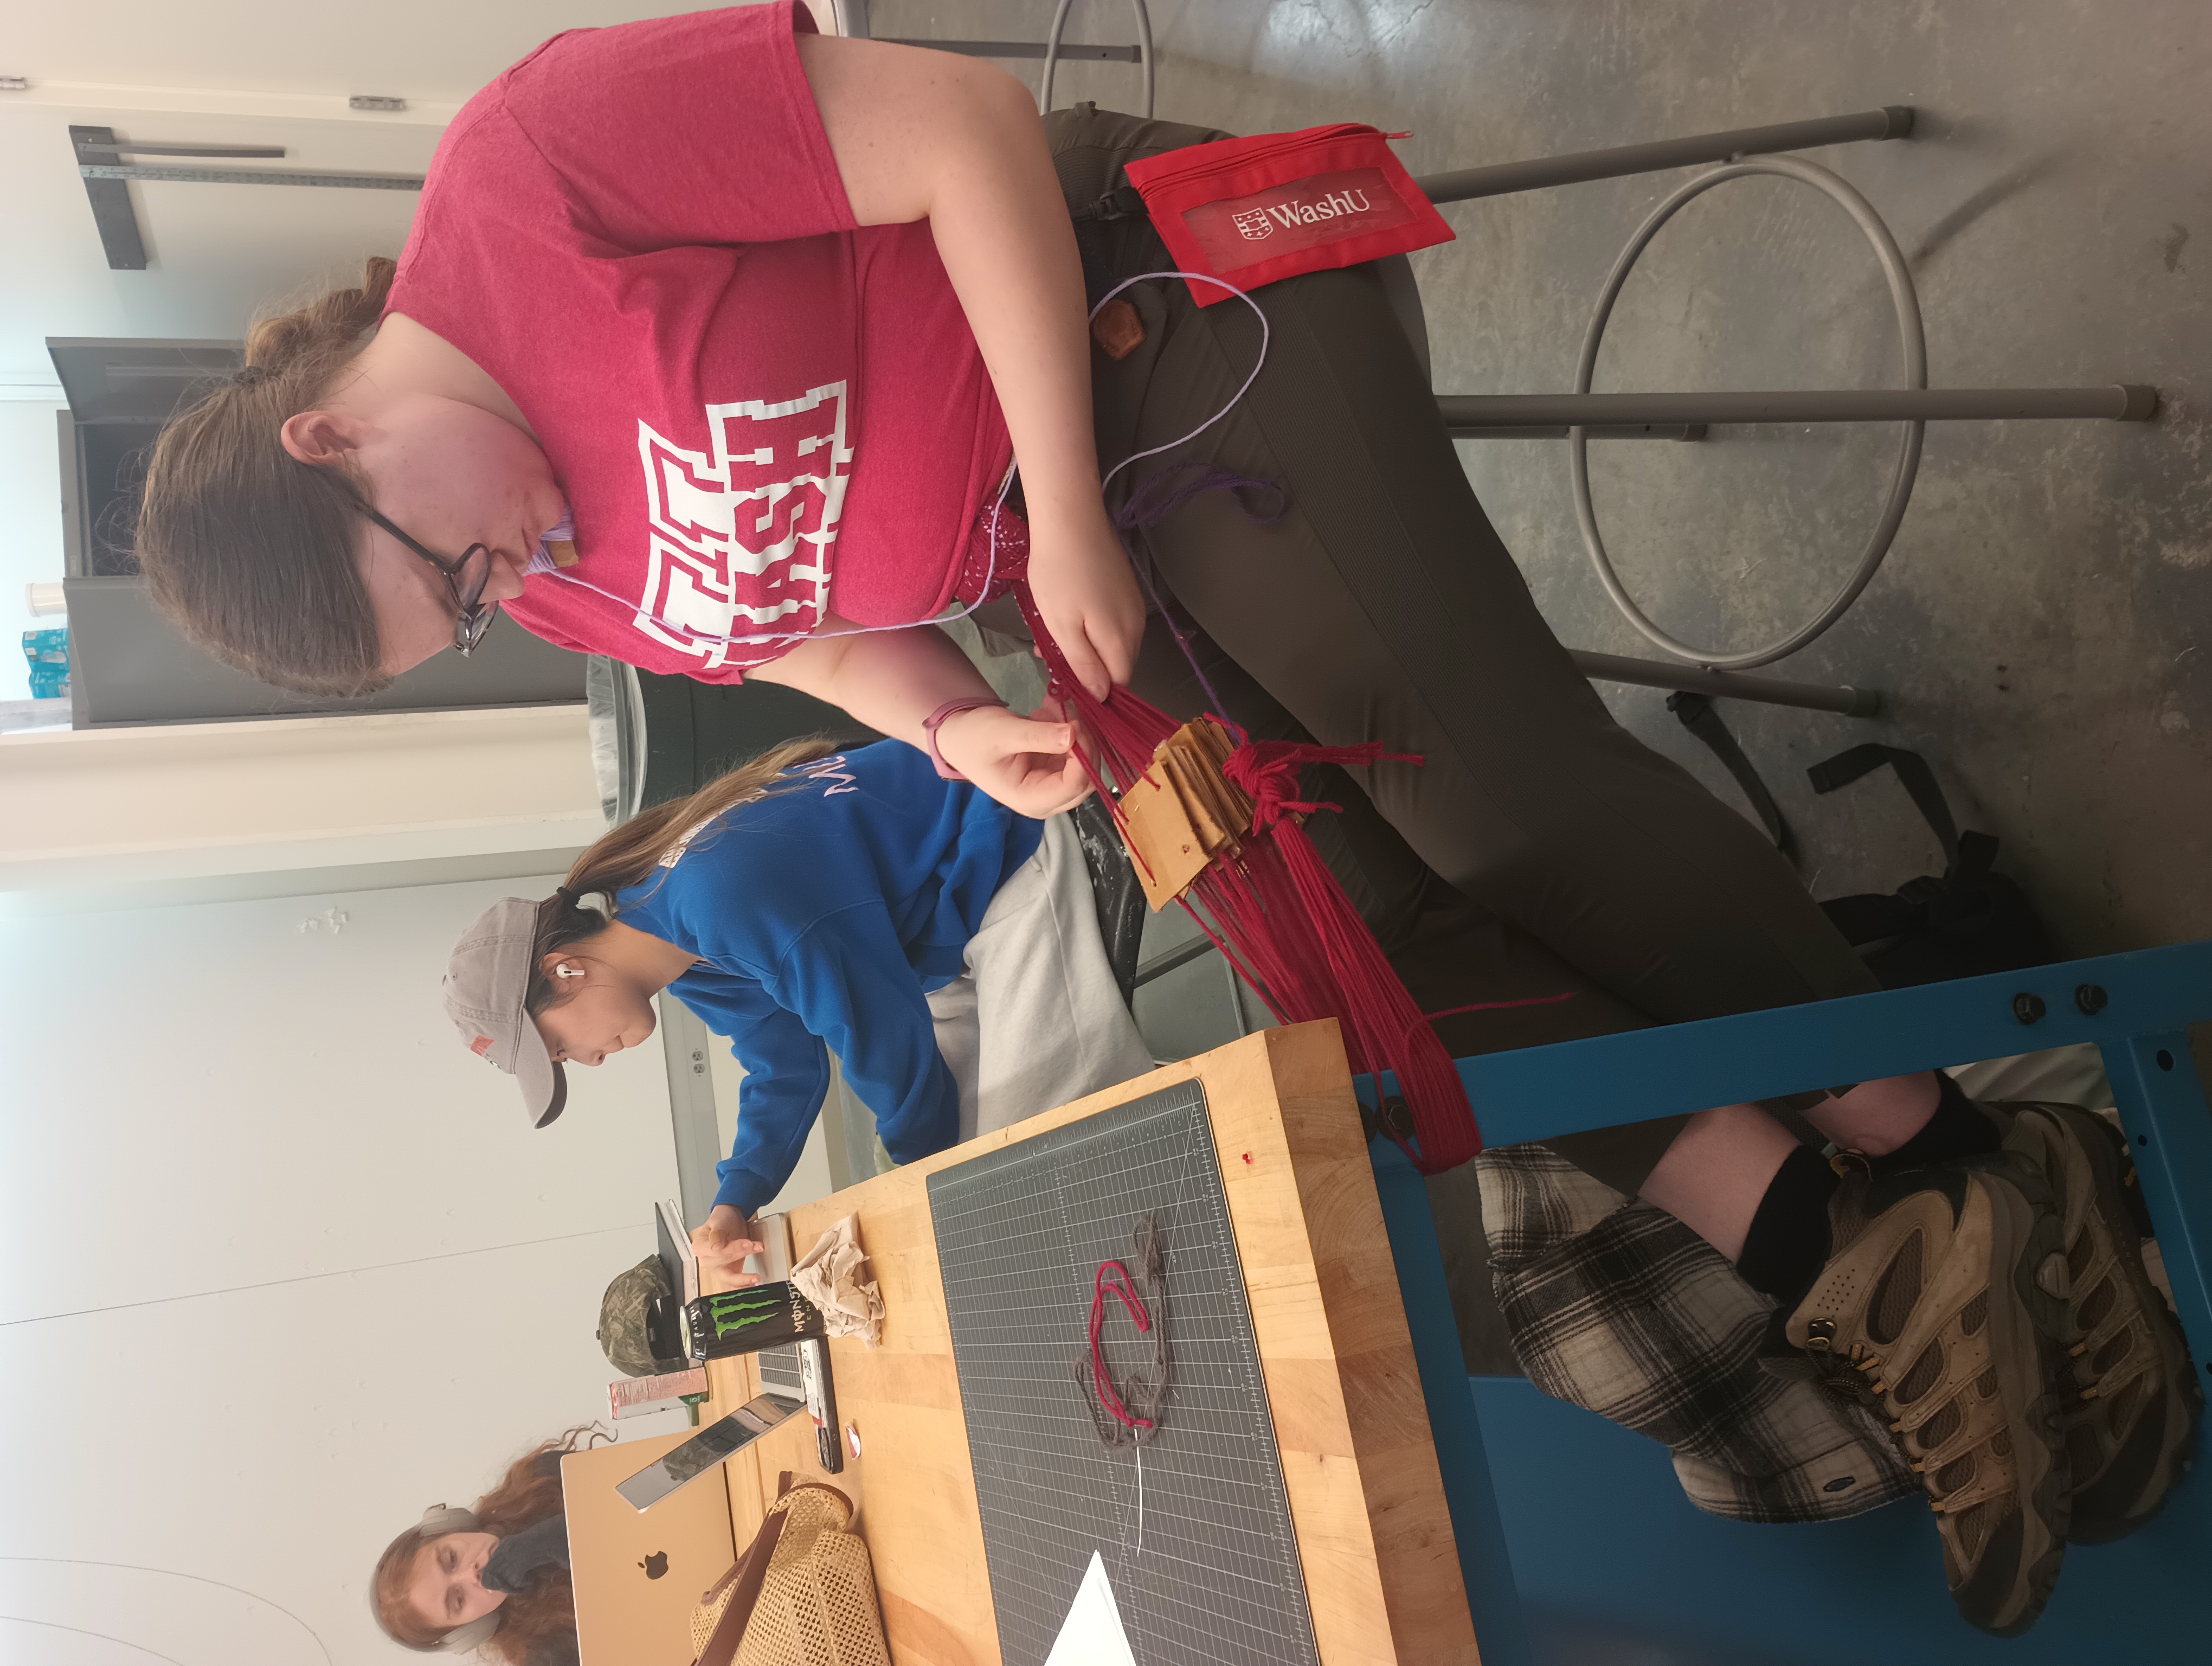
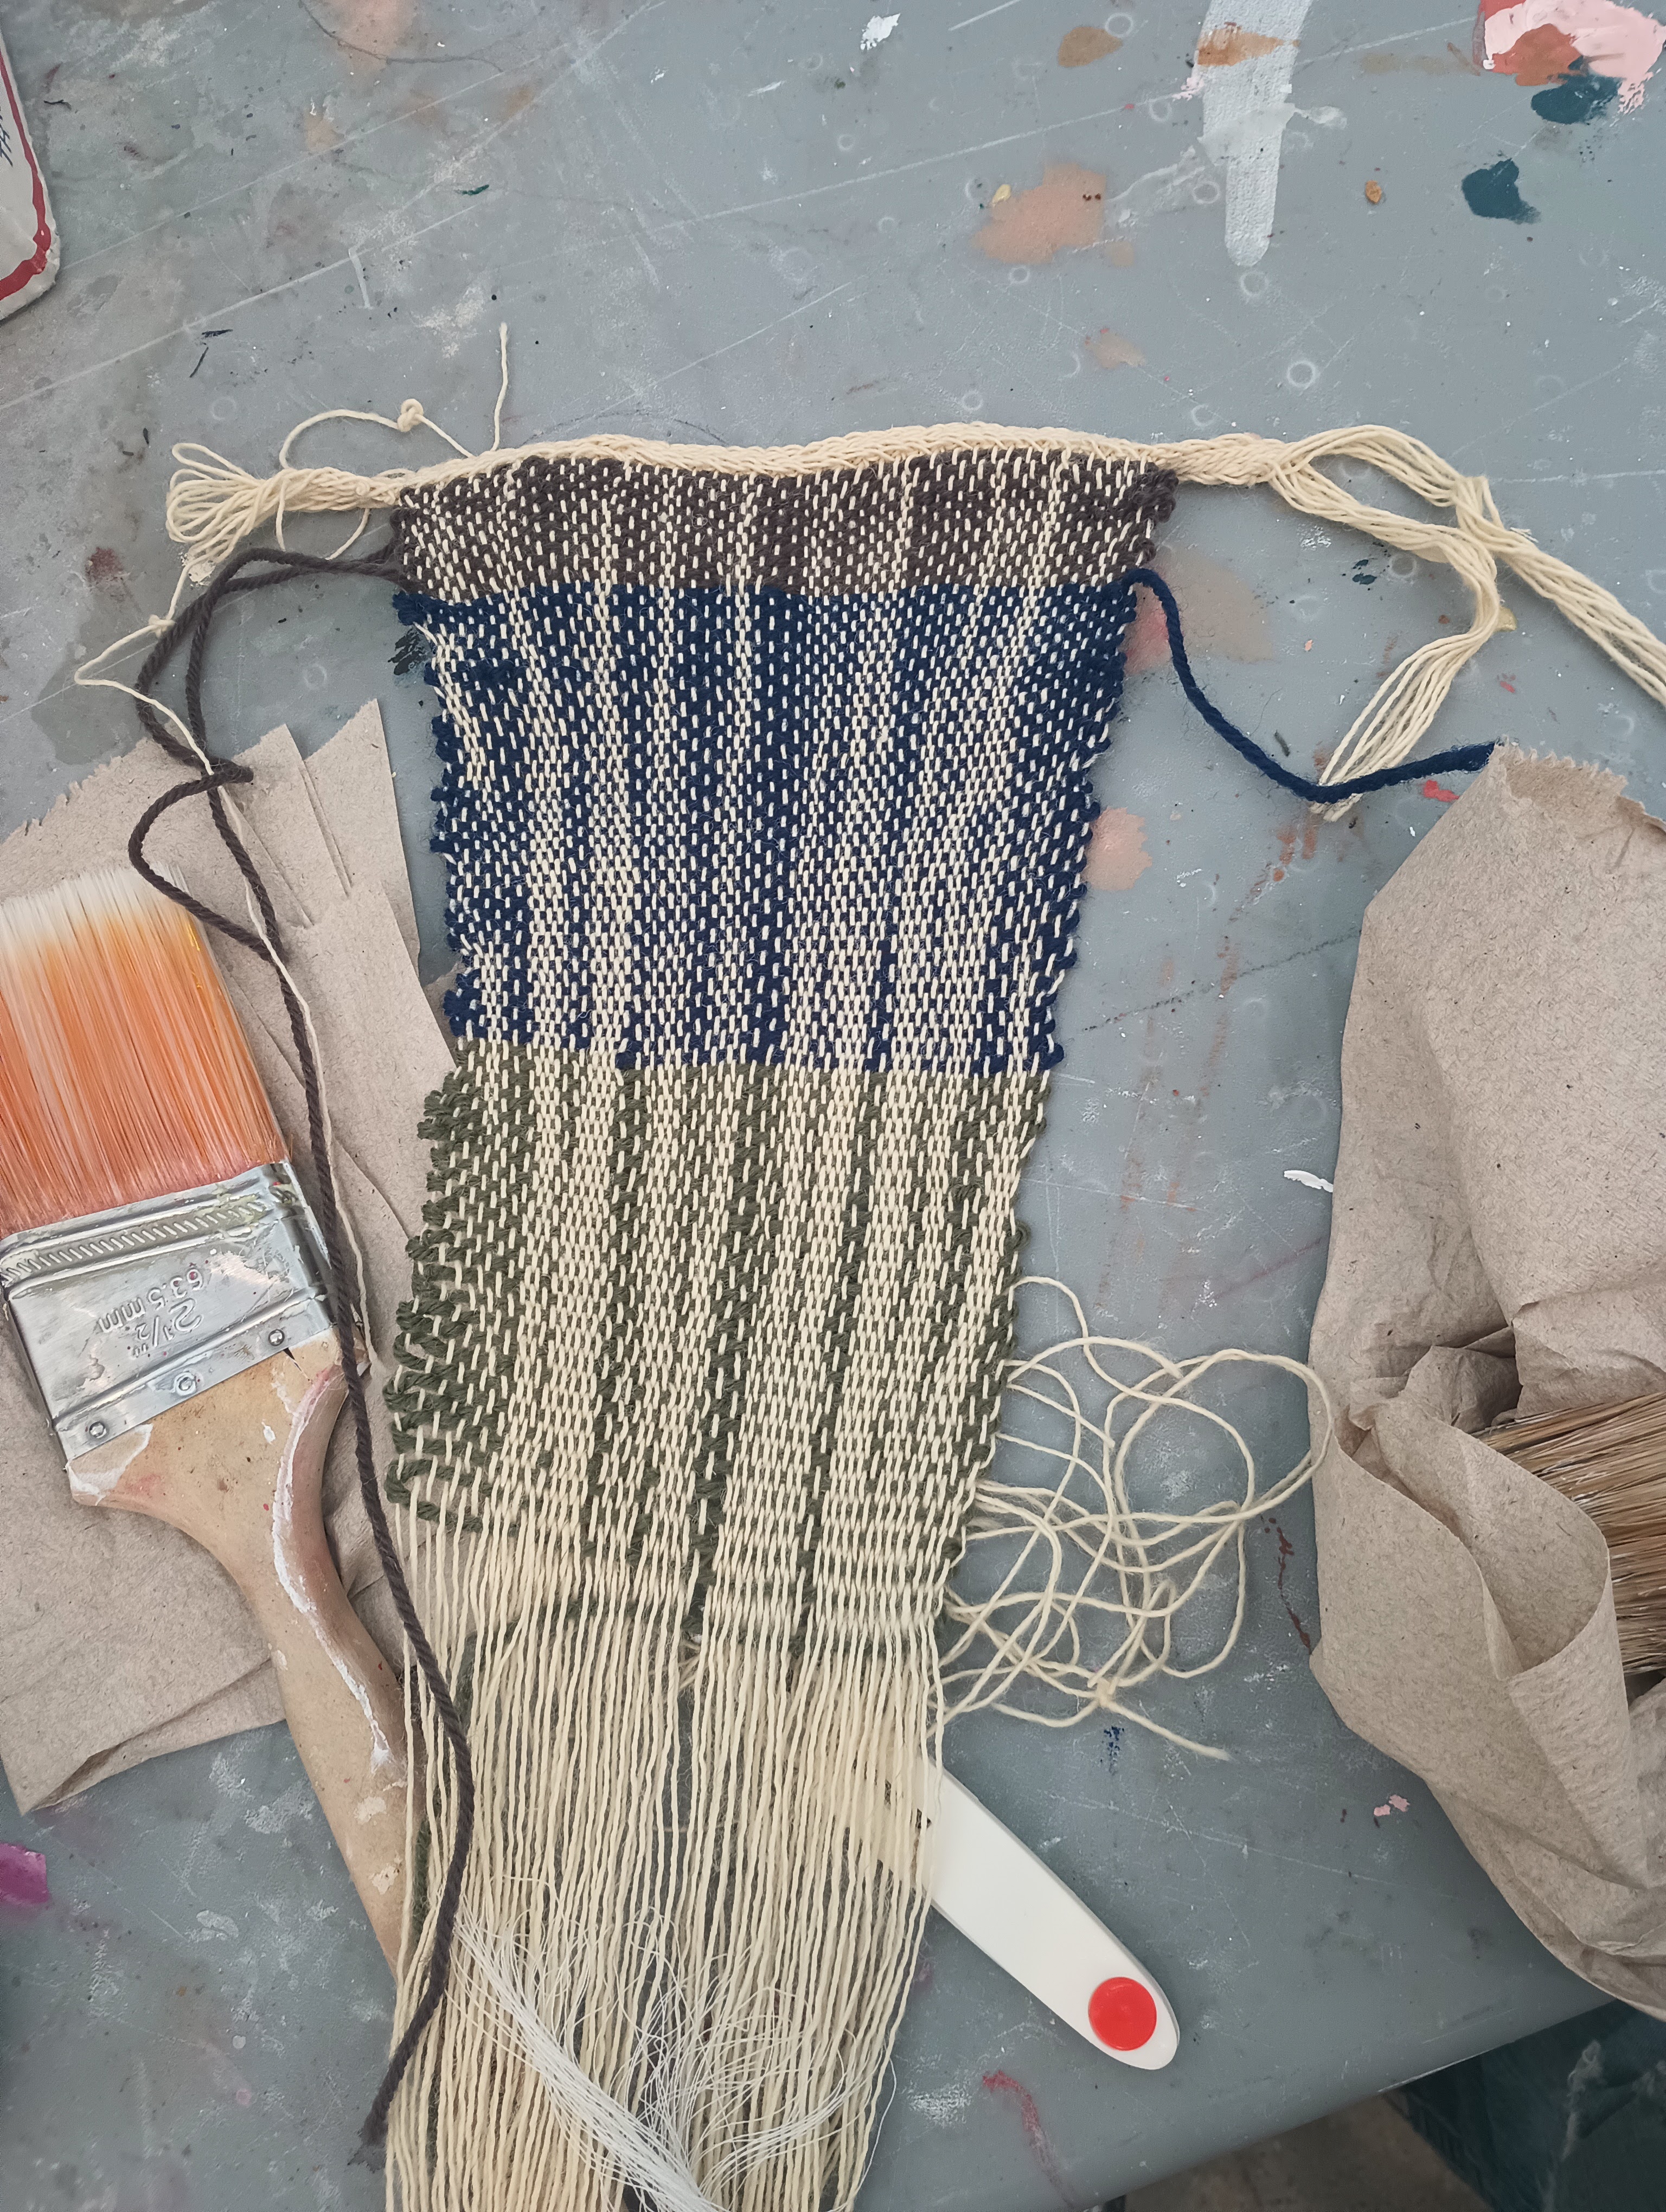
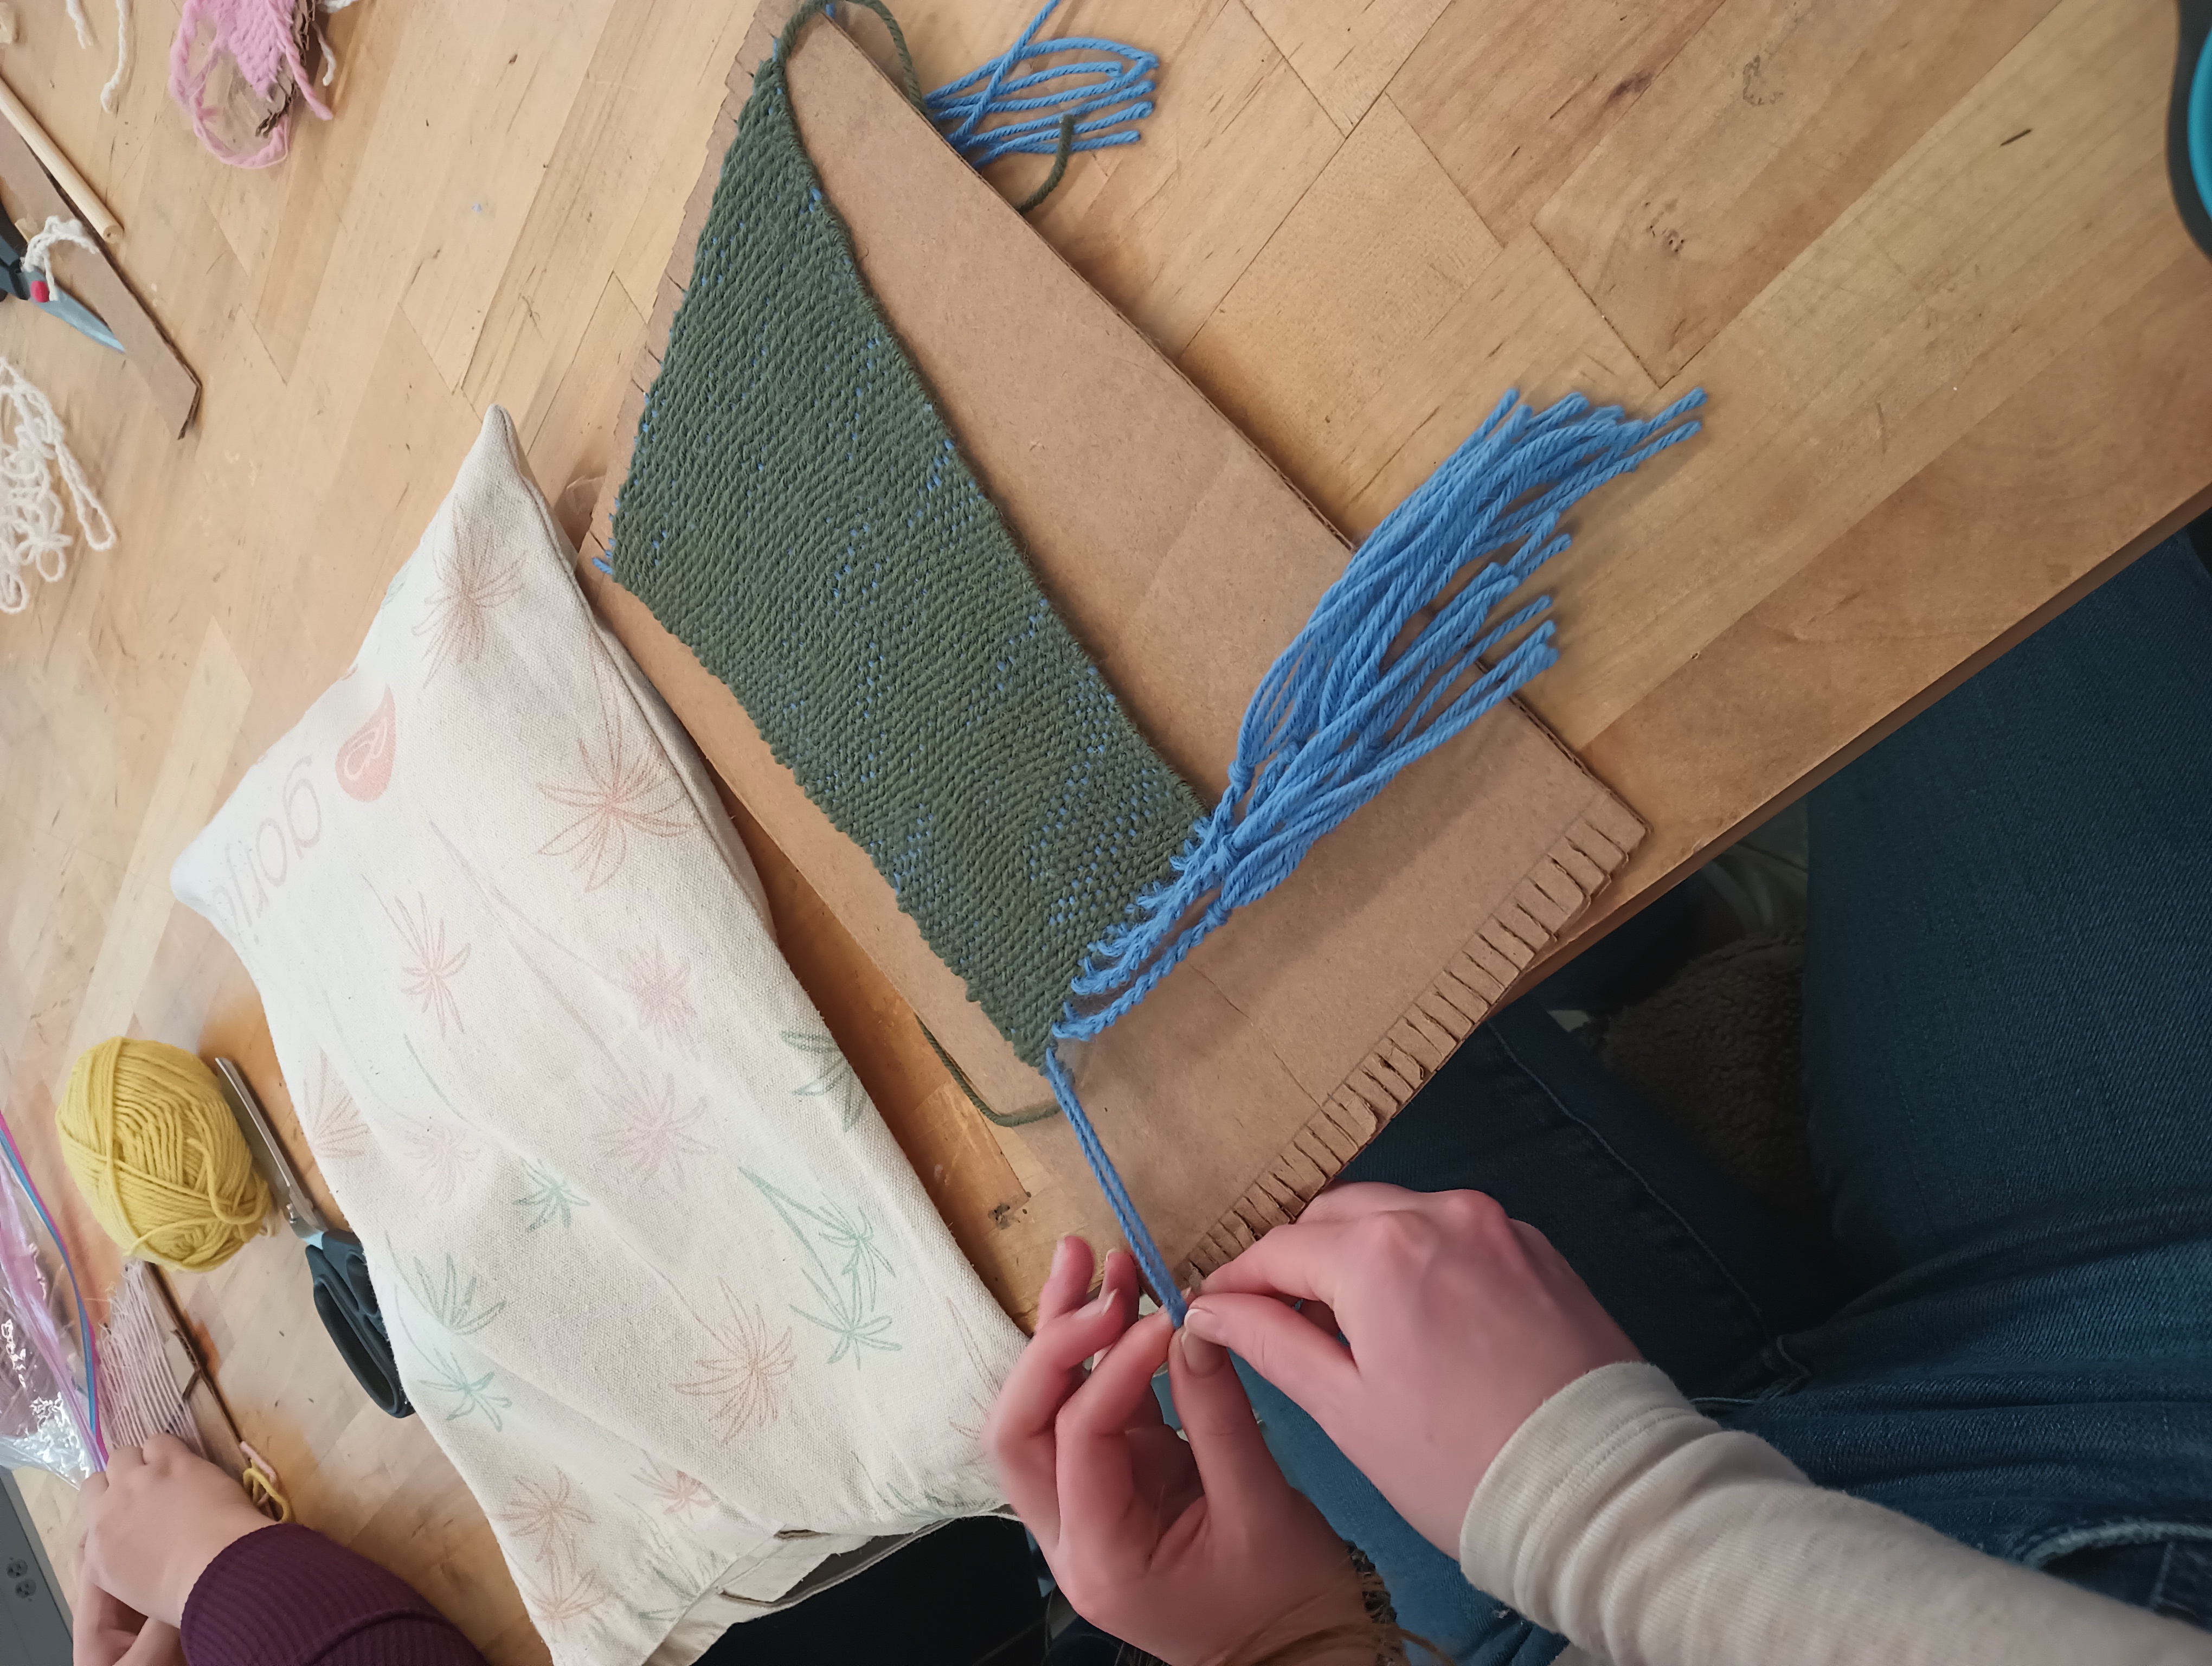
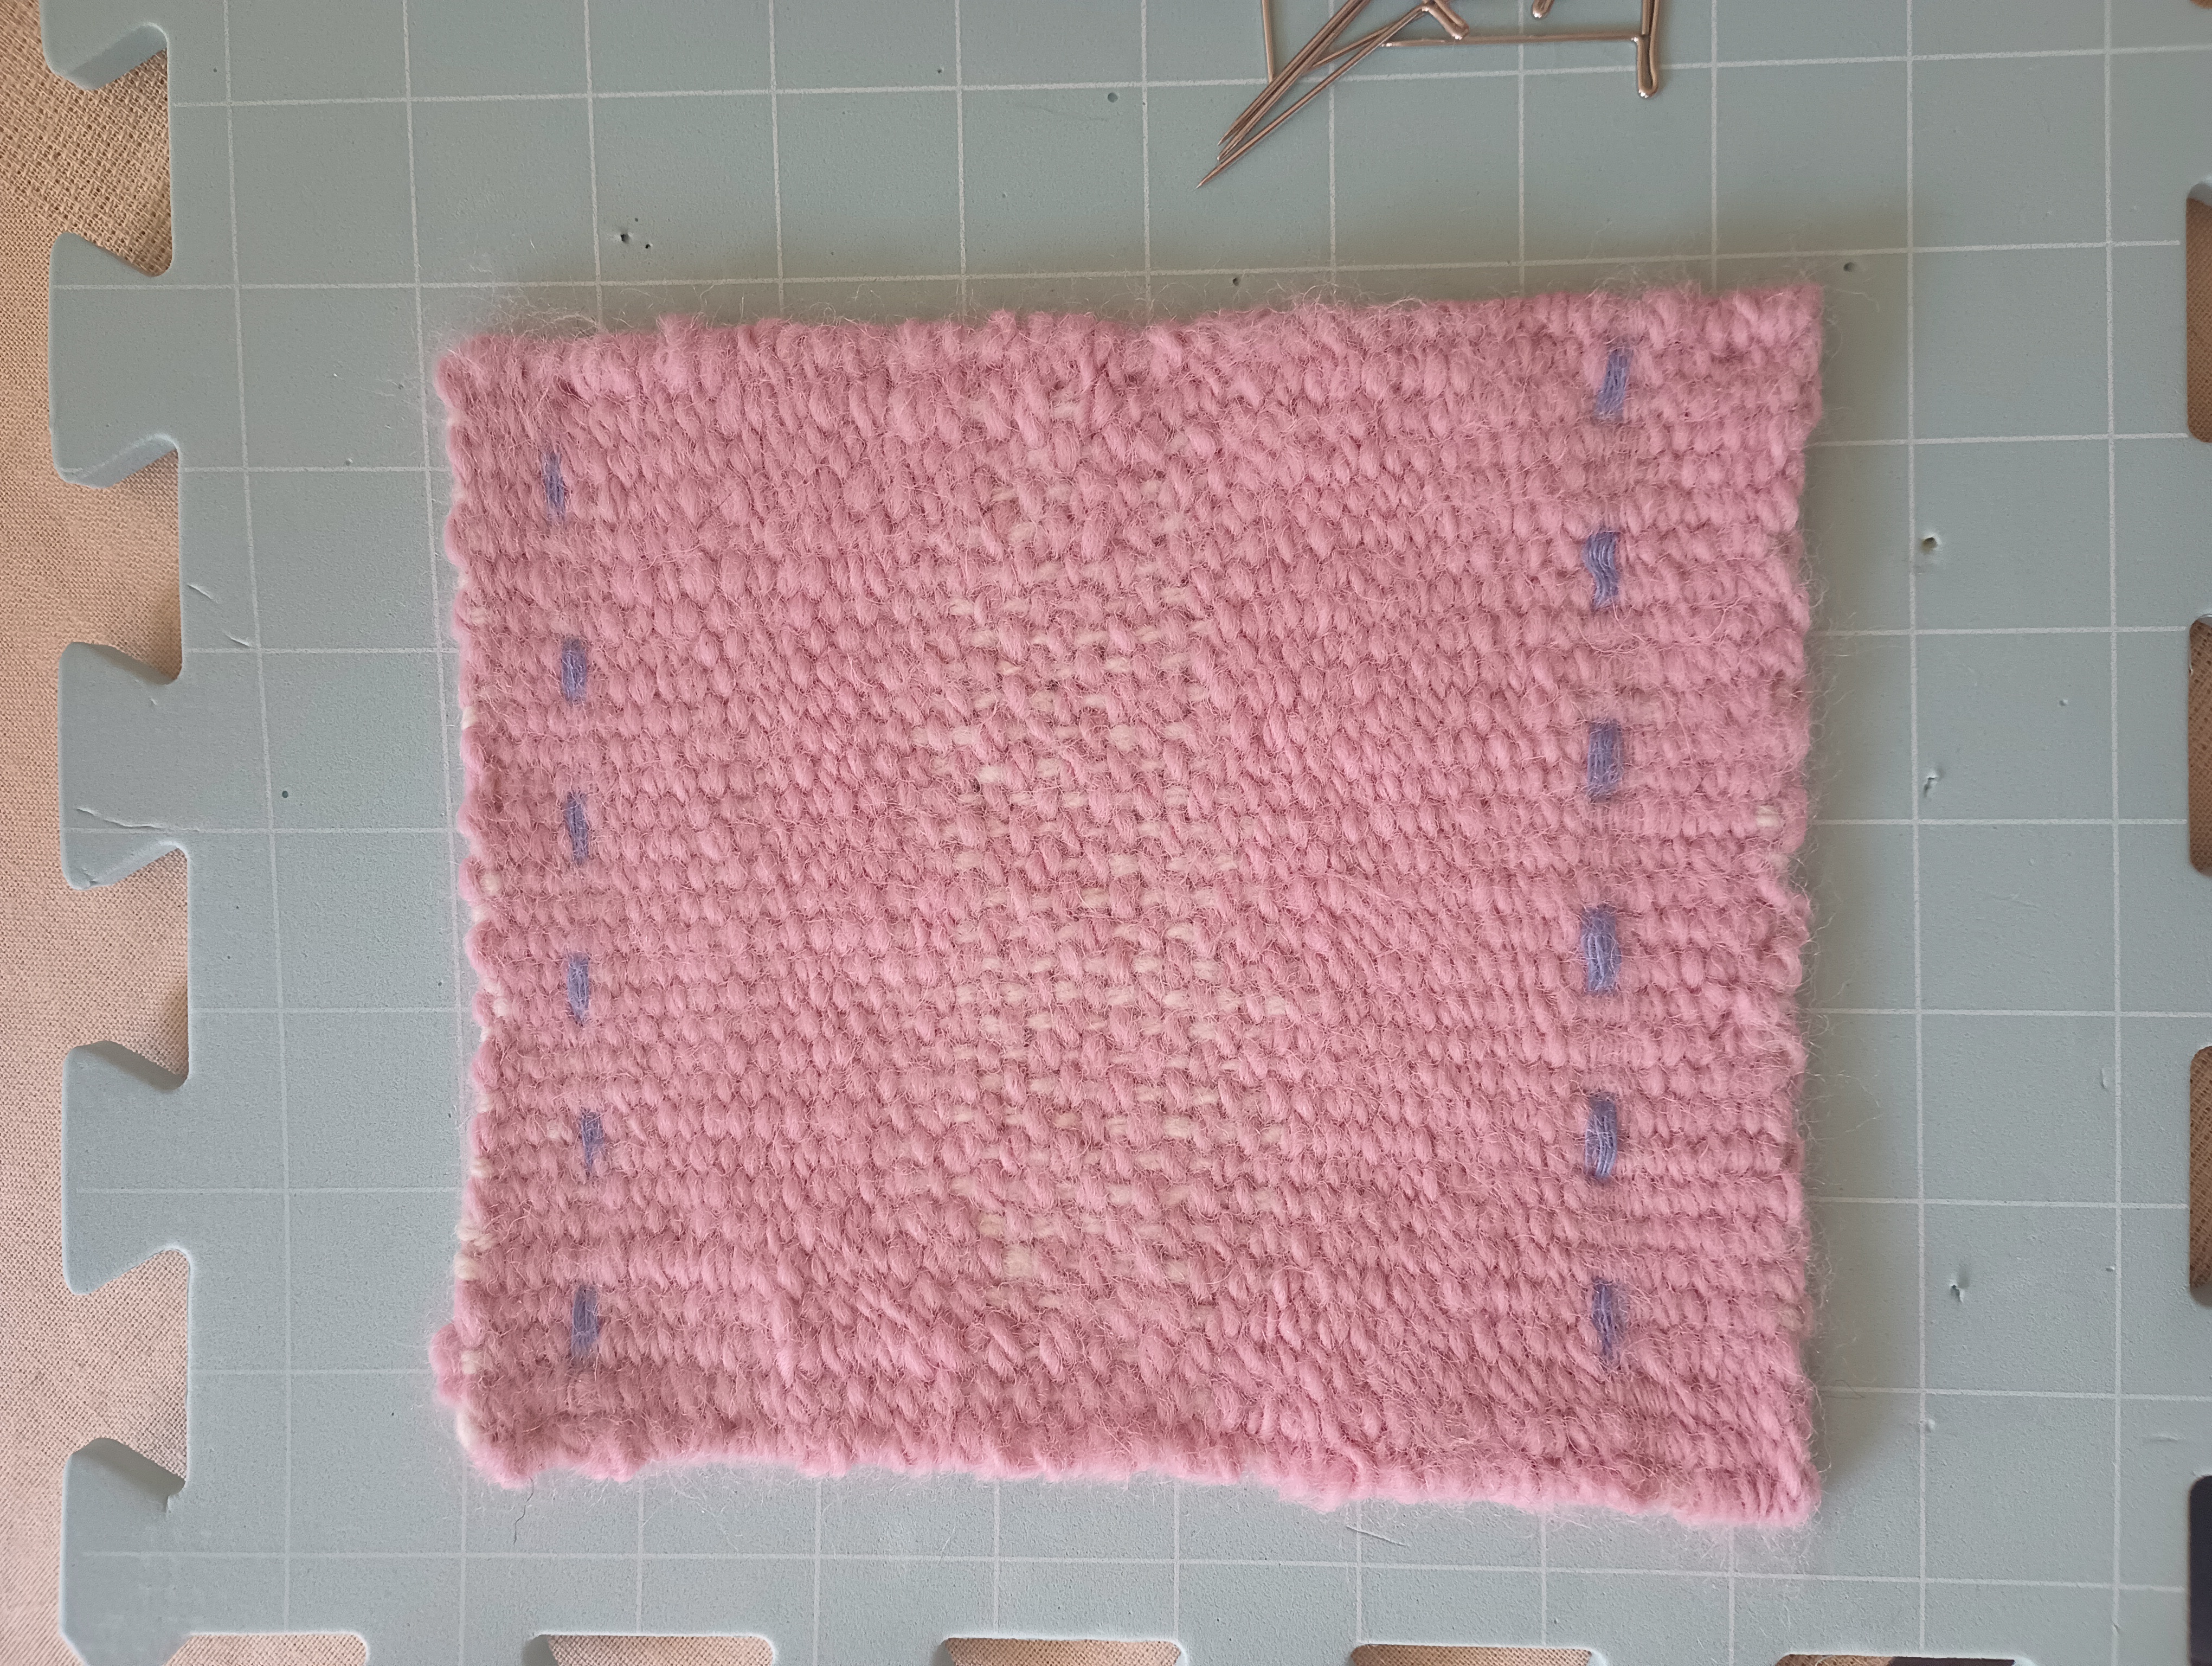
Studio 7 - More weaving (finishing pieces, decorative weaving, tablet weaving)
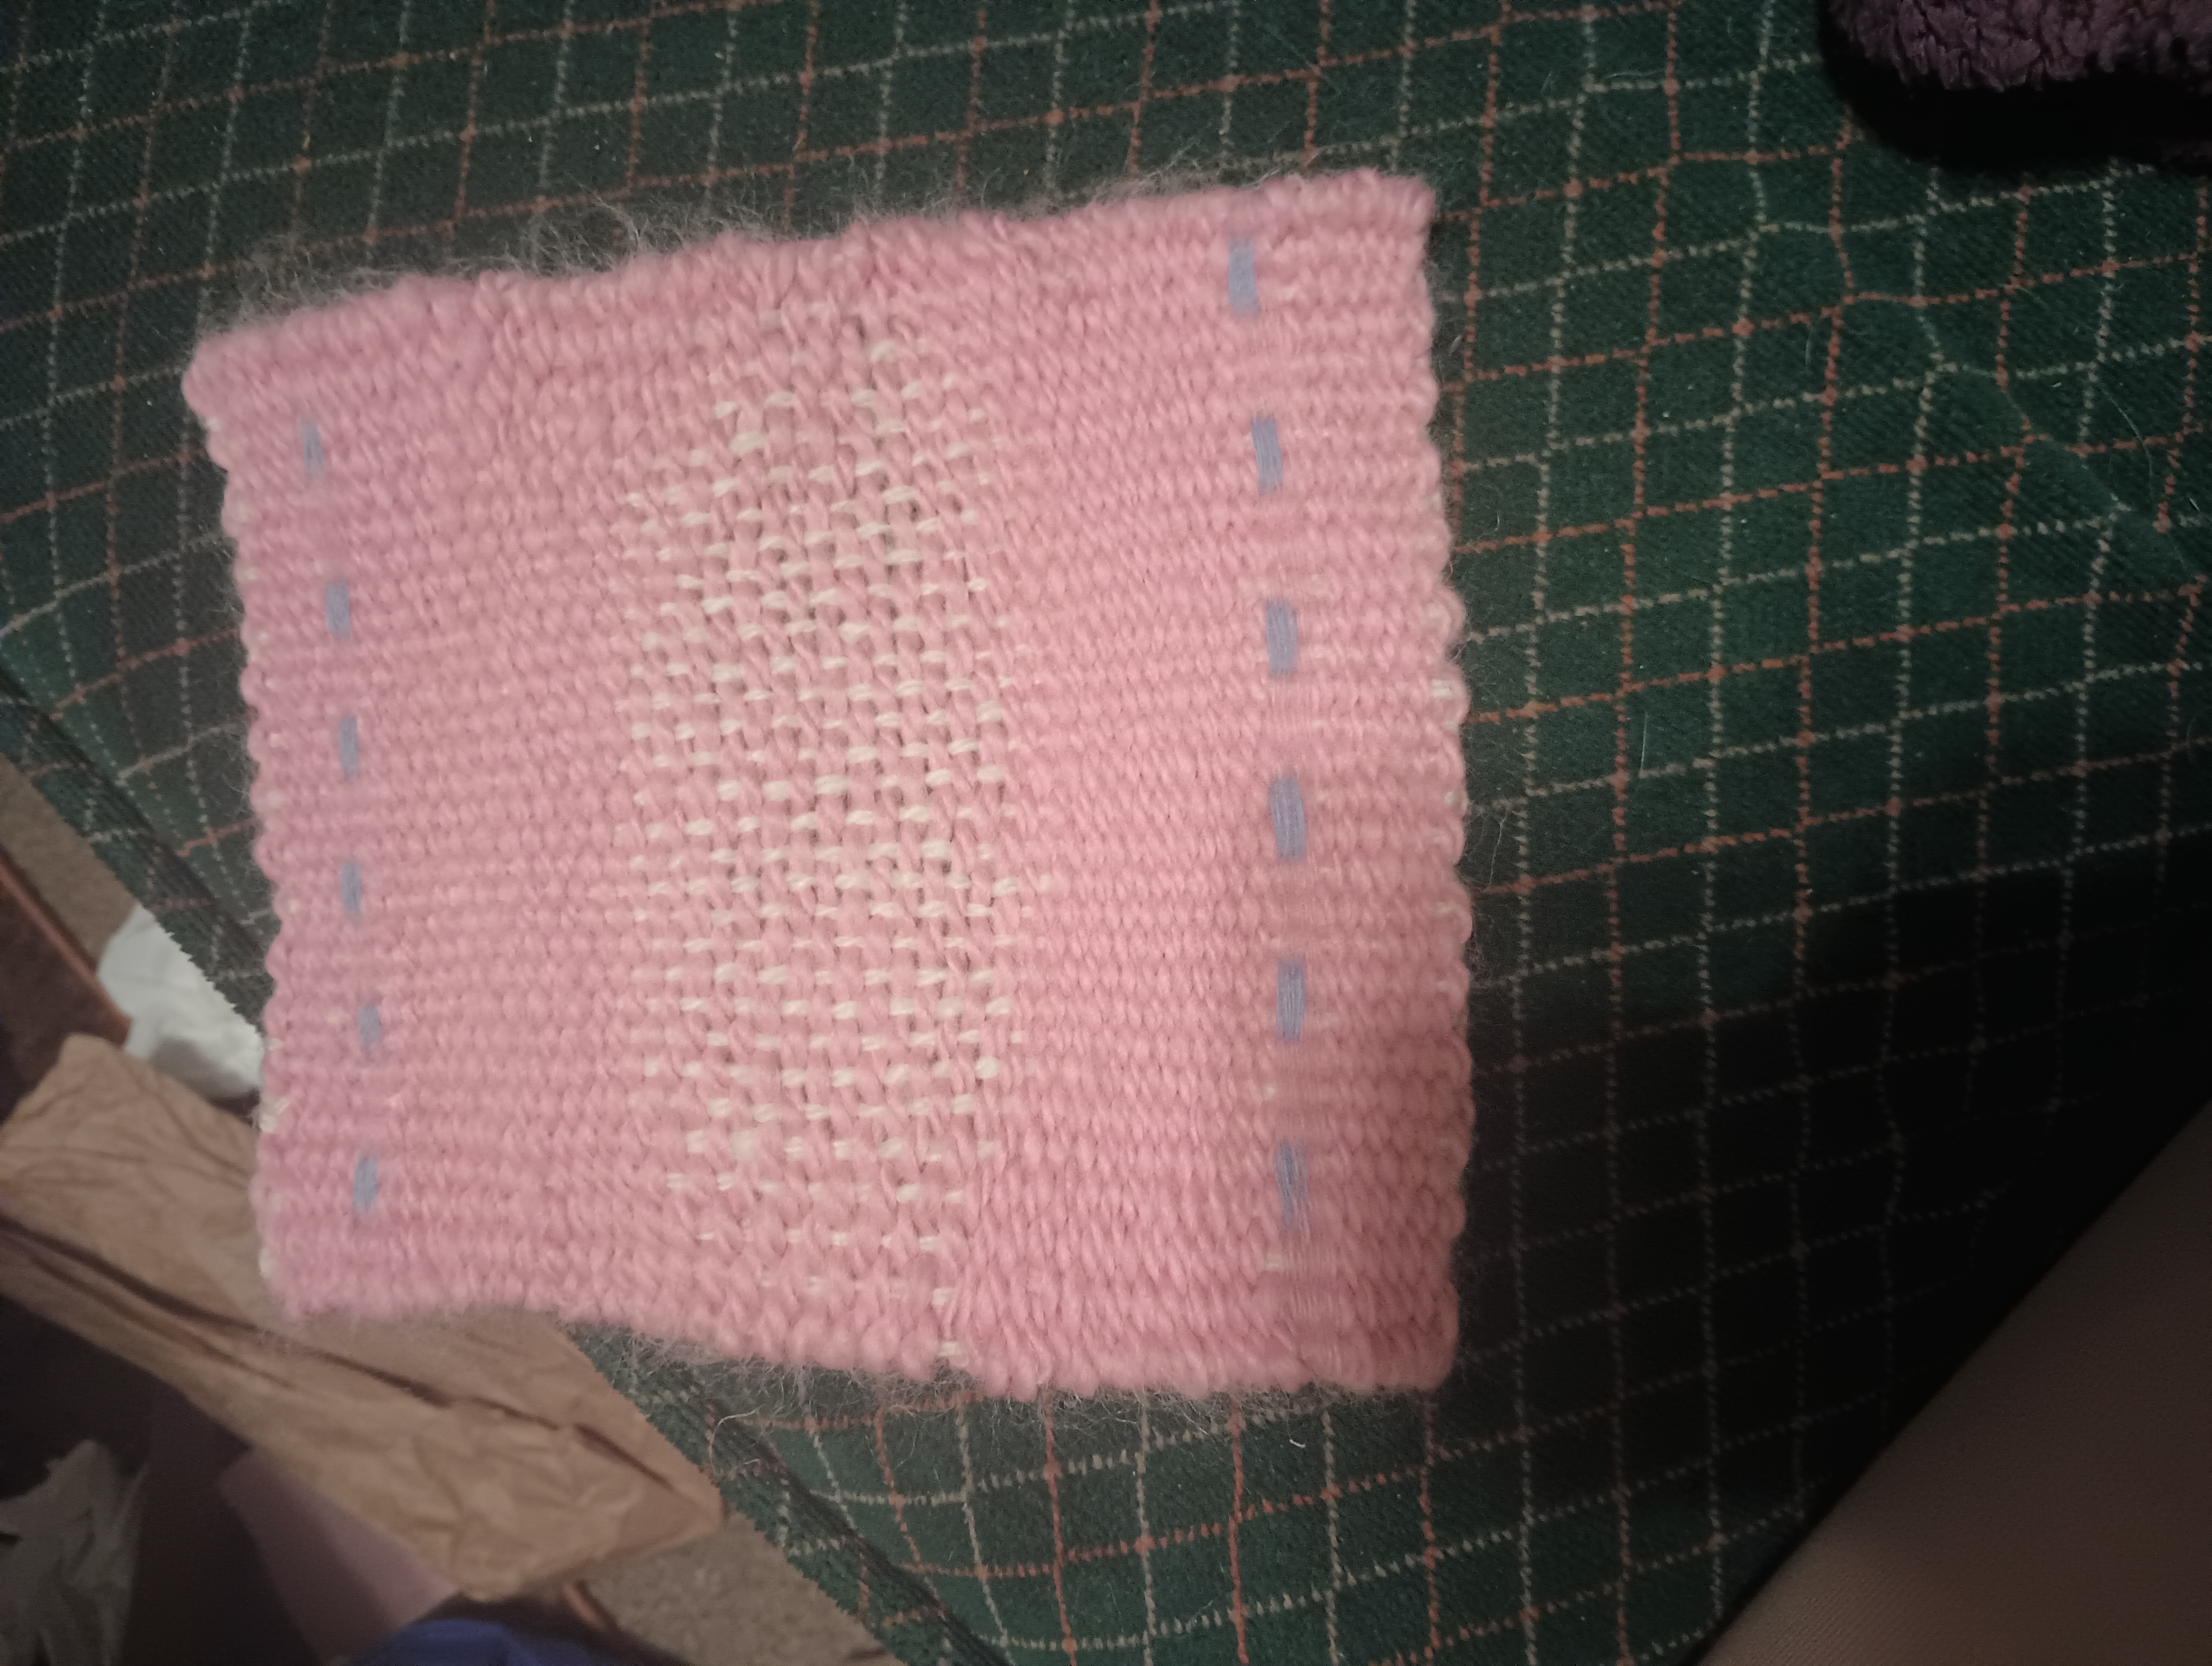
In this final weaving studios, students continued to work on their own weaving pieces and the warp-weighted loom collective piece. Teams of students worked on the warp-weighted looms as others worked on their personal pieces. Students learned how to take completed pieces off of the loom and finish the edges by making fringes/tassles, hemming, or weaving in ends. Some students also learned how to weave narrow bands using tablets with holes punched in them. Students continued to experiment with weaving designs, varying texture and color and creating patterns like stripes or dots.
Supplies
- Warp-weighted loom + accessories
- Cardboard loom + accessories
- Scissors
- Tapestry needles
- tablet weaving tablest (cardboard squares with holes punched in the corners
- Yarn
Pictures
Unit 4 - Decoration and finishing
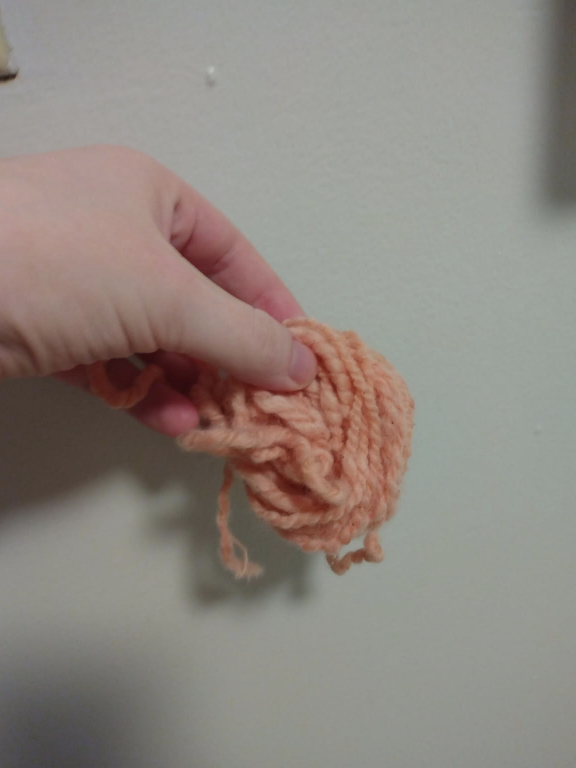
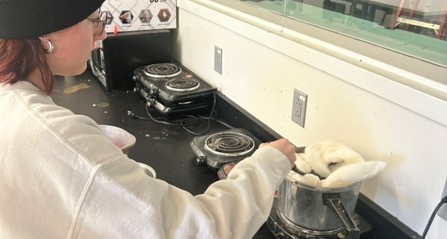
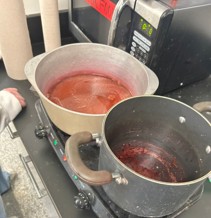
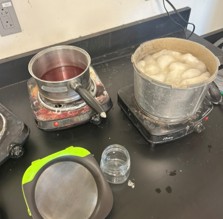
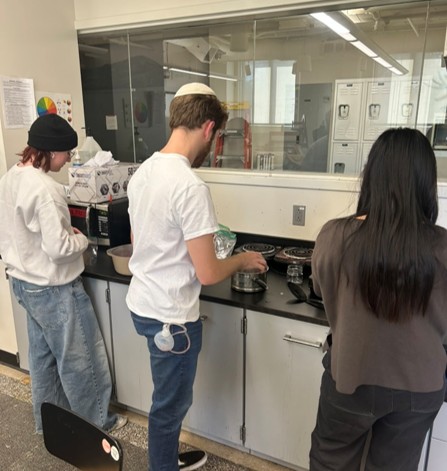
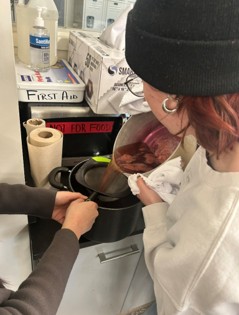
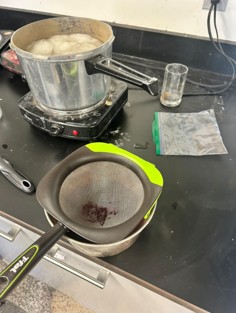
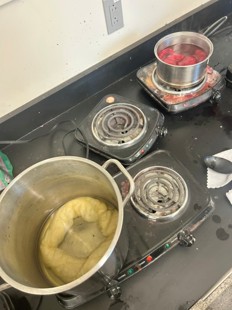
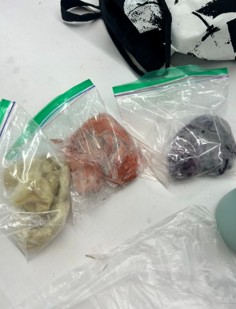
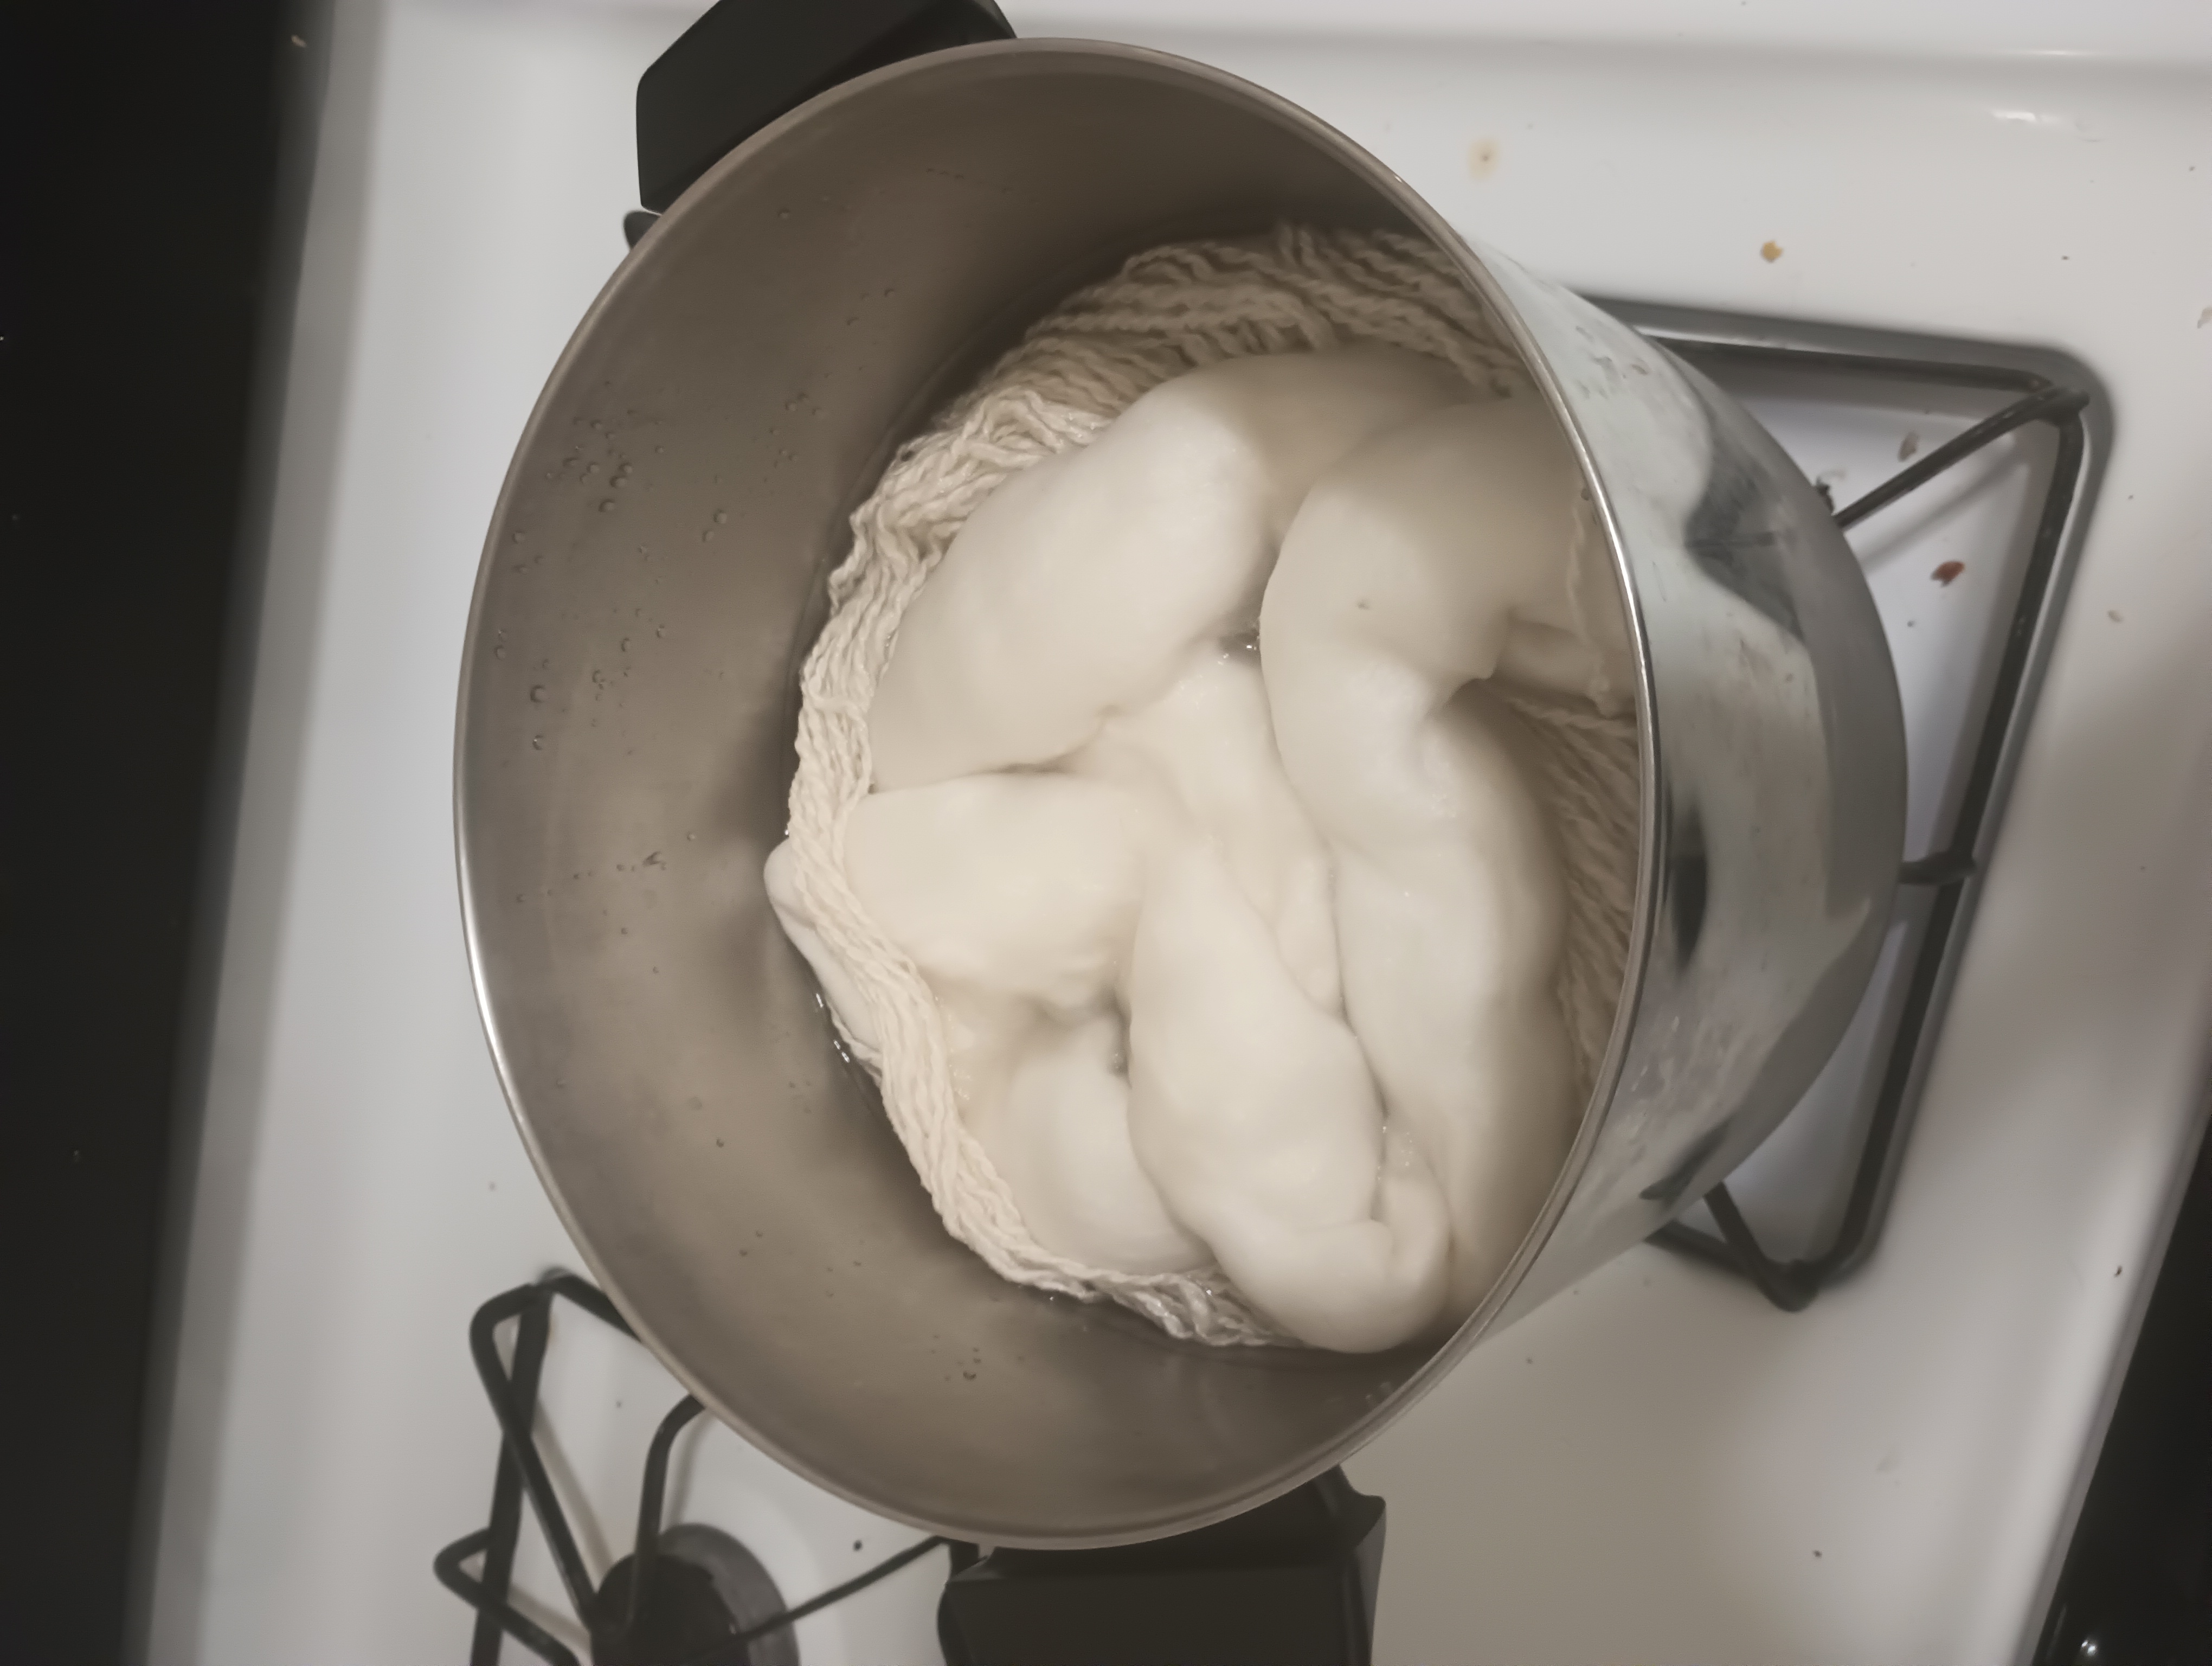
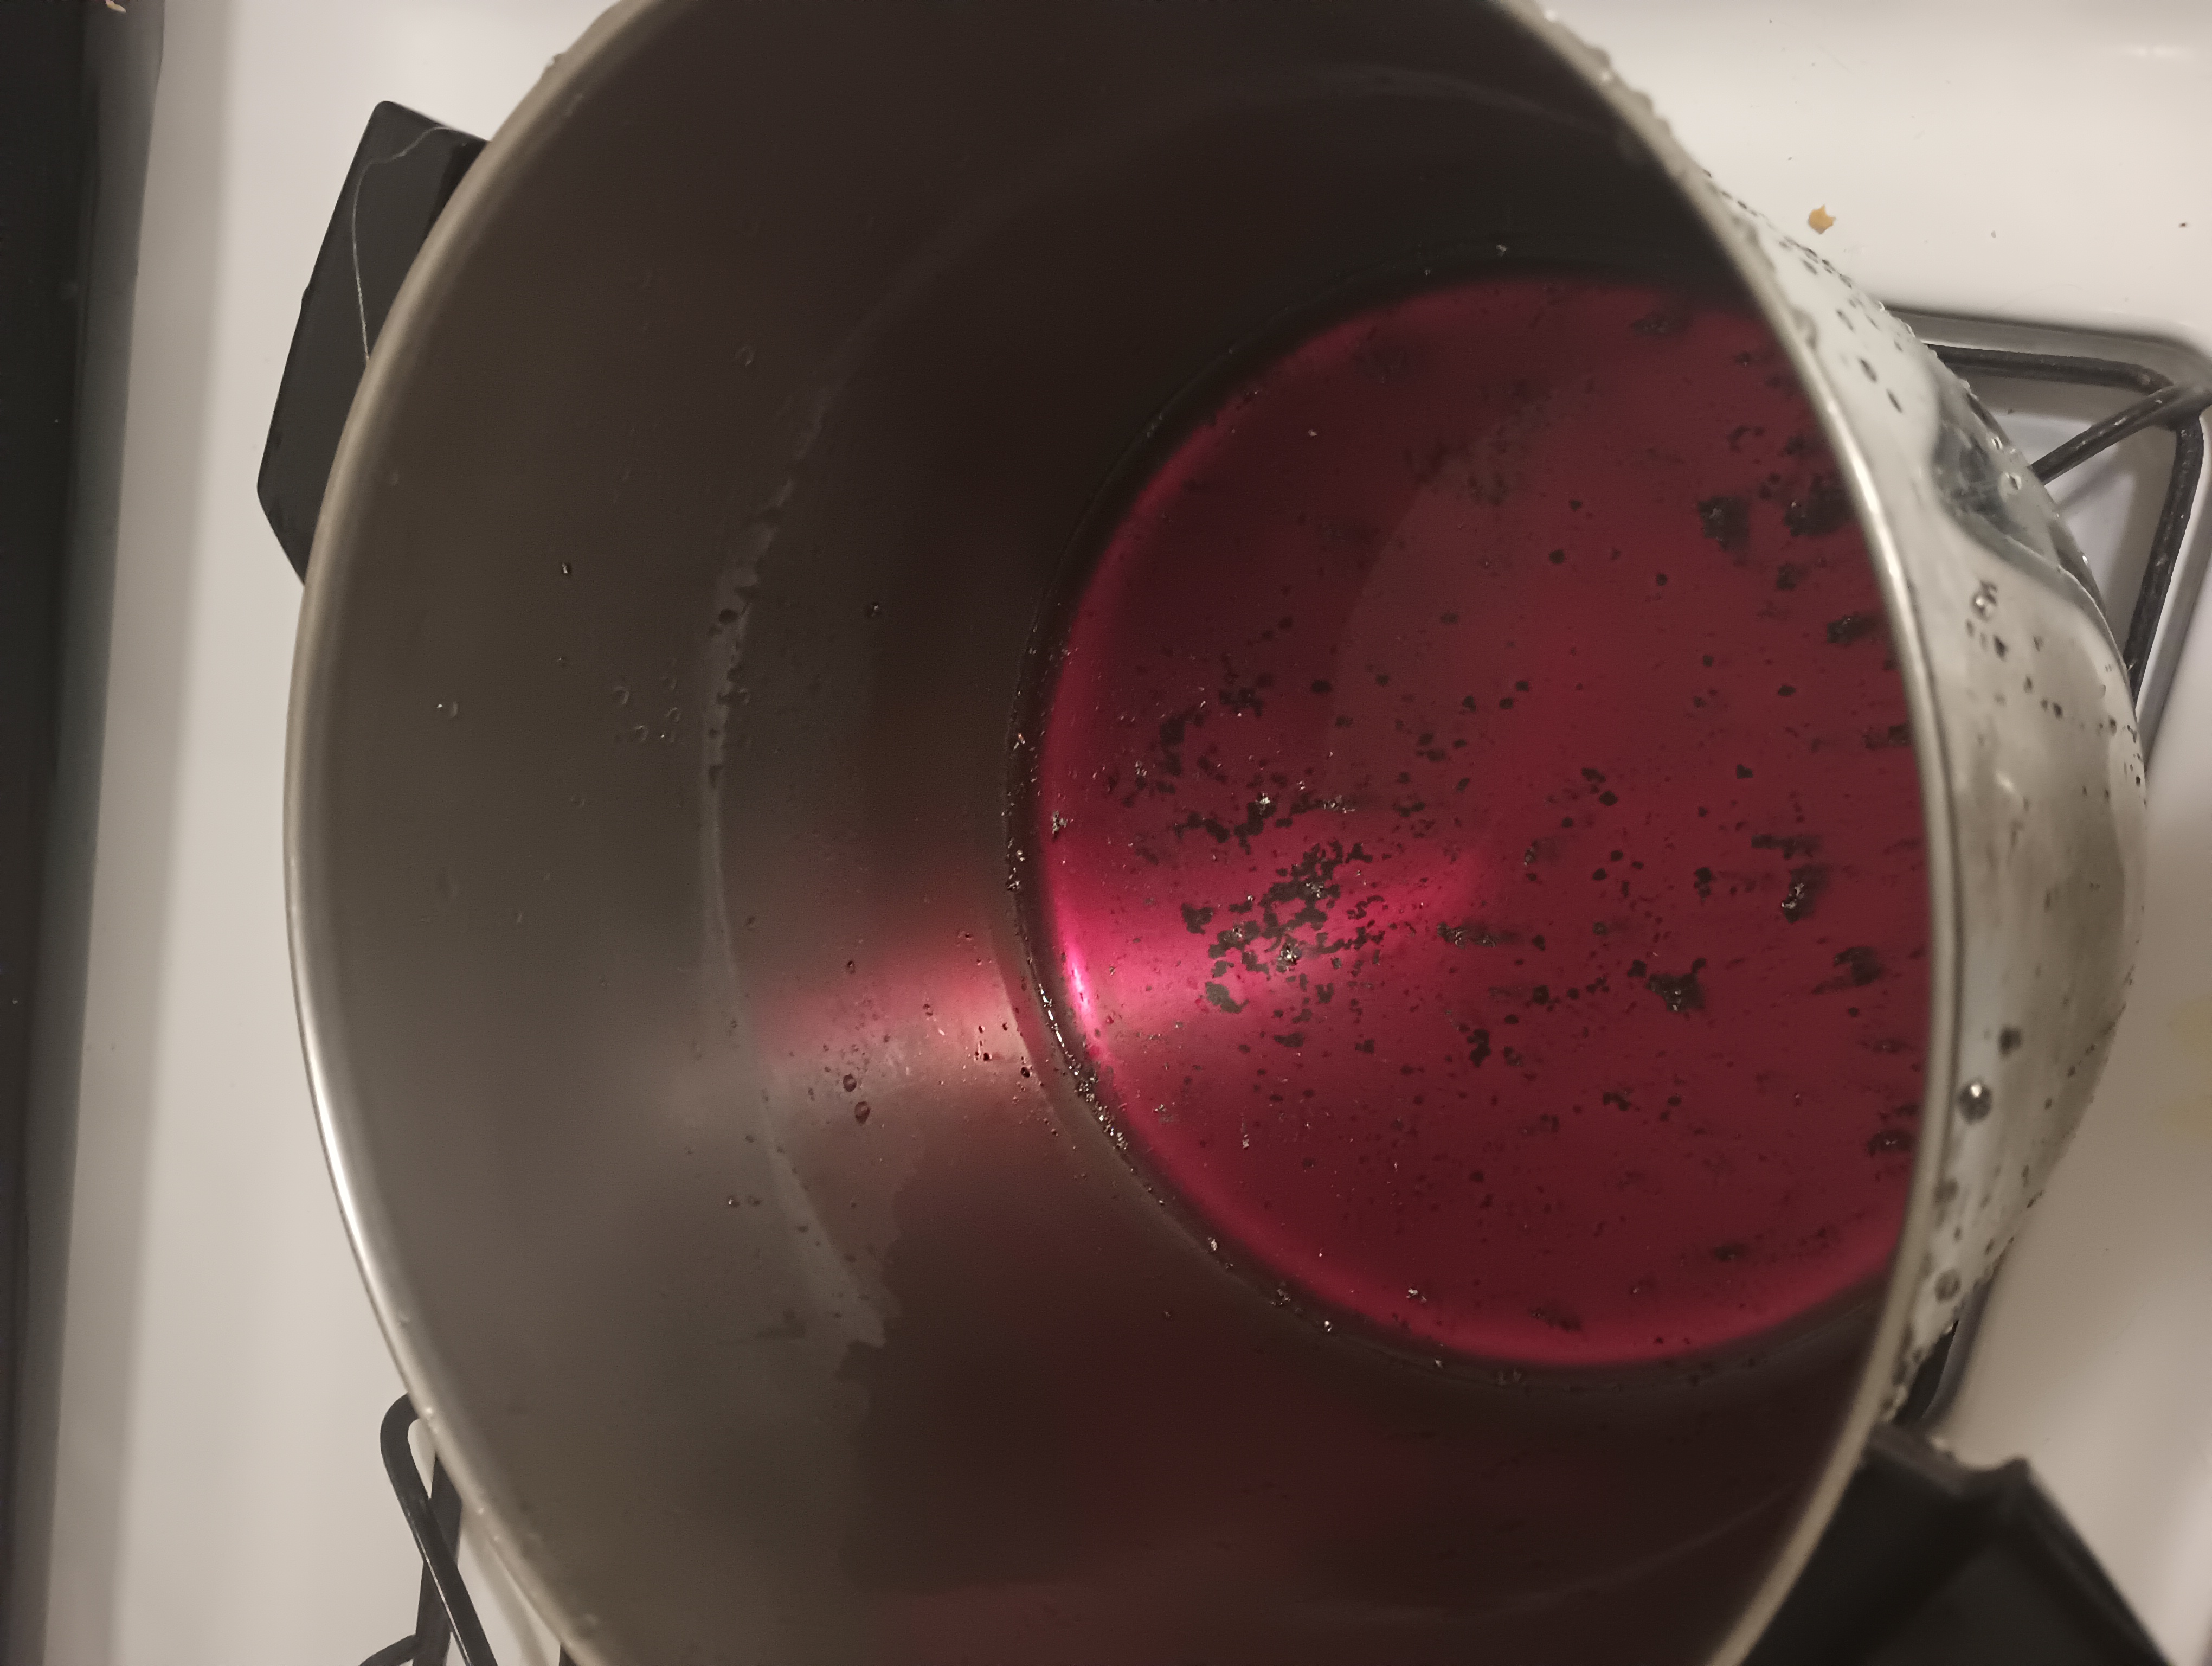
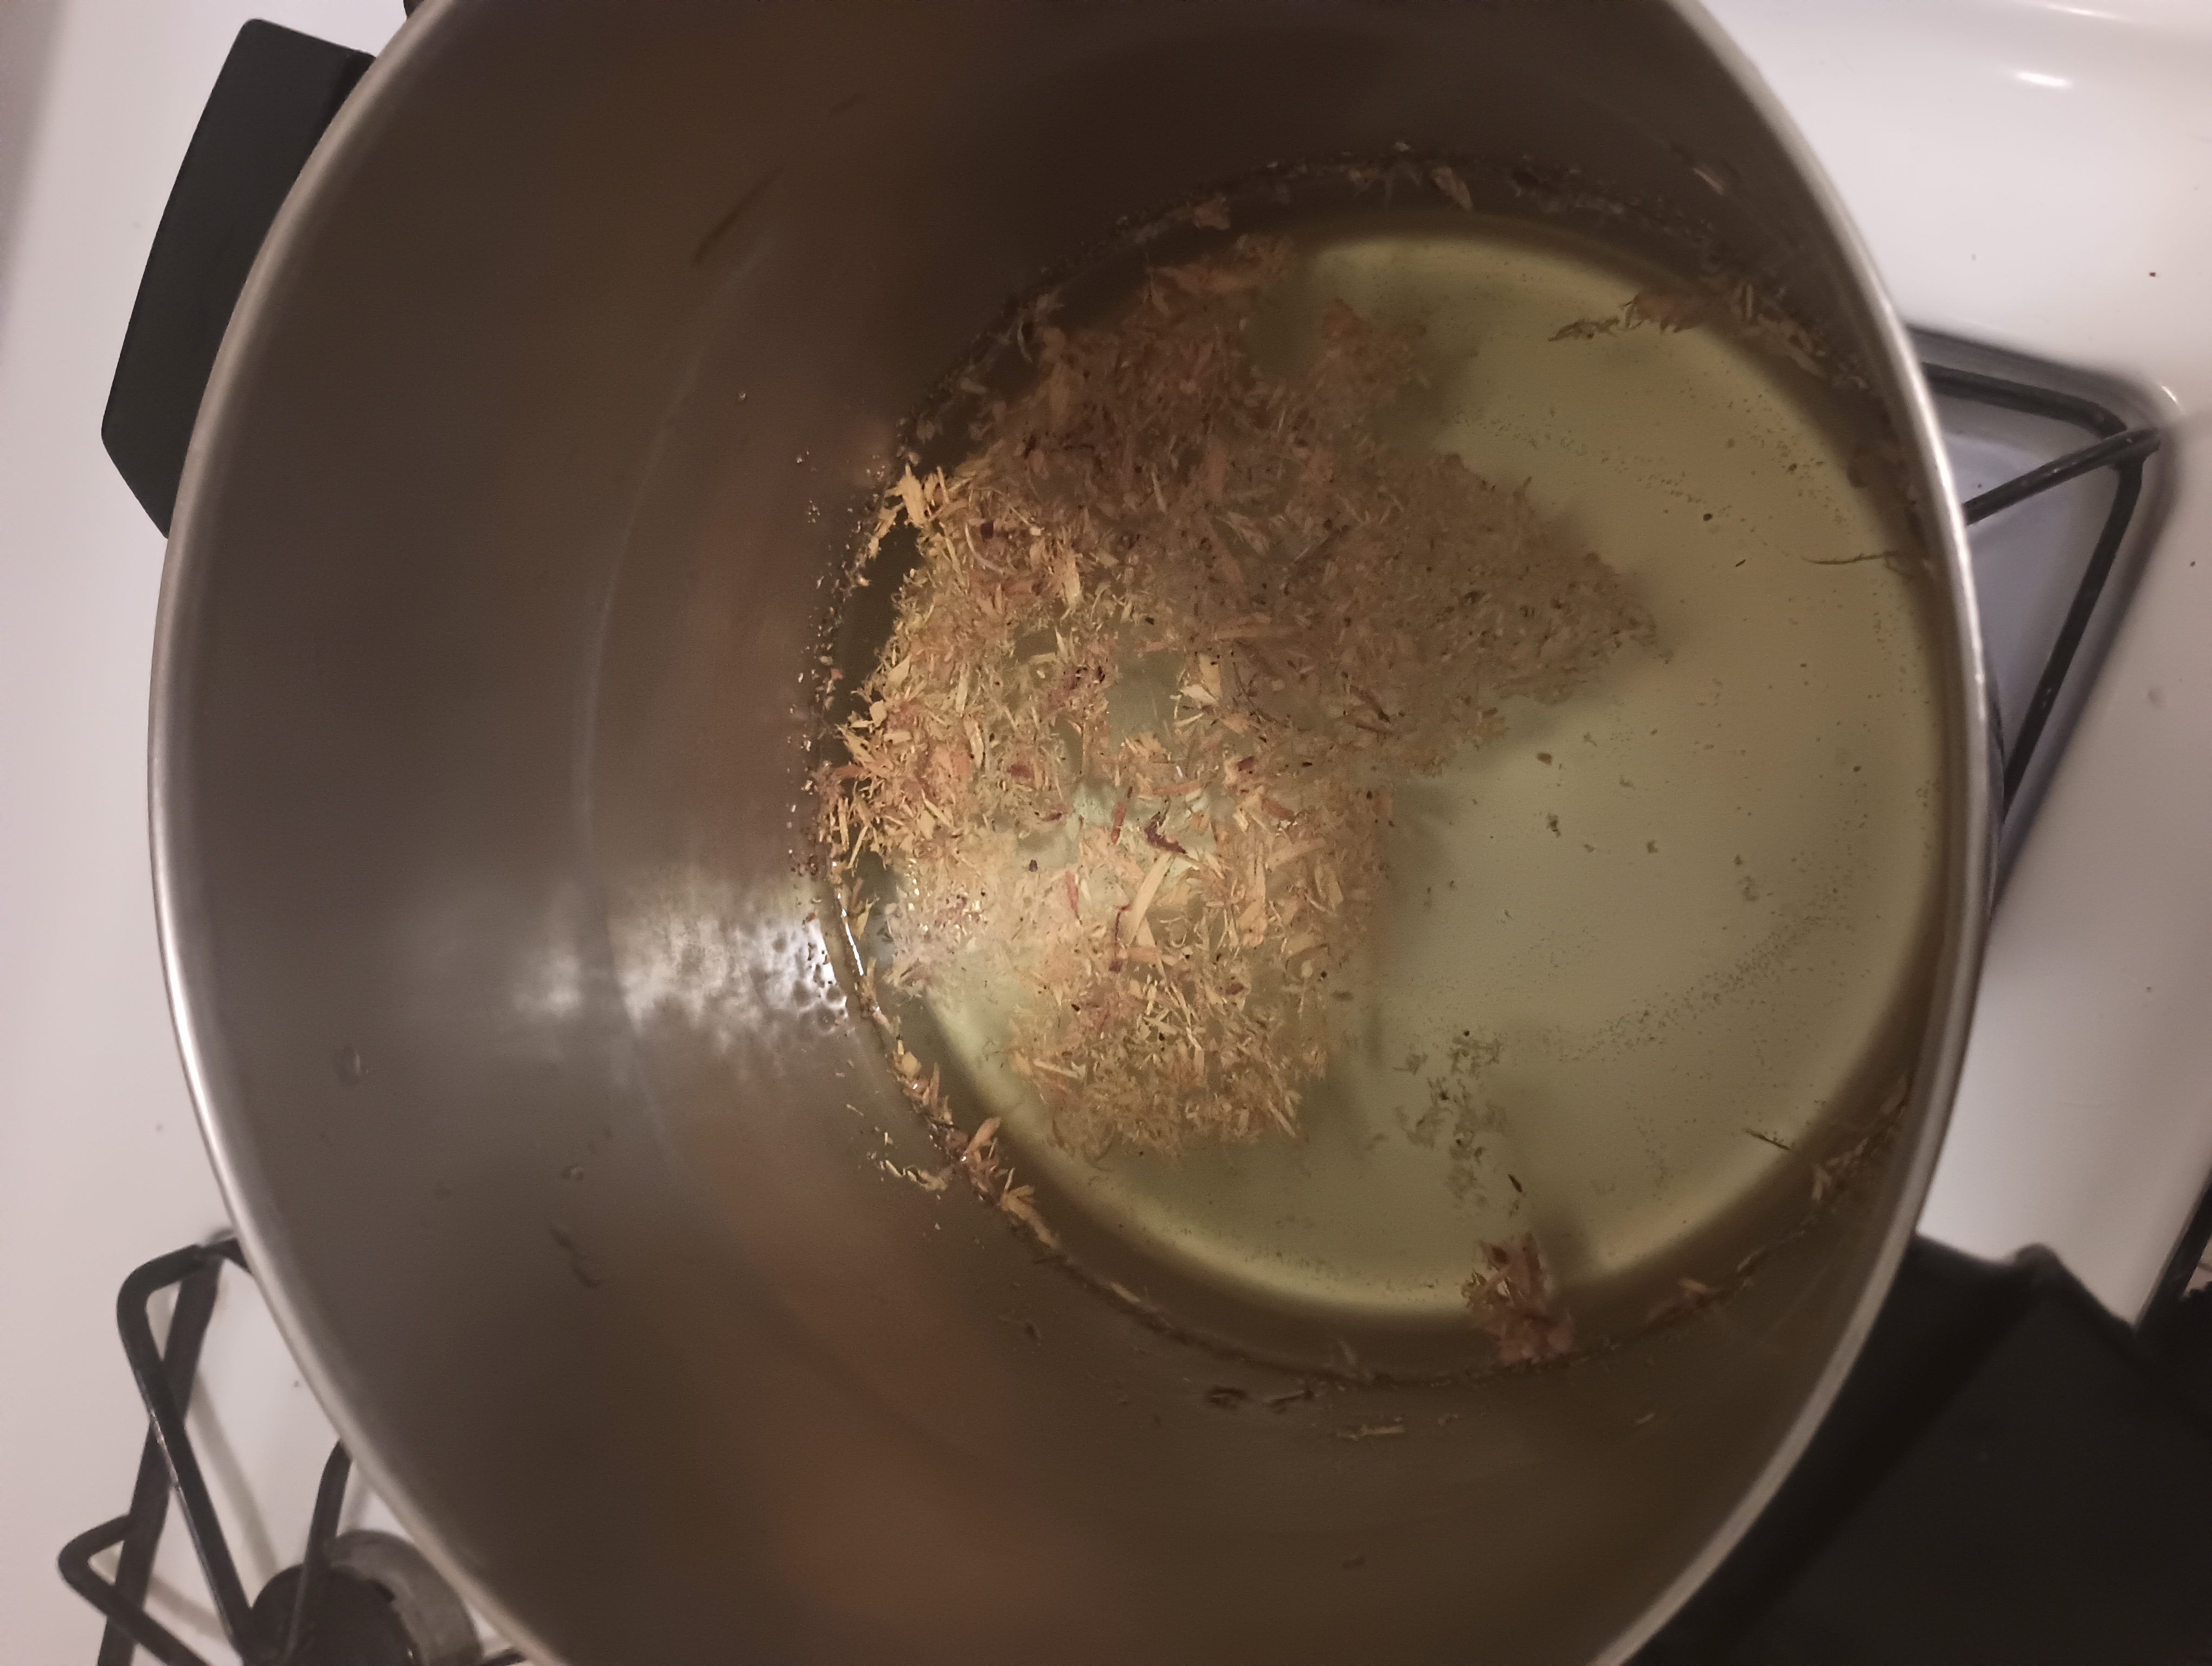
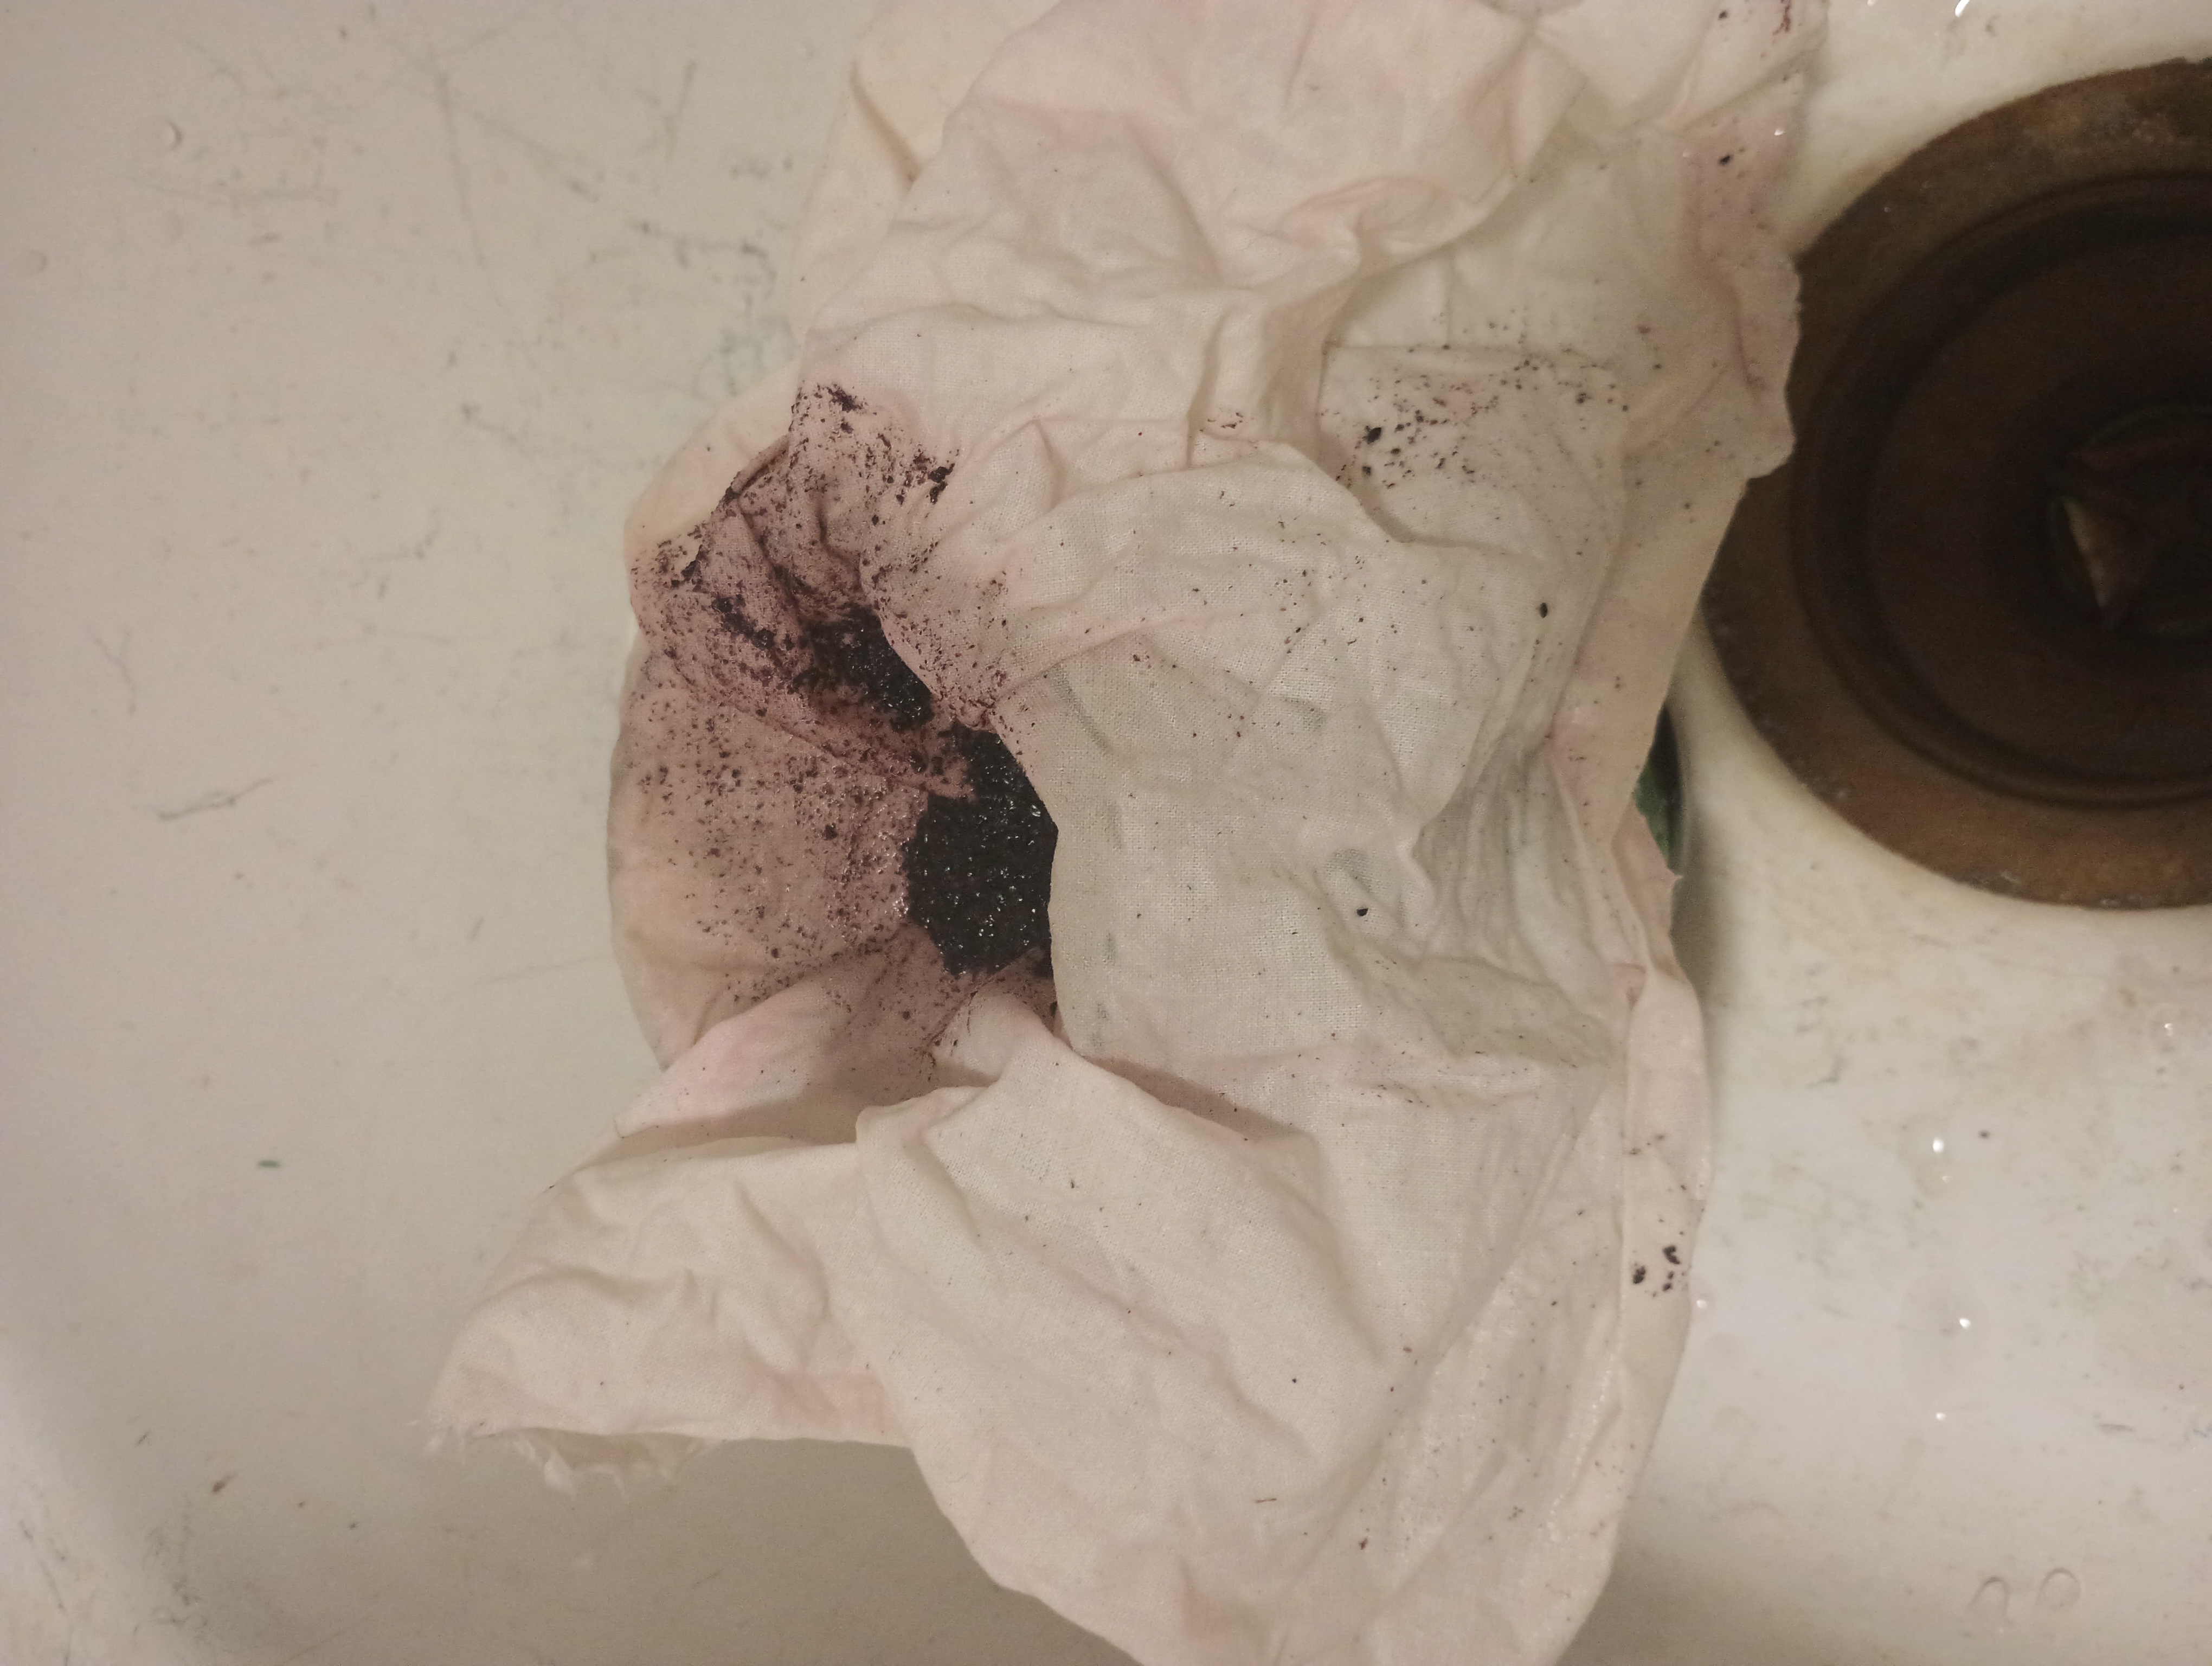
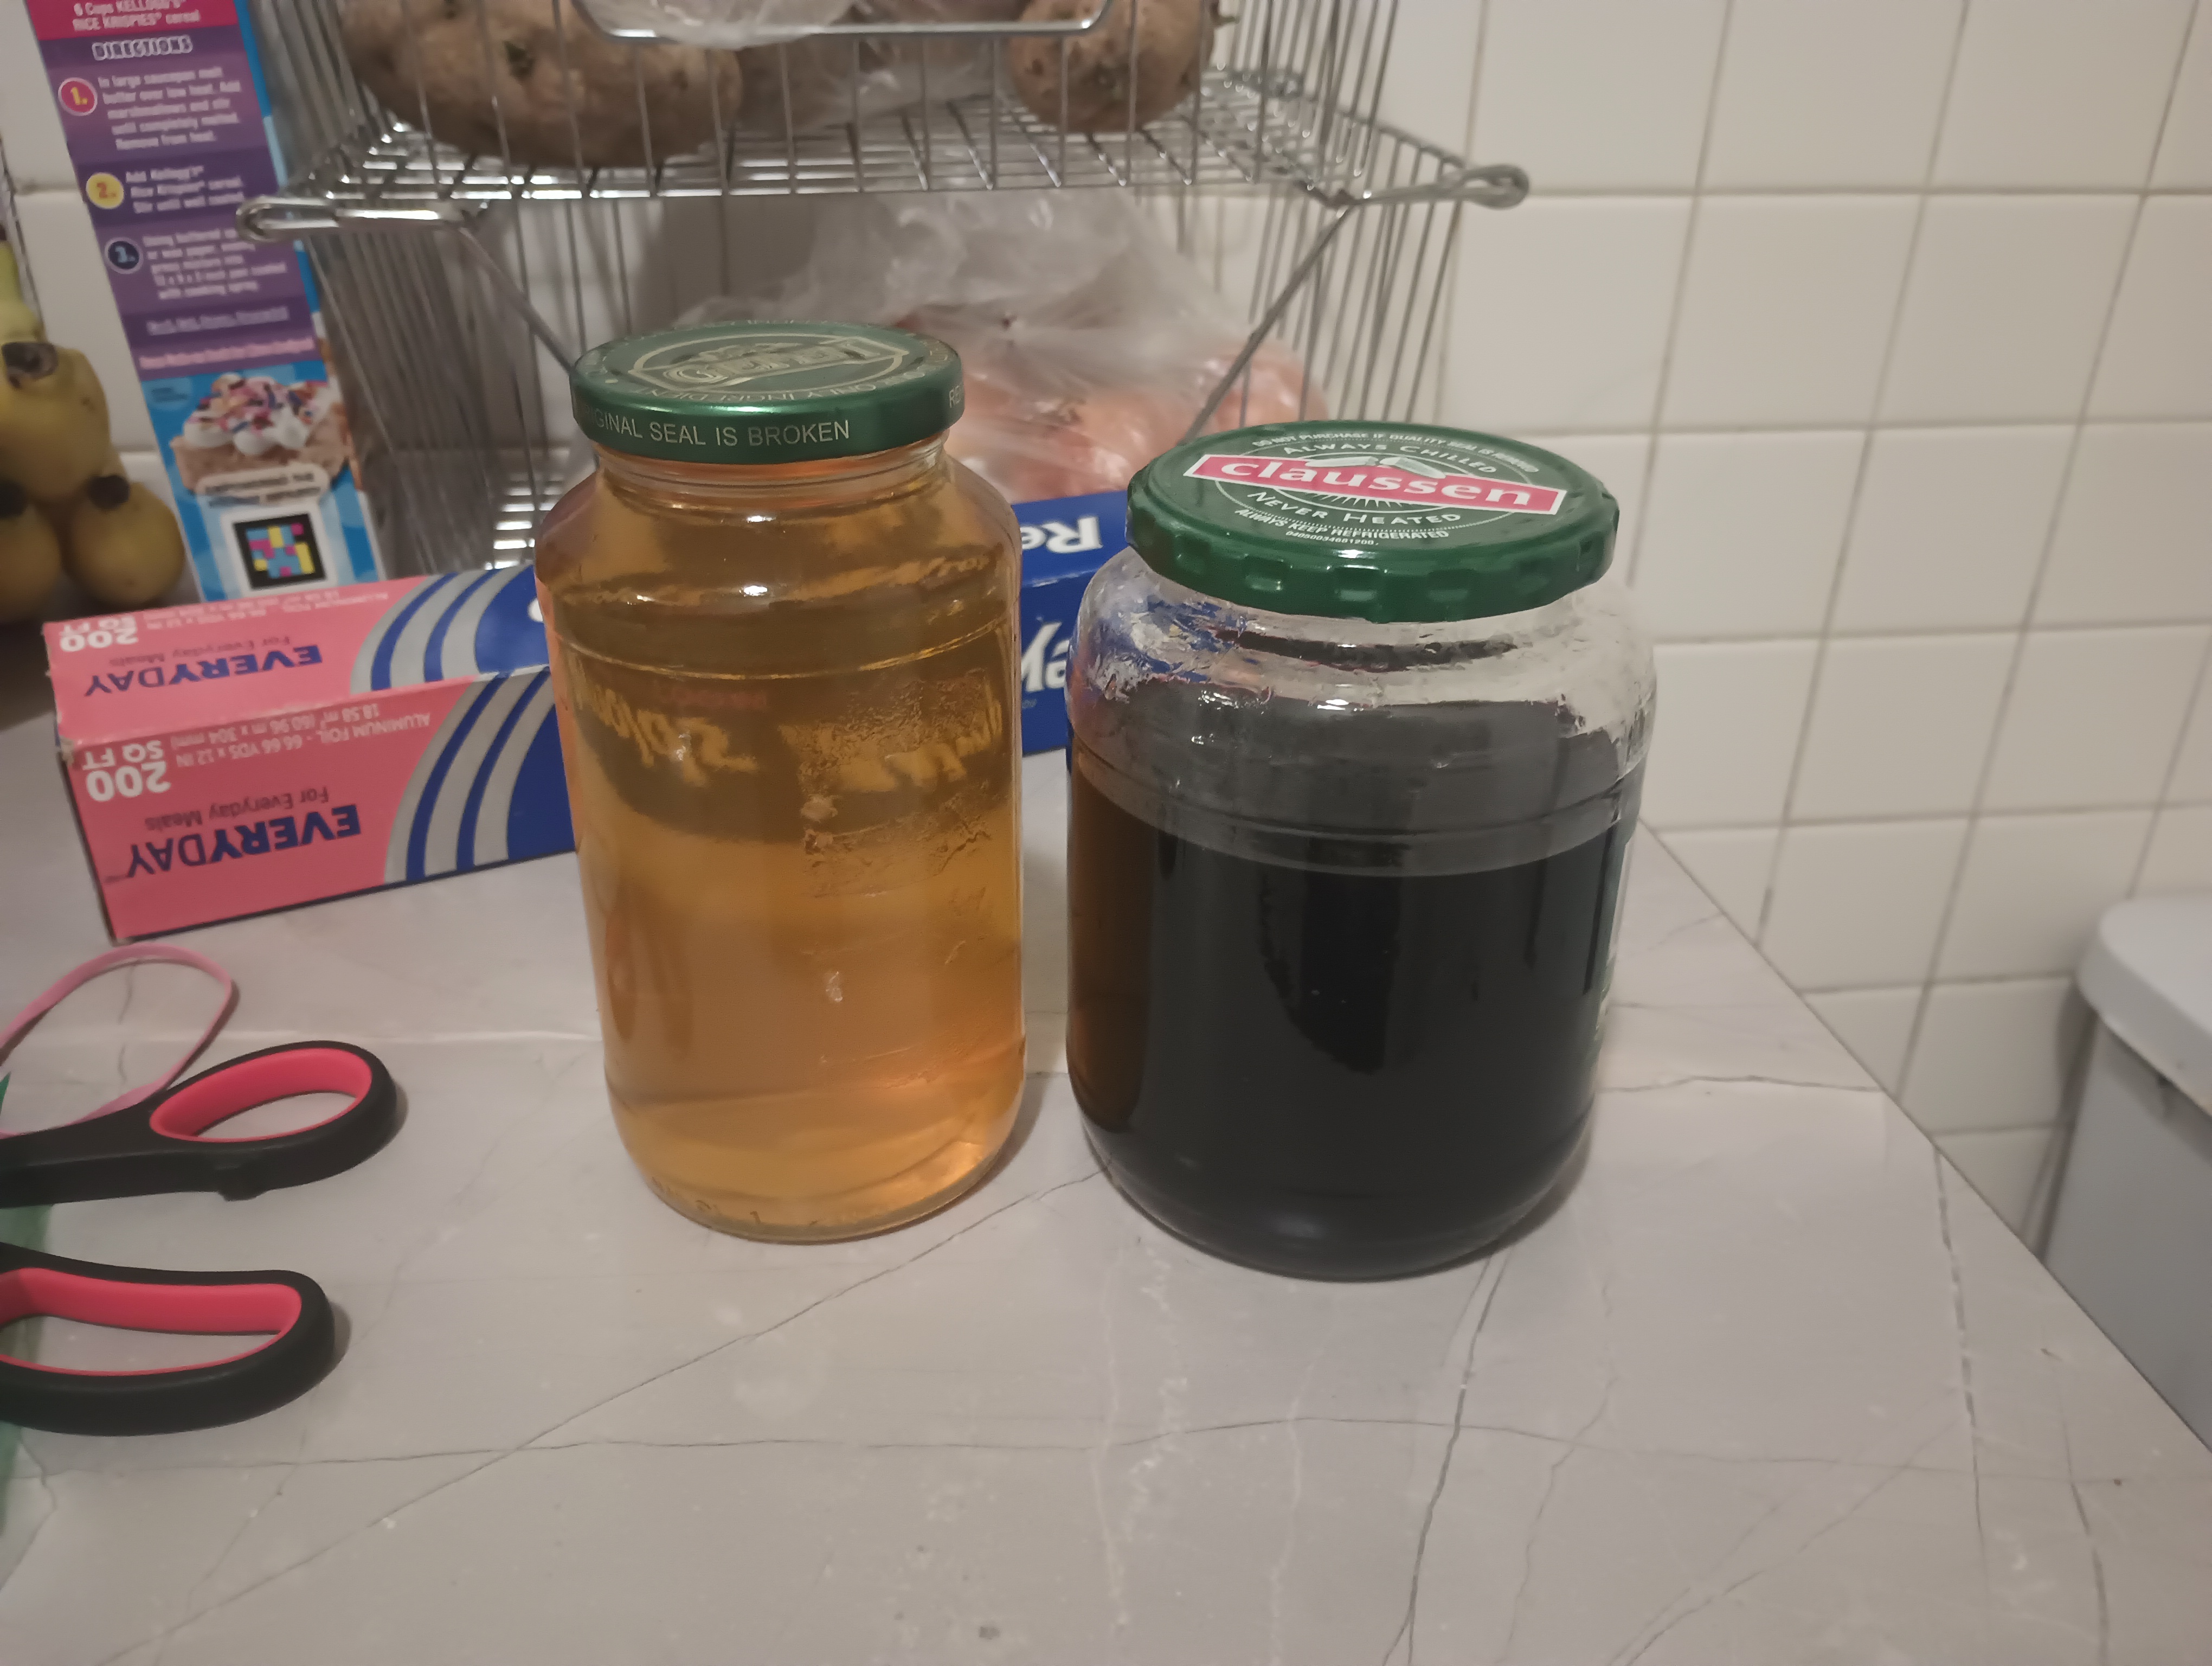
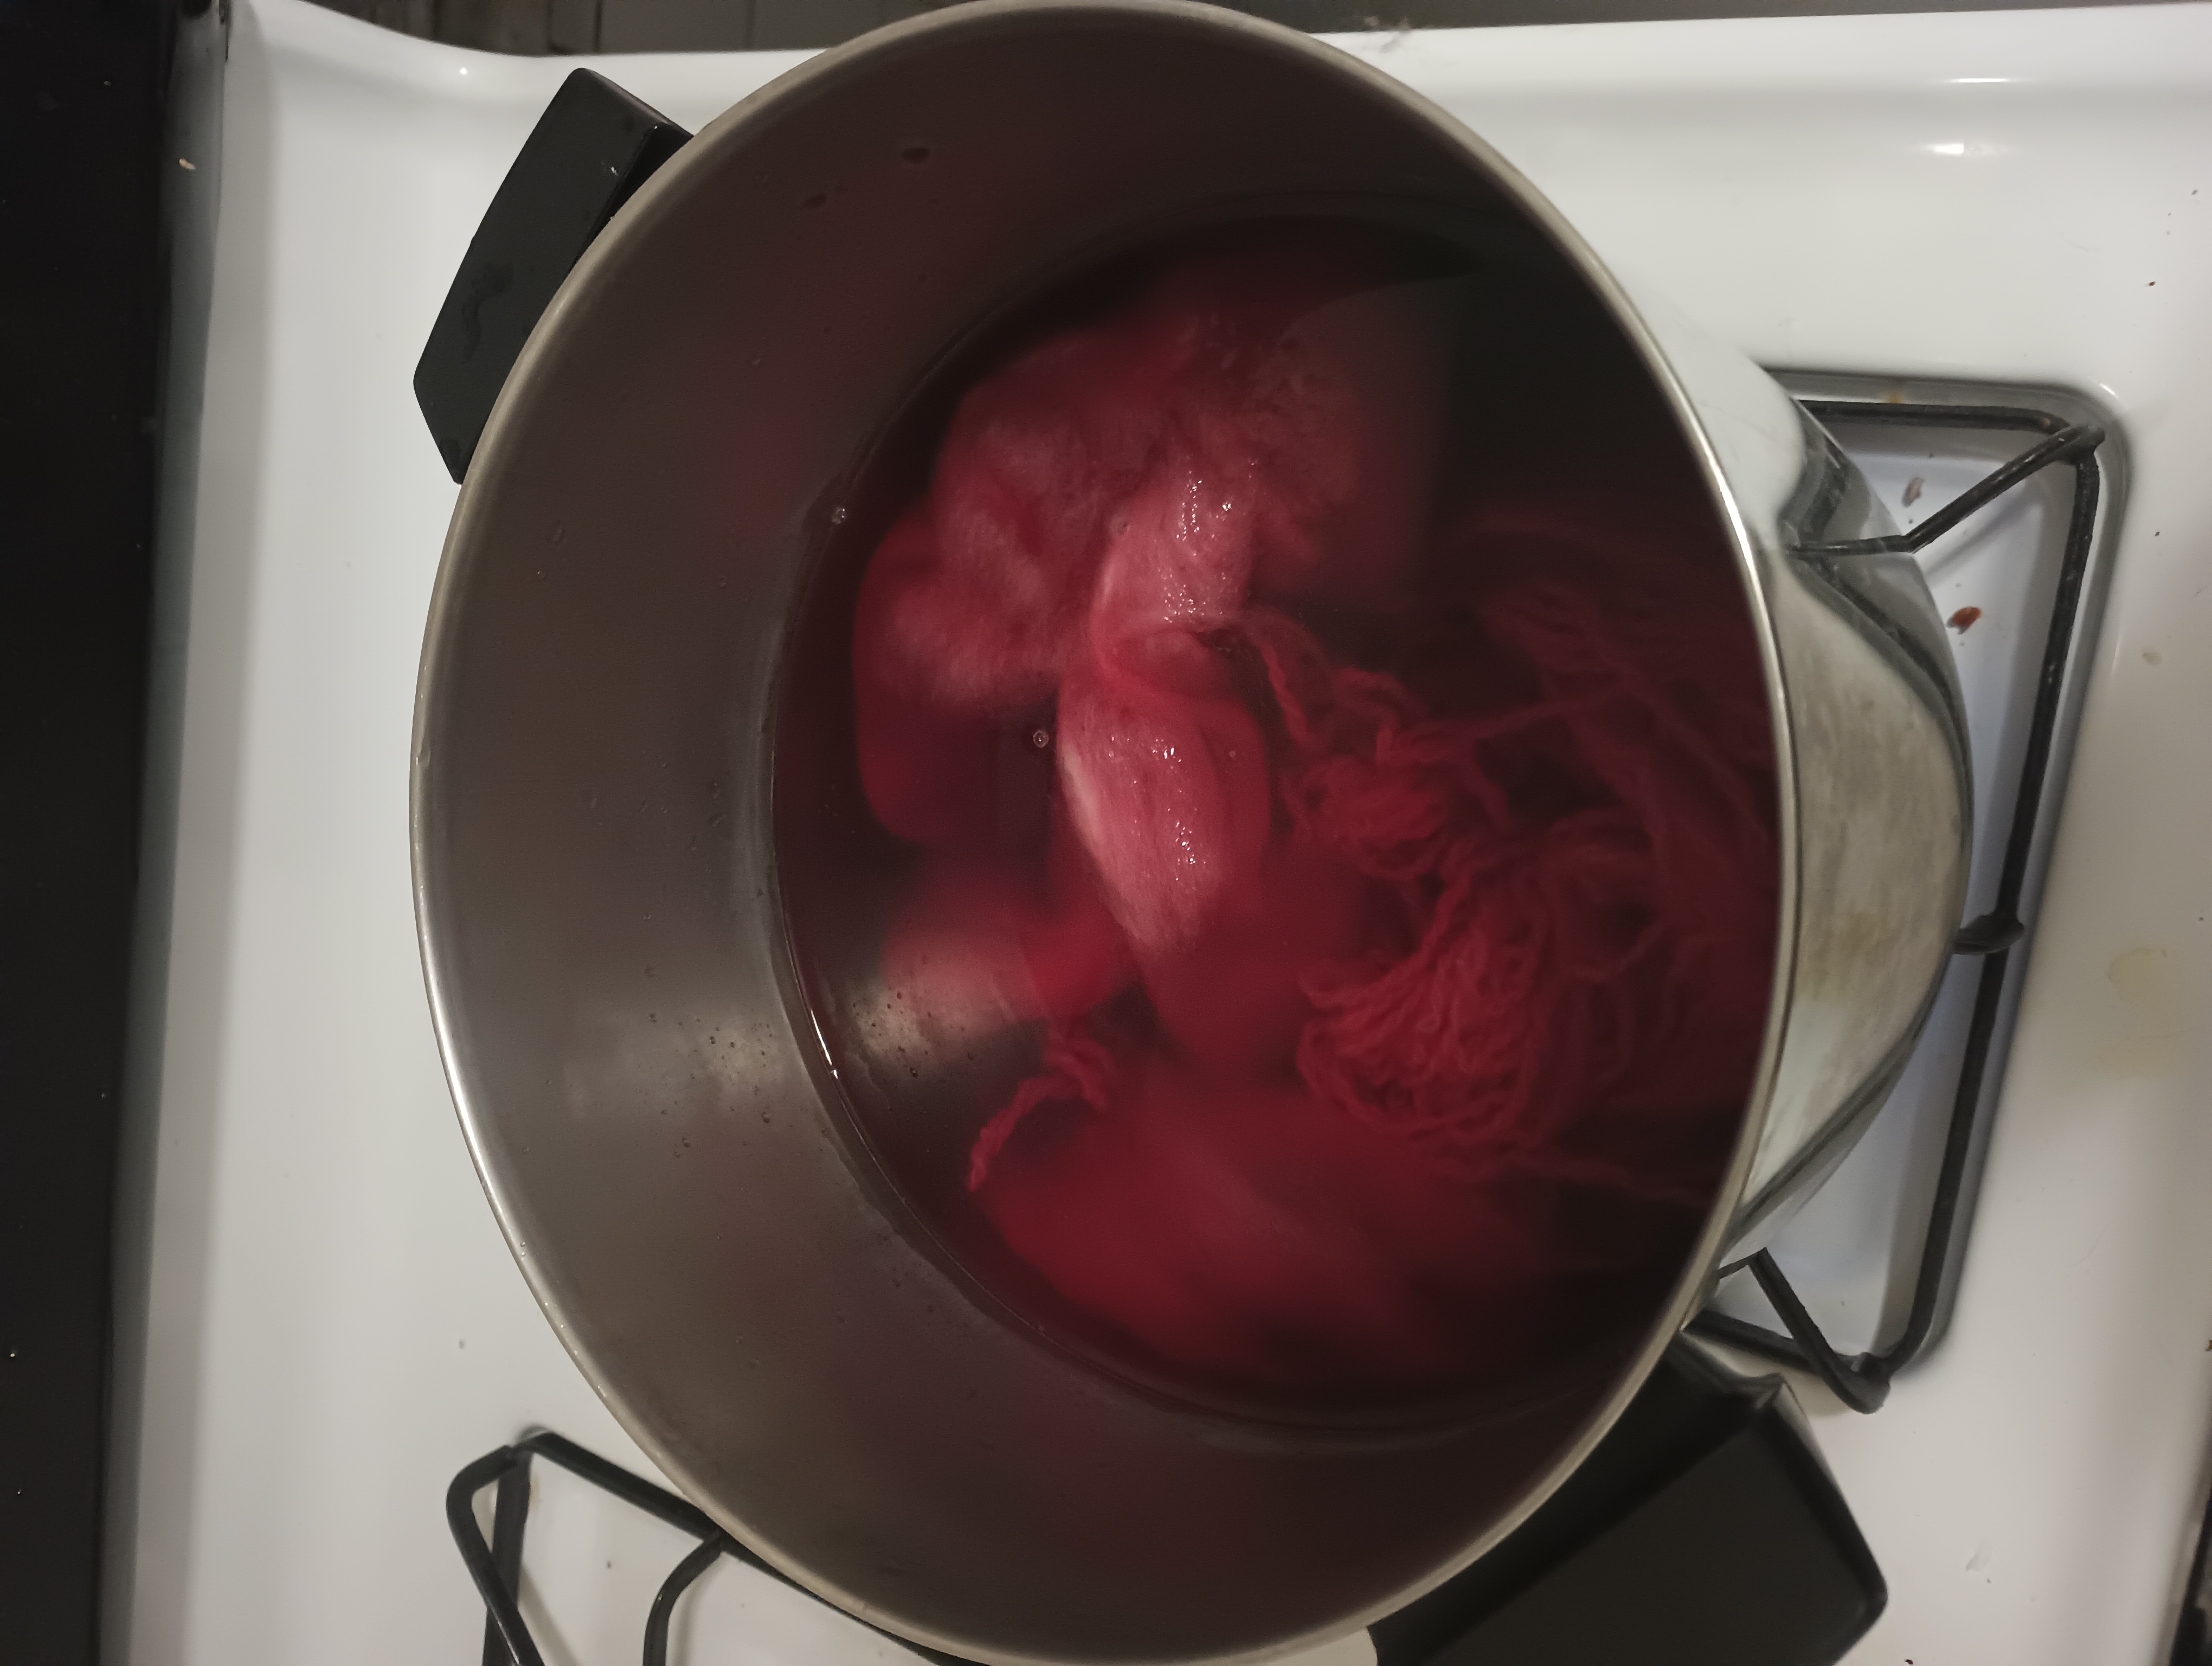
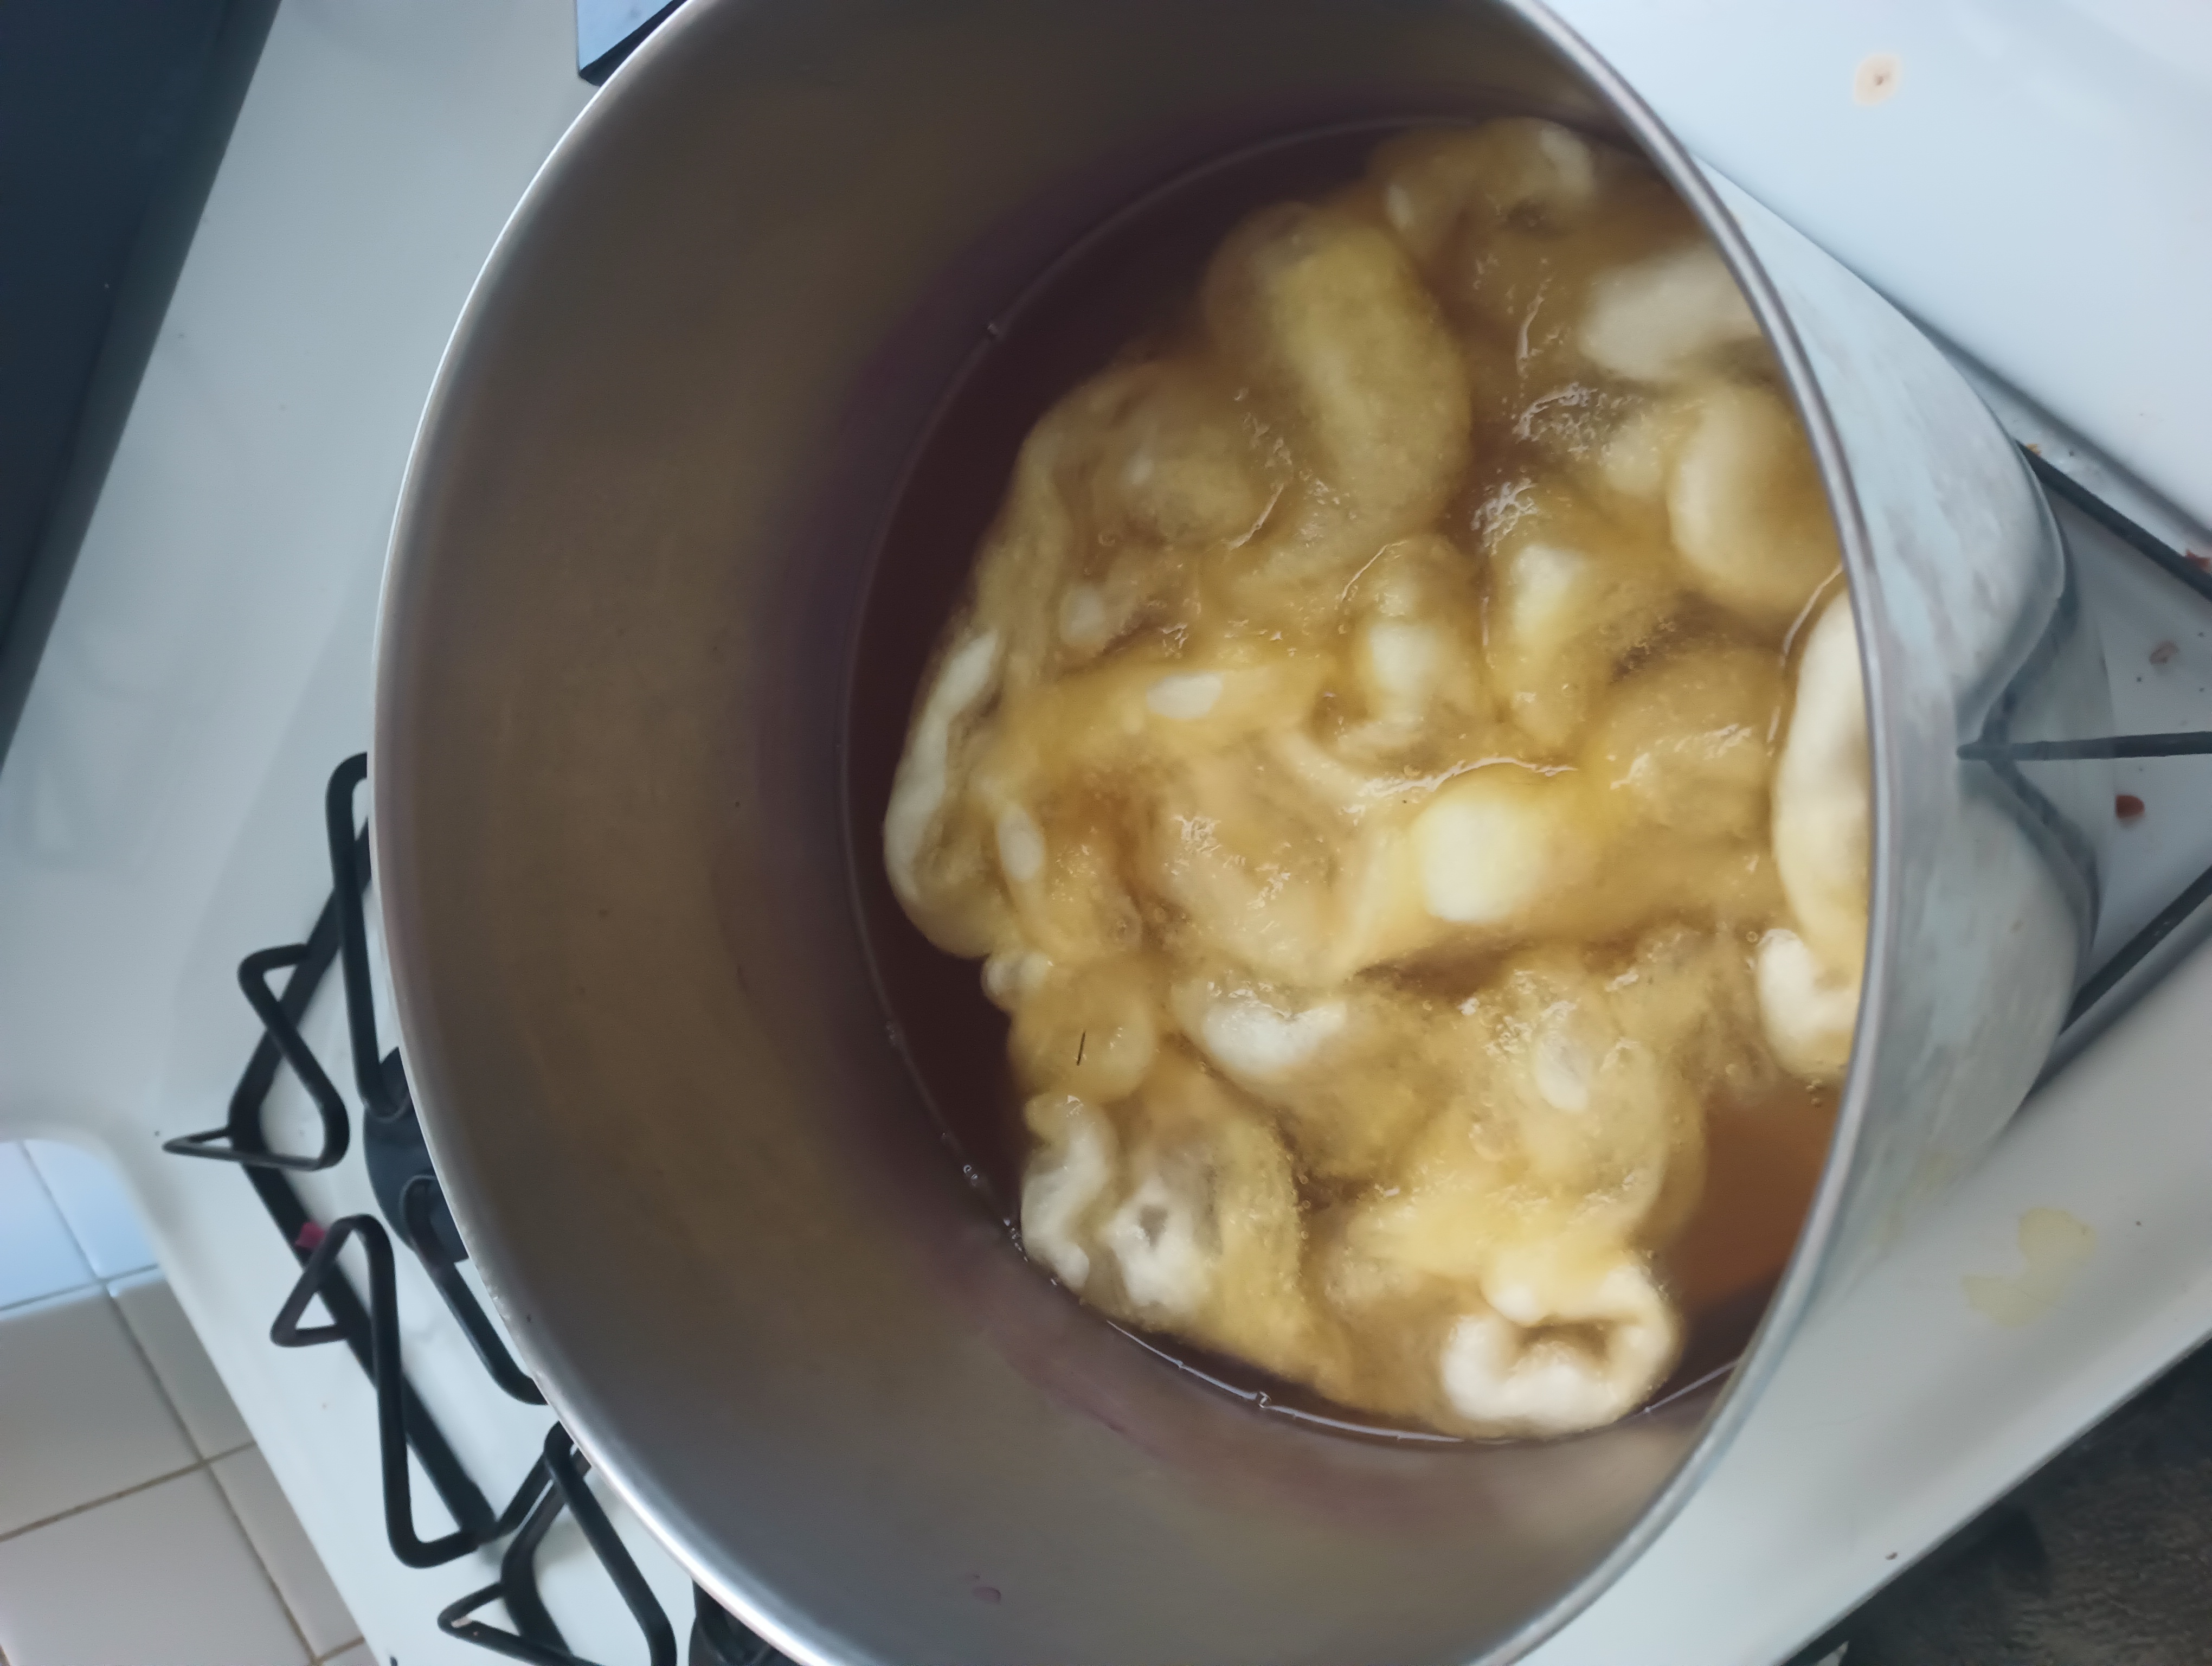
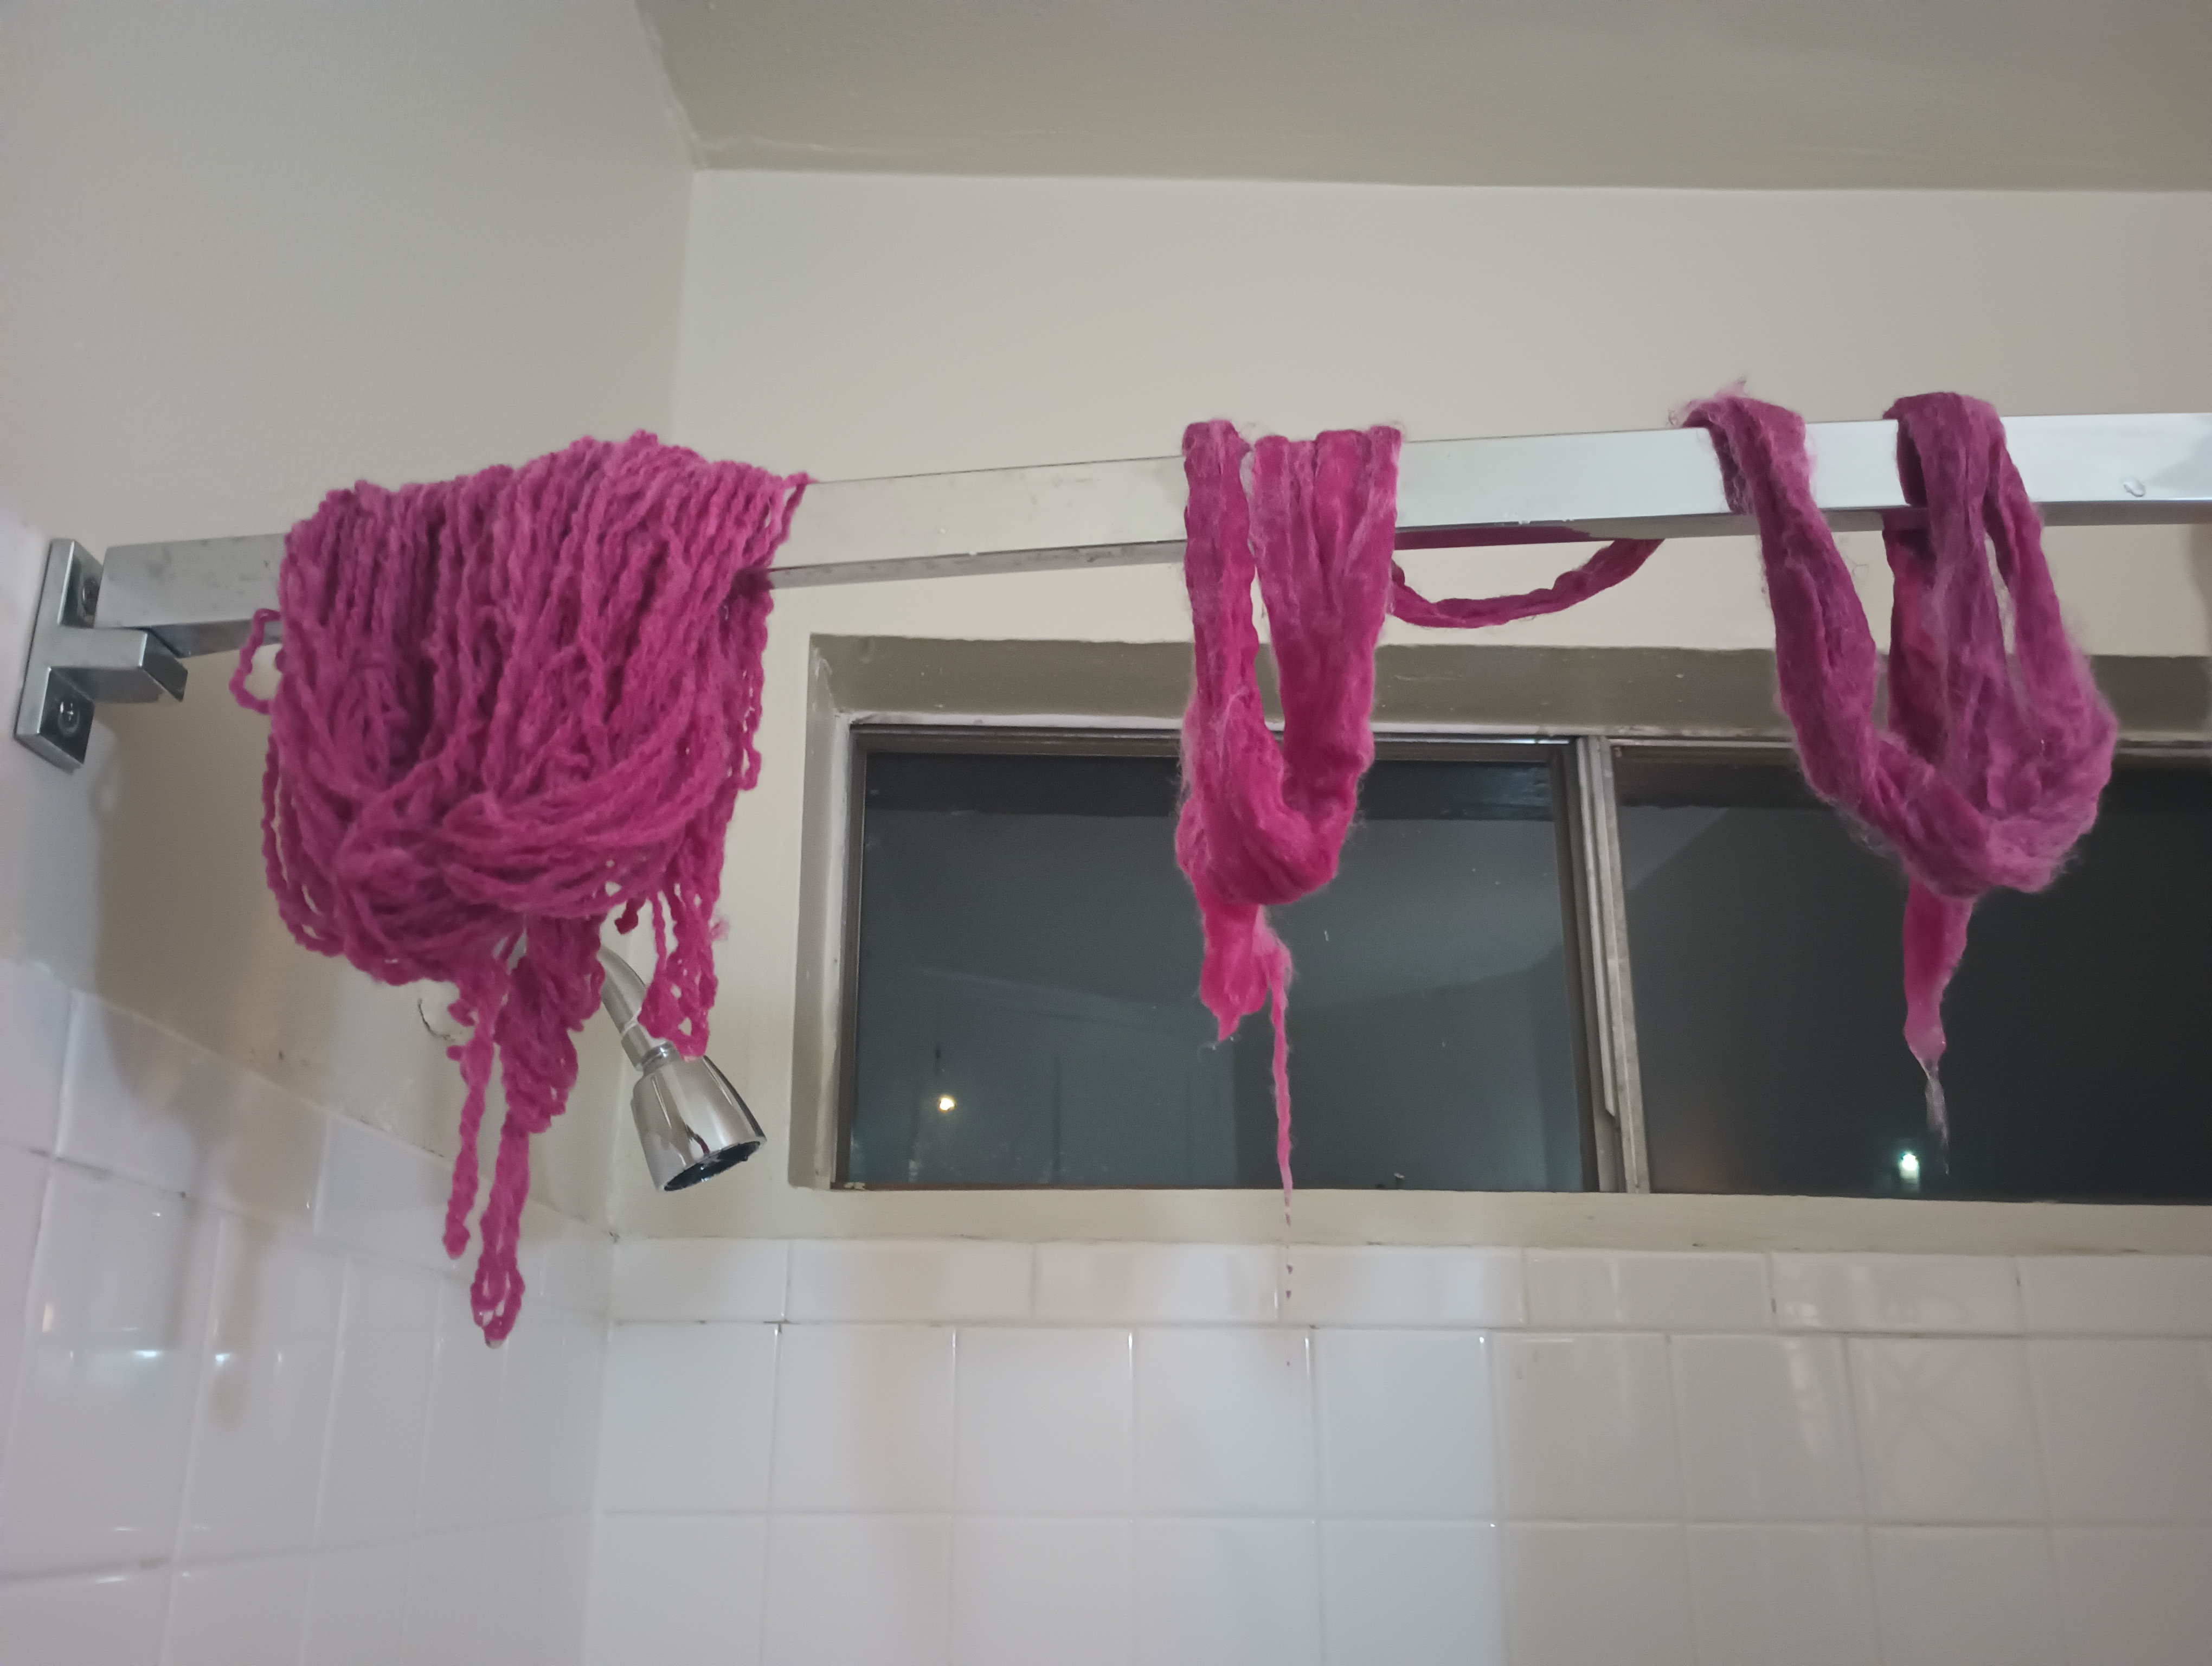
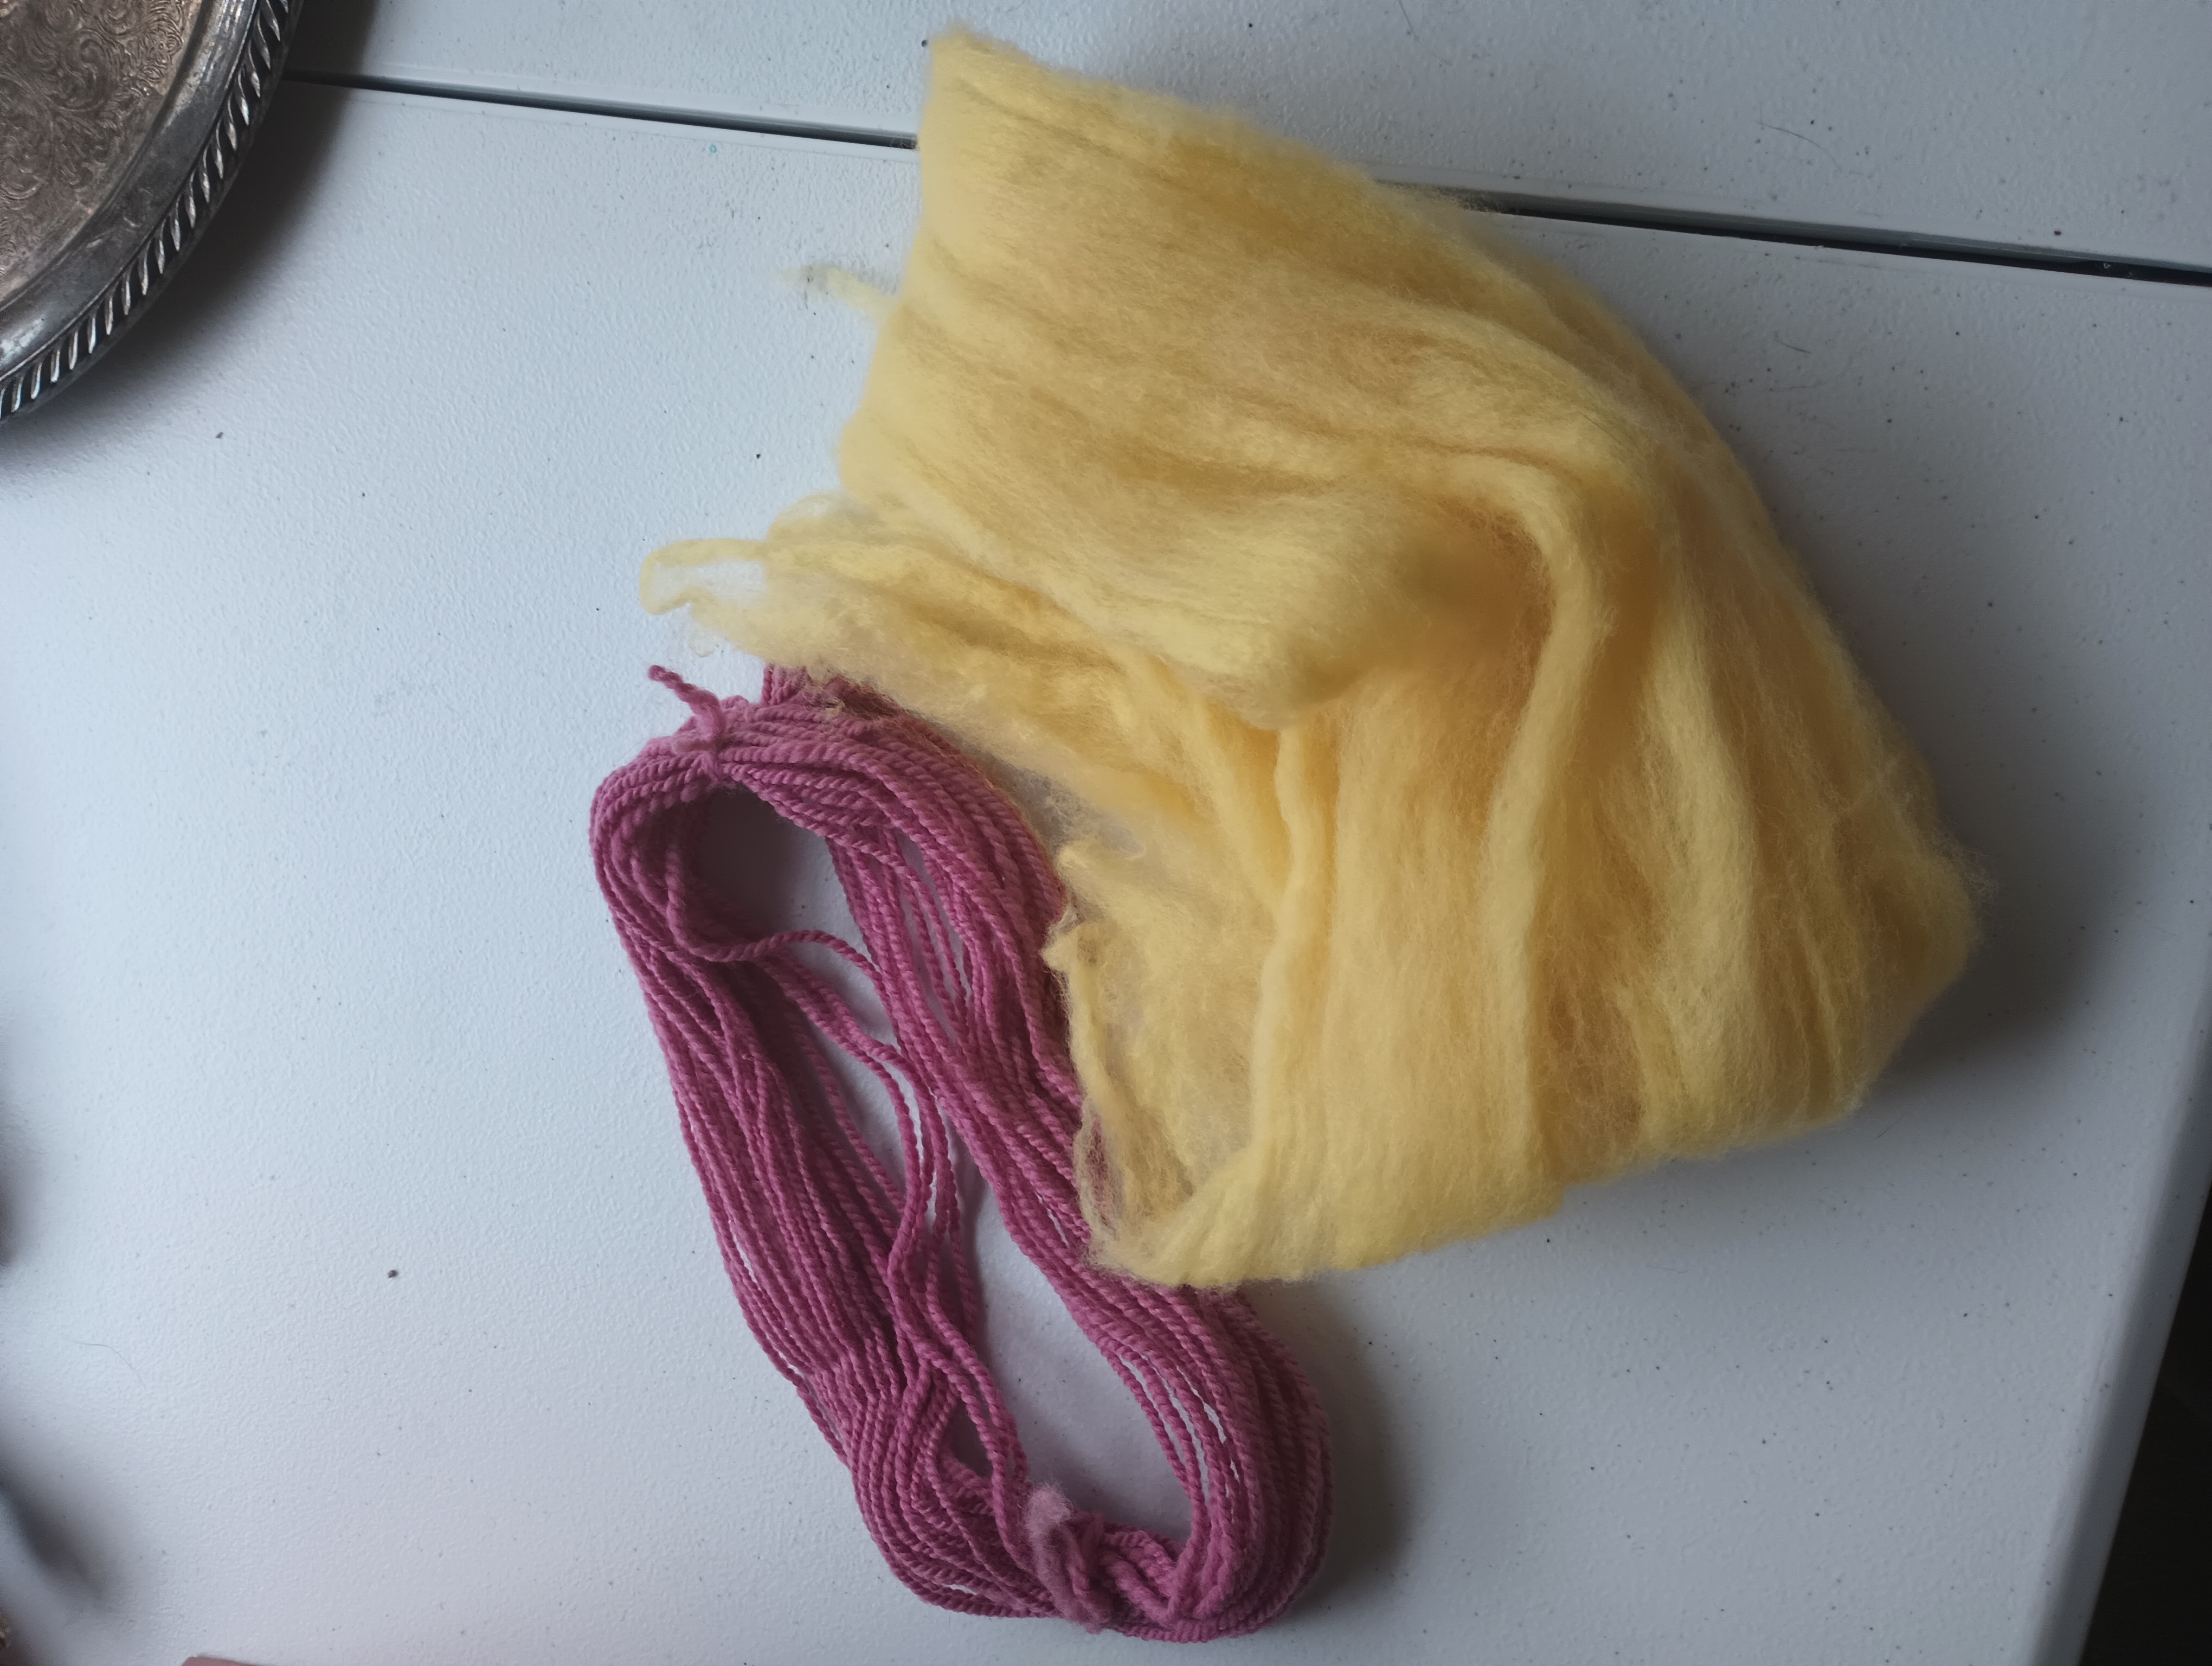
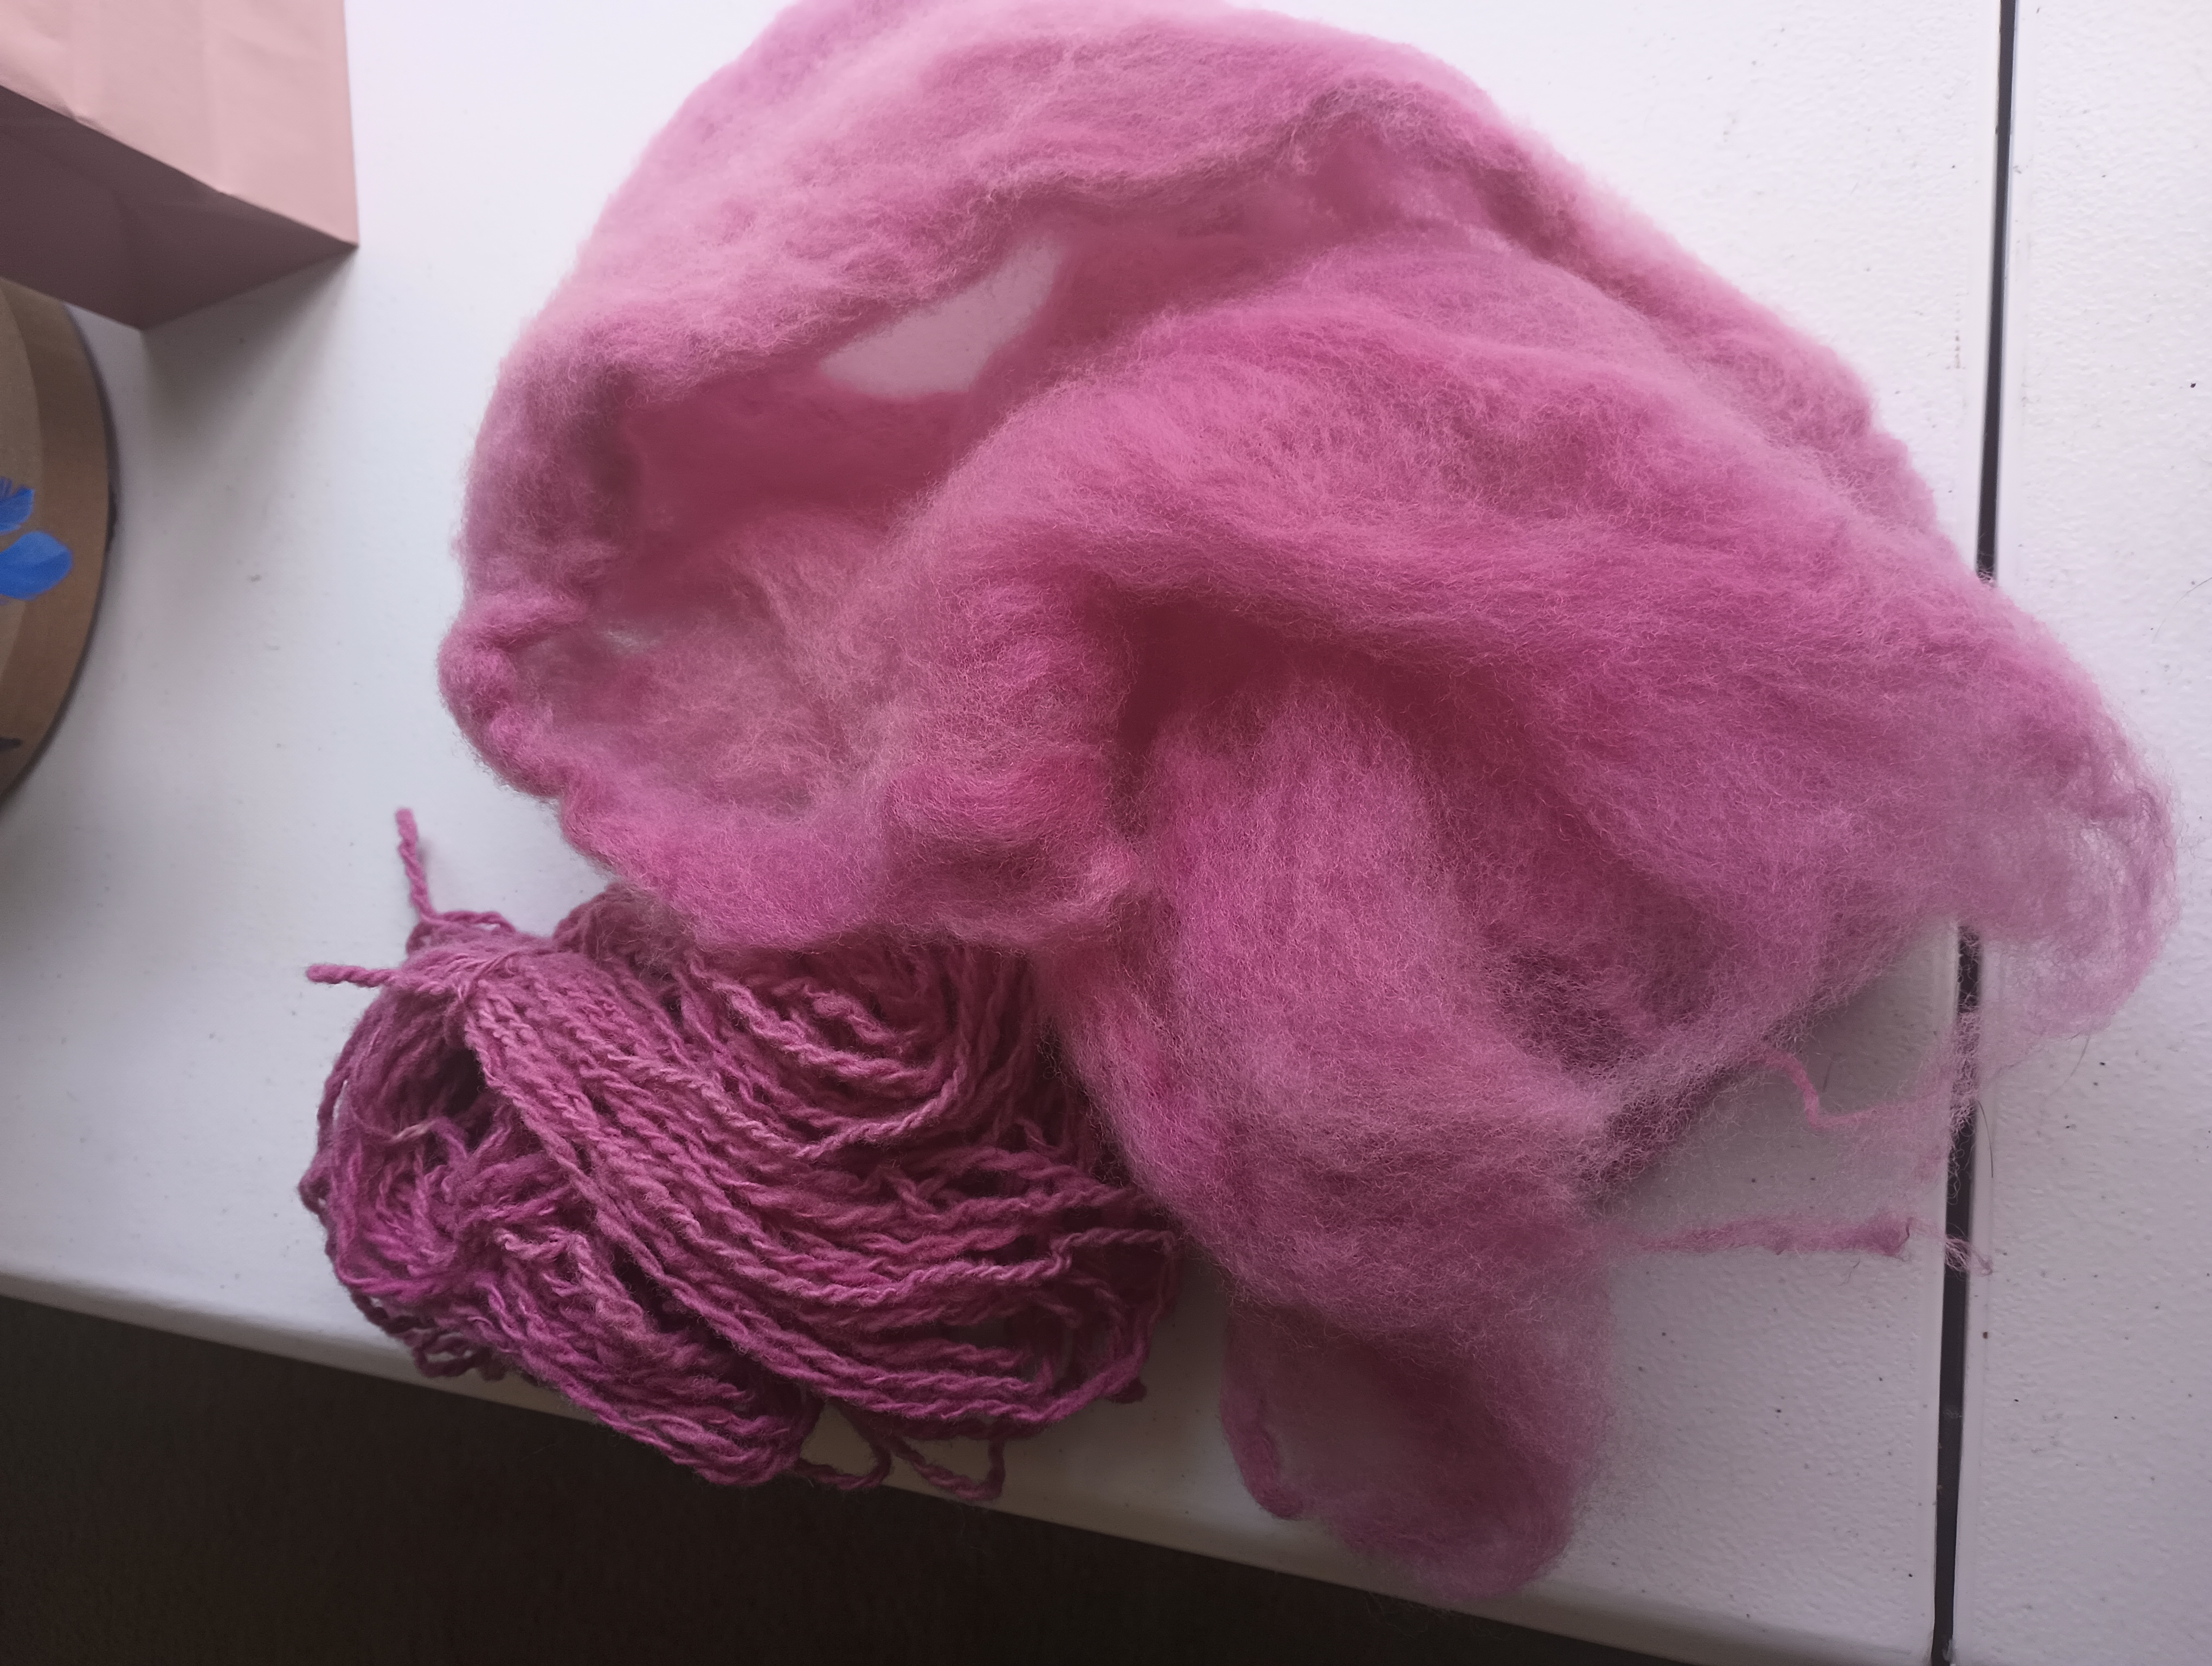
Take-home studio - dyeing
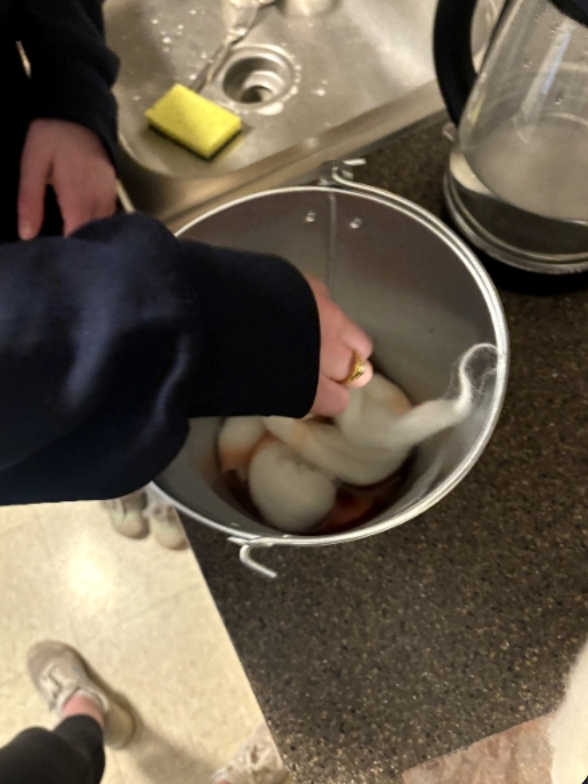
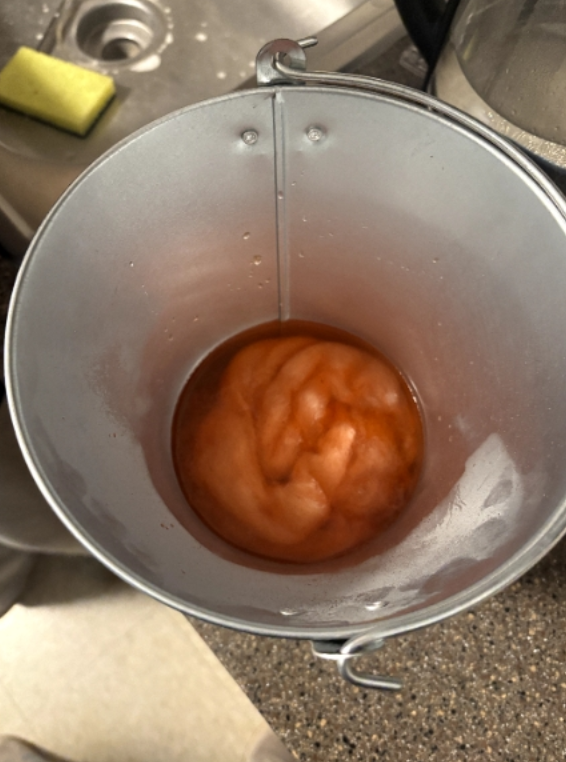
While I was away at a conference, students were assigned a dyeing studio to do on their own time. Students were divided into groups, ensuring that each group had access to hot water. Each group took a sample of various natural dyestuffs, alum (a mordant), and wool to dye (white wool roving or their own handspun yarn). The groups created dye extracts from the dyestuffs by cooking the dyestuffs in small amounts of water and straining the liquid off. They prepared their fiber by cooking it in a mixture of water and alum. Then, they gently cooked the prepared fiber in a mixture of dye extract and water, rinsed the fiber, and left it to dry. Students brought their results into class to share and compare with others.
Supplies
- Natural dyestuffs (logwood, madder, cochineal, osage)
- Mordant (alum powder)
- Sink
- Pots/buckets to hold hot water
- Heat source (stovetop, microwave in a pinch)
- Stirrers (that you don't mind staining with dye
Pictures

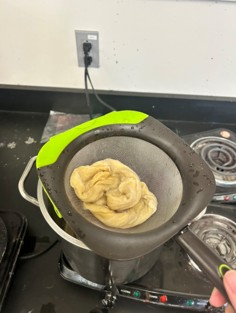
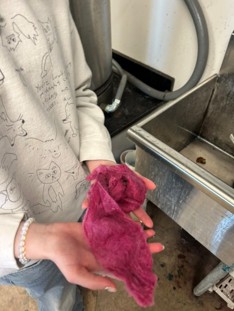
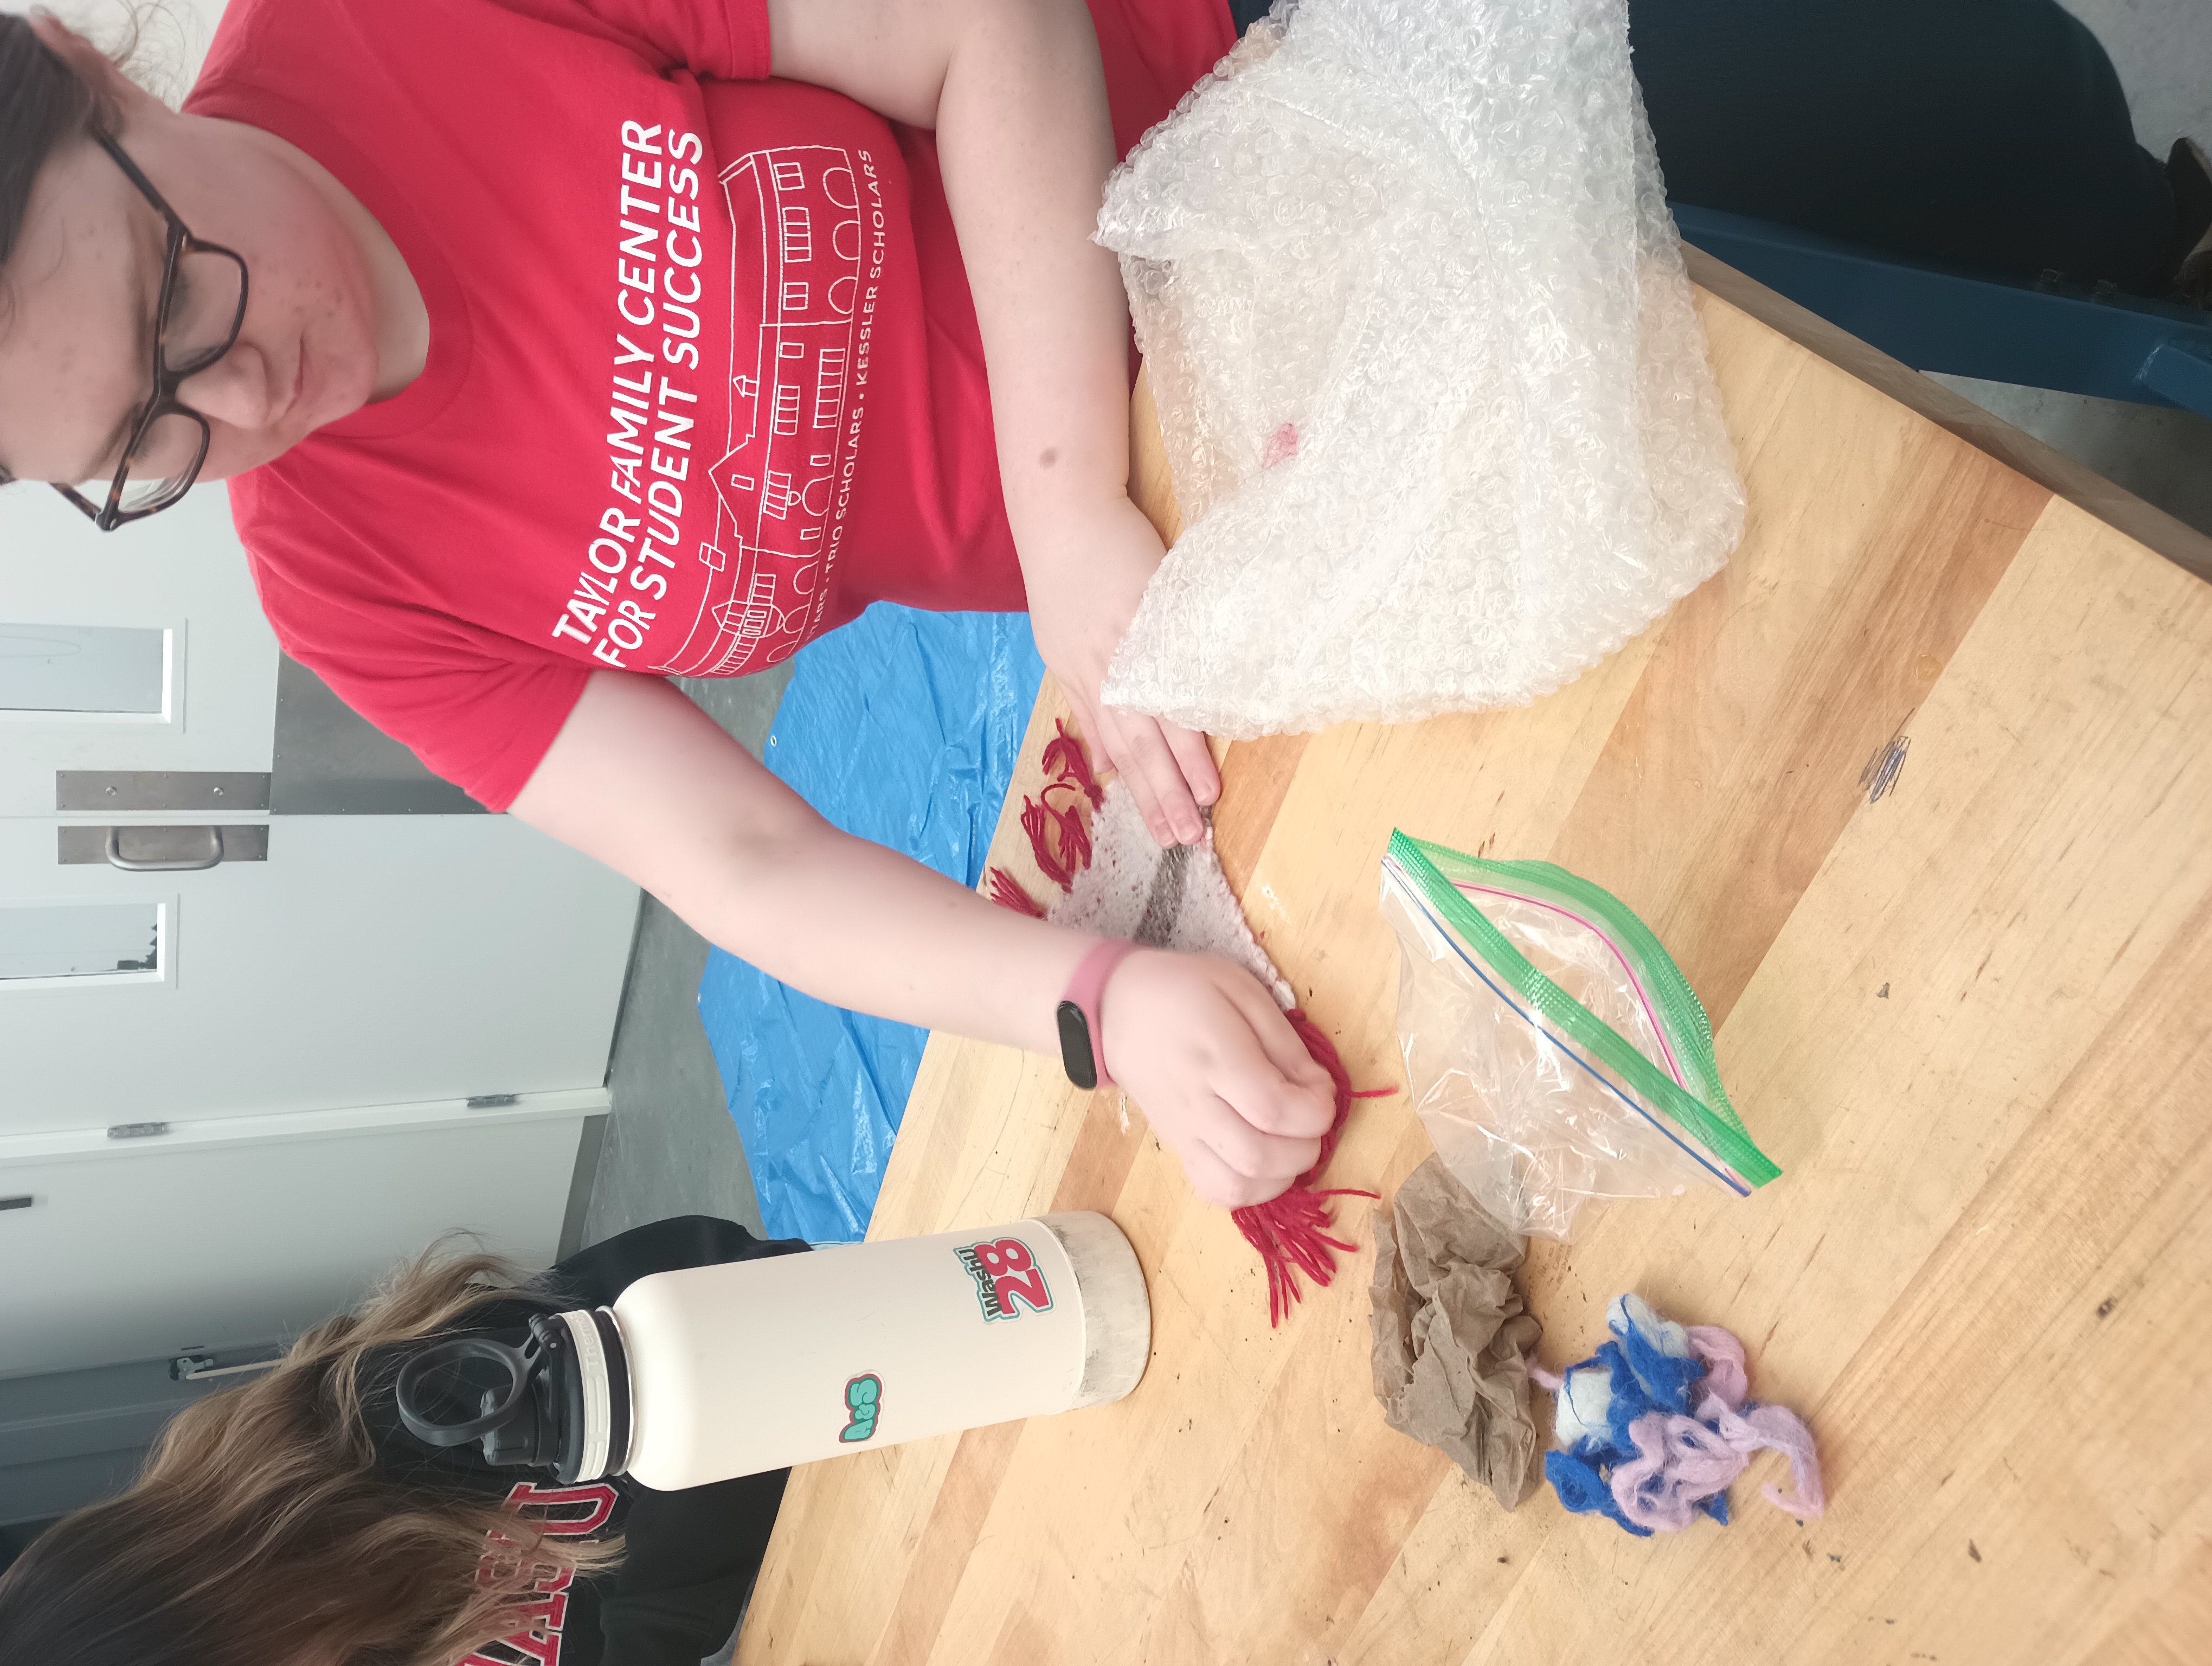
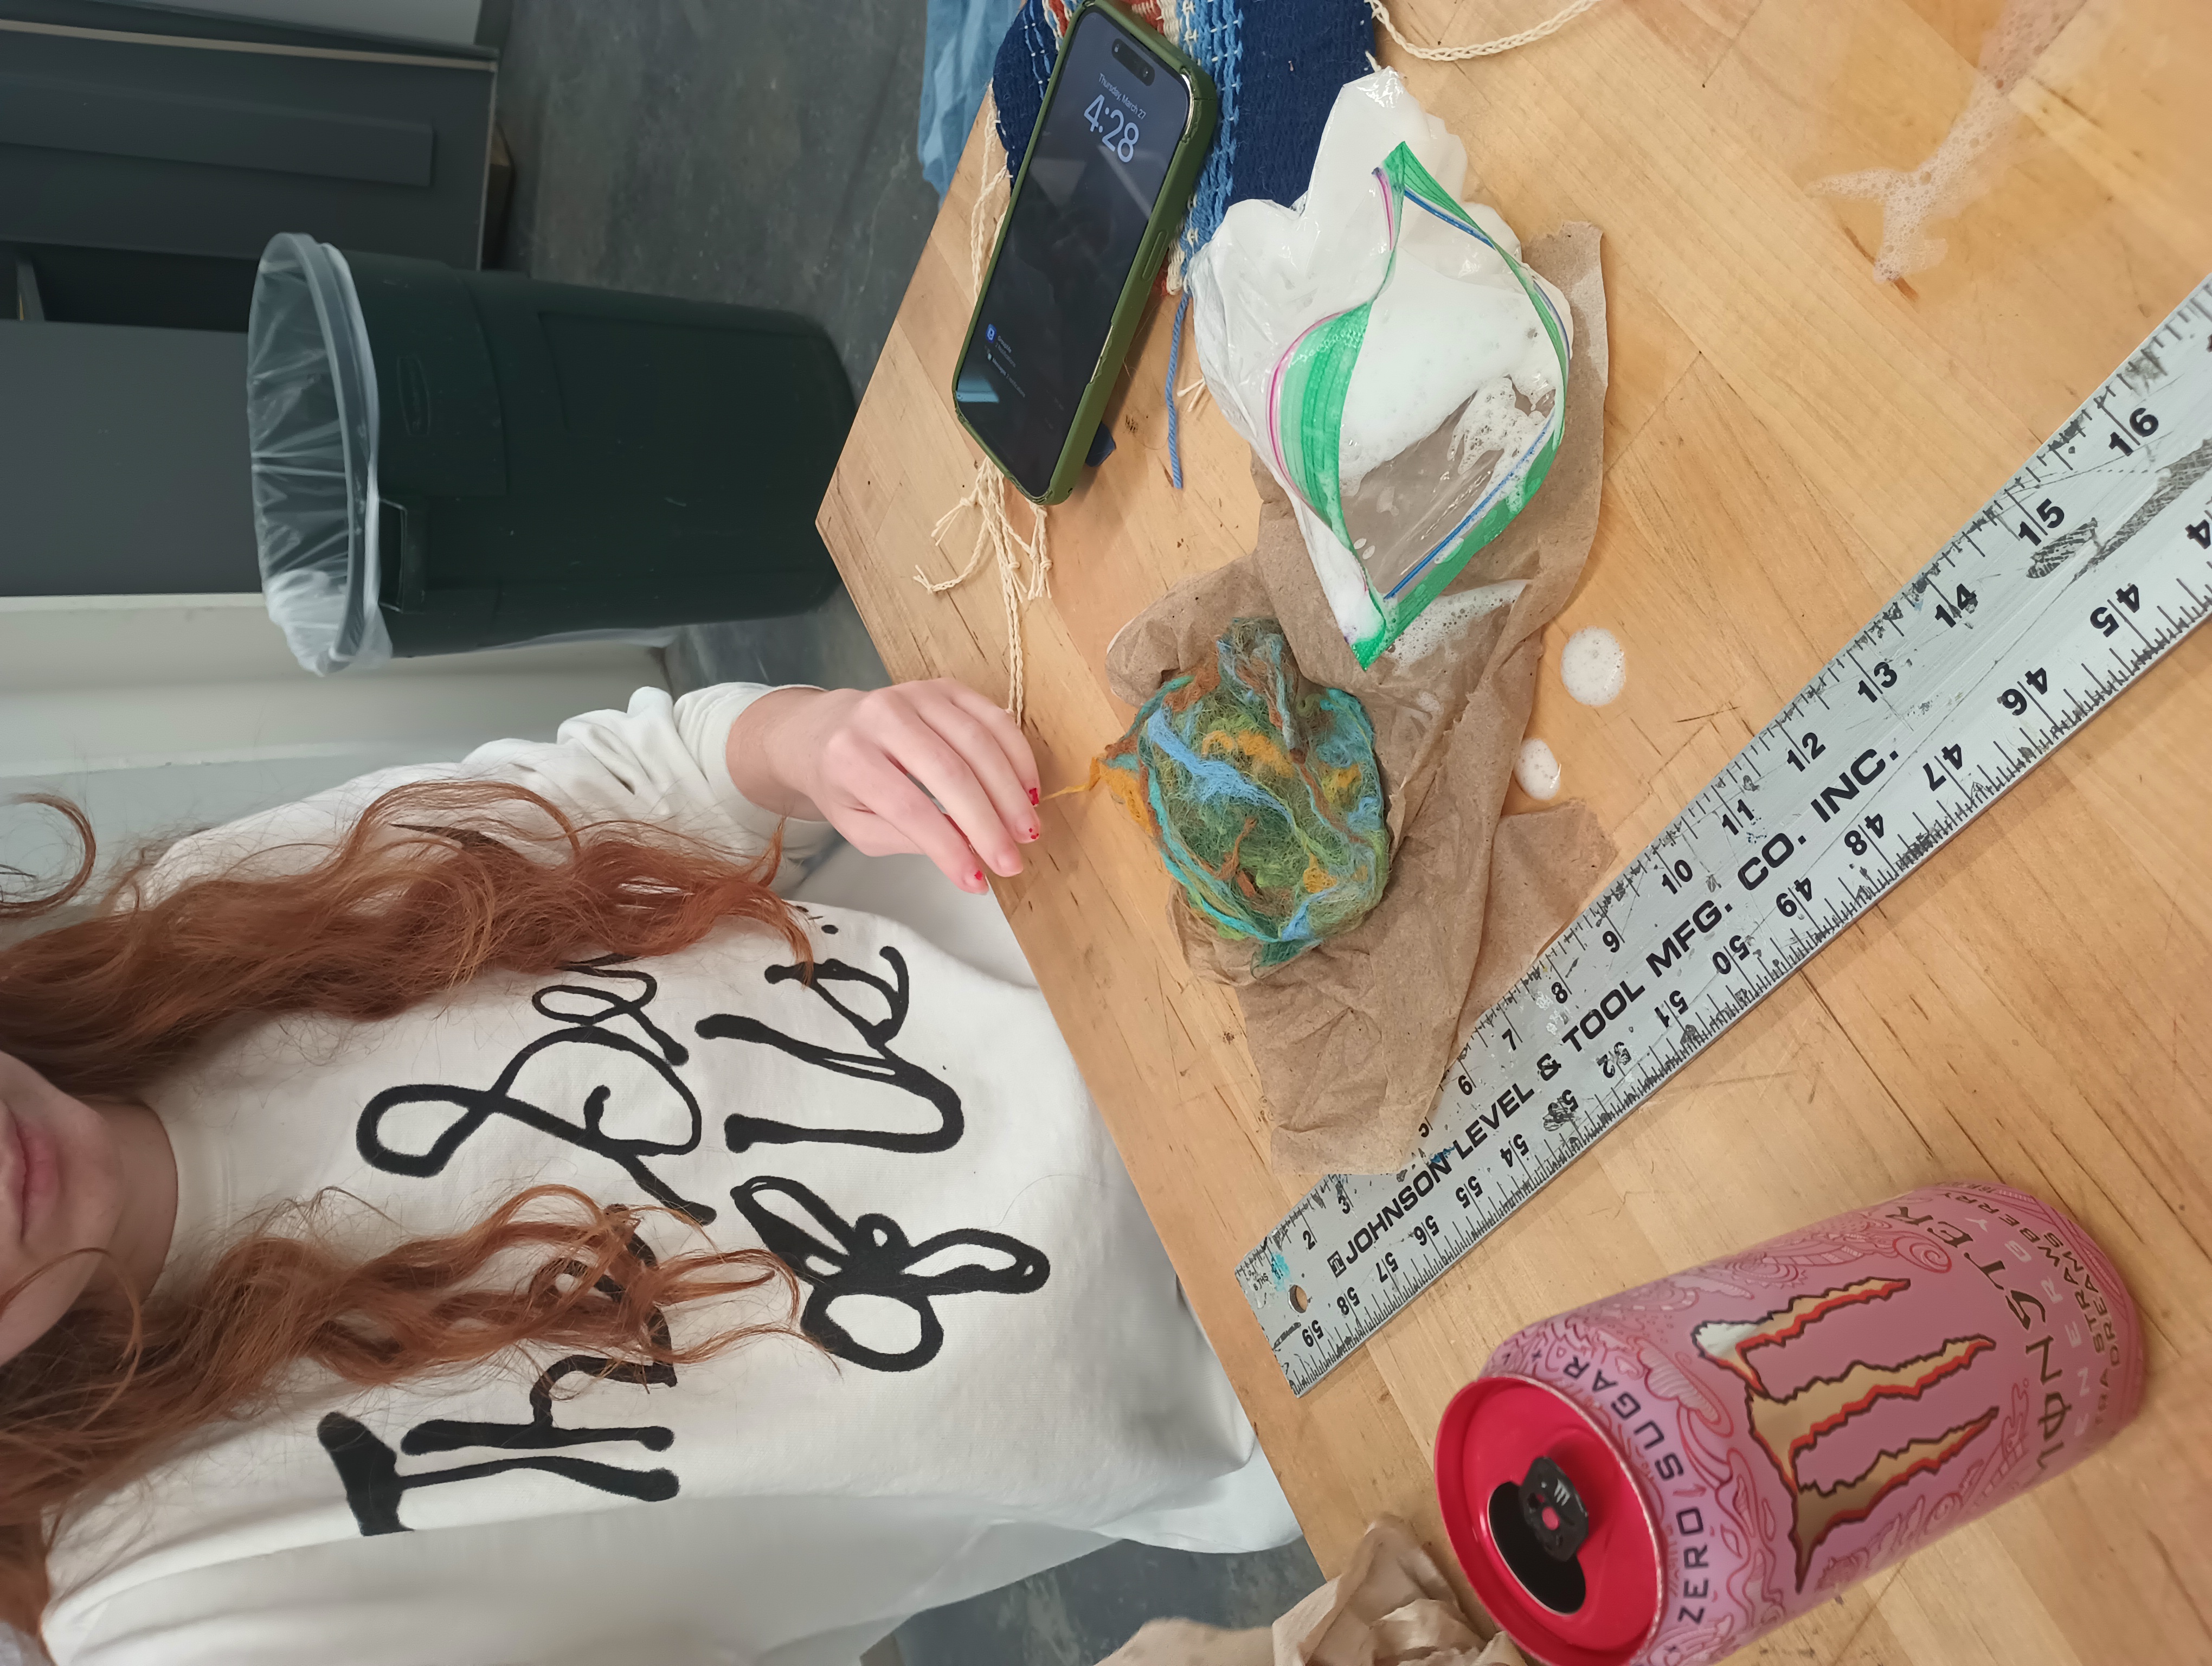
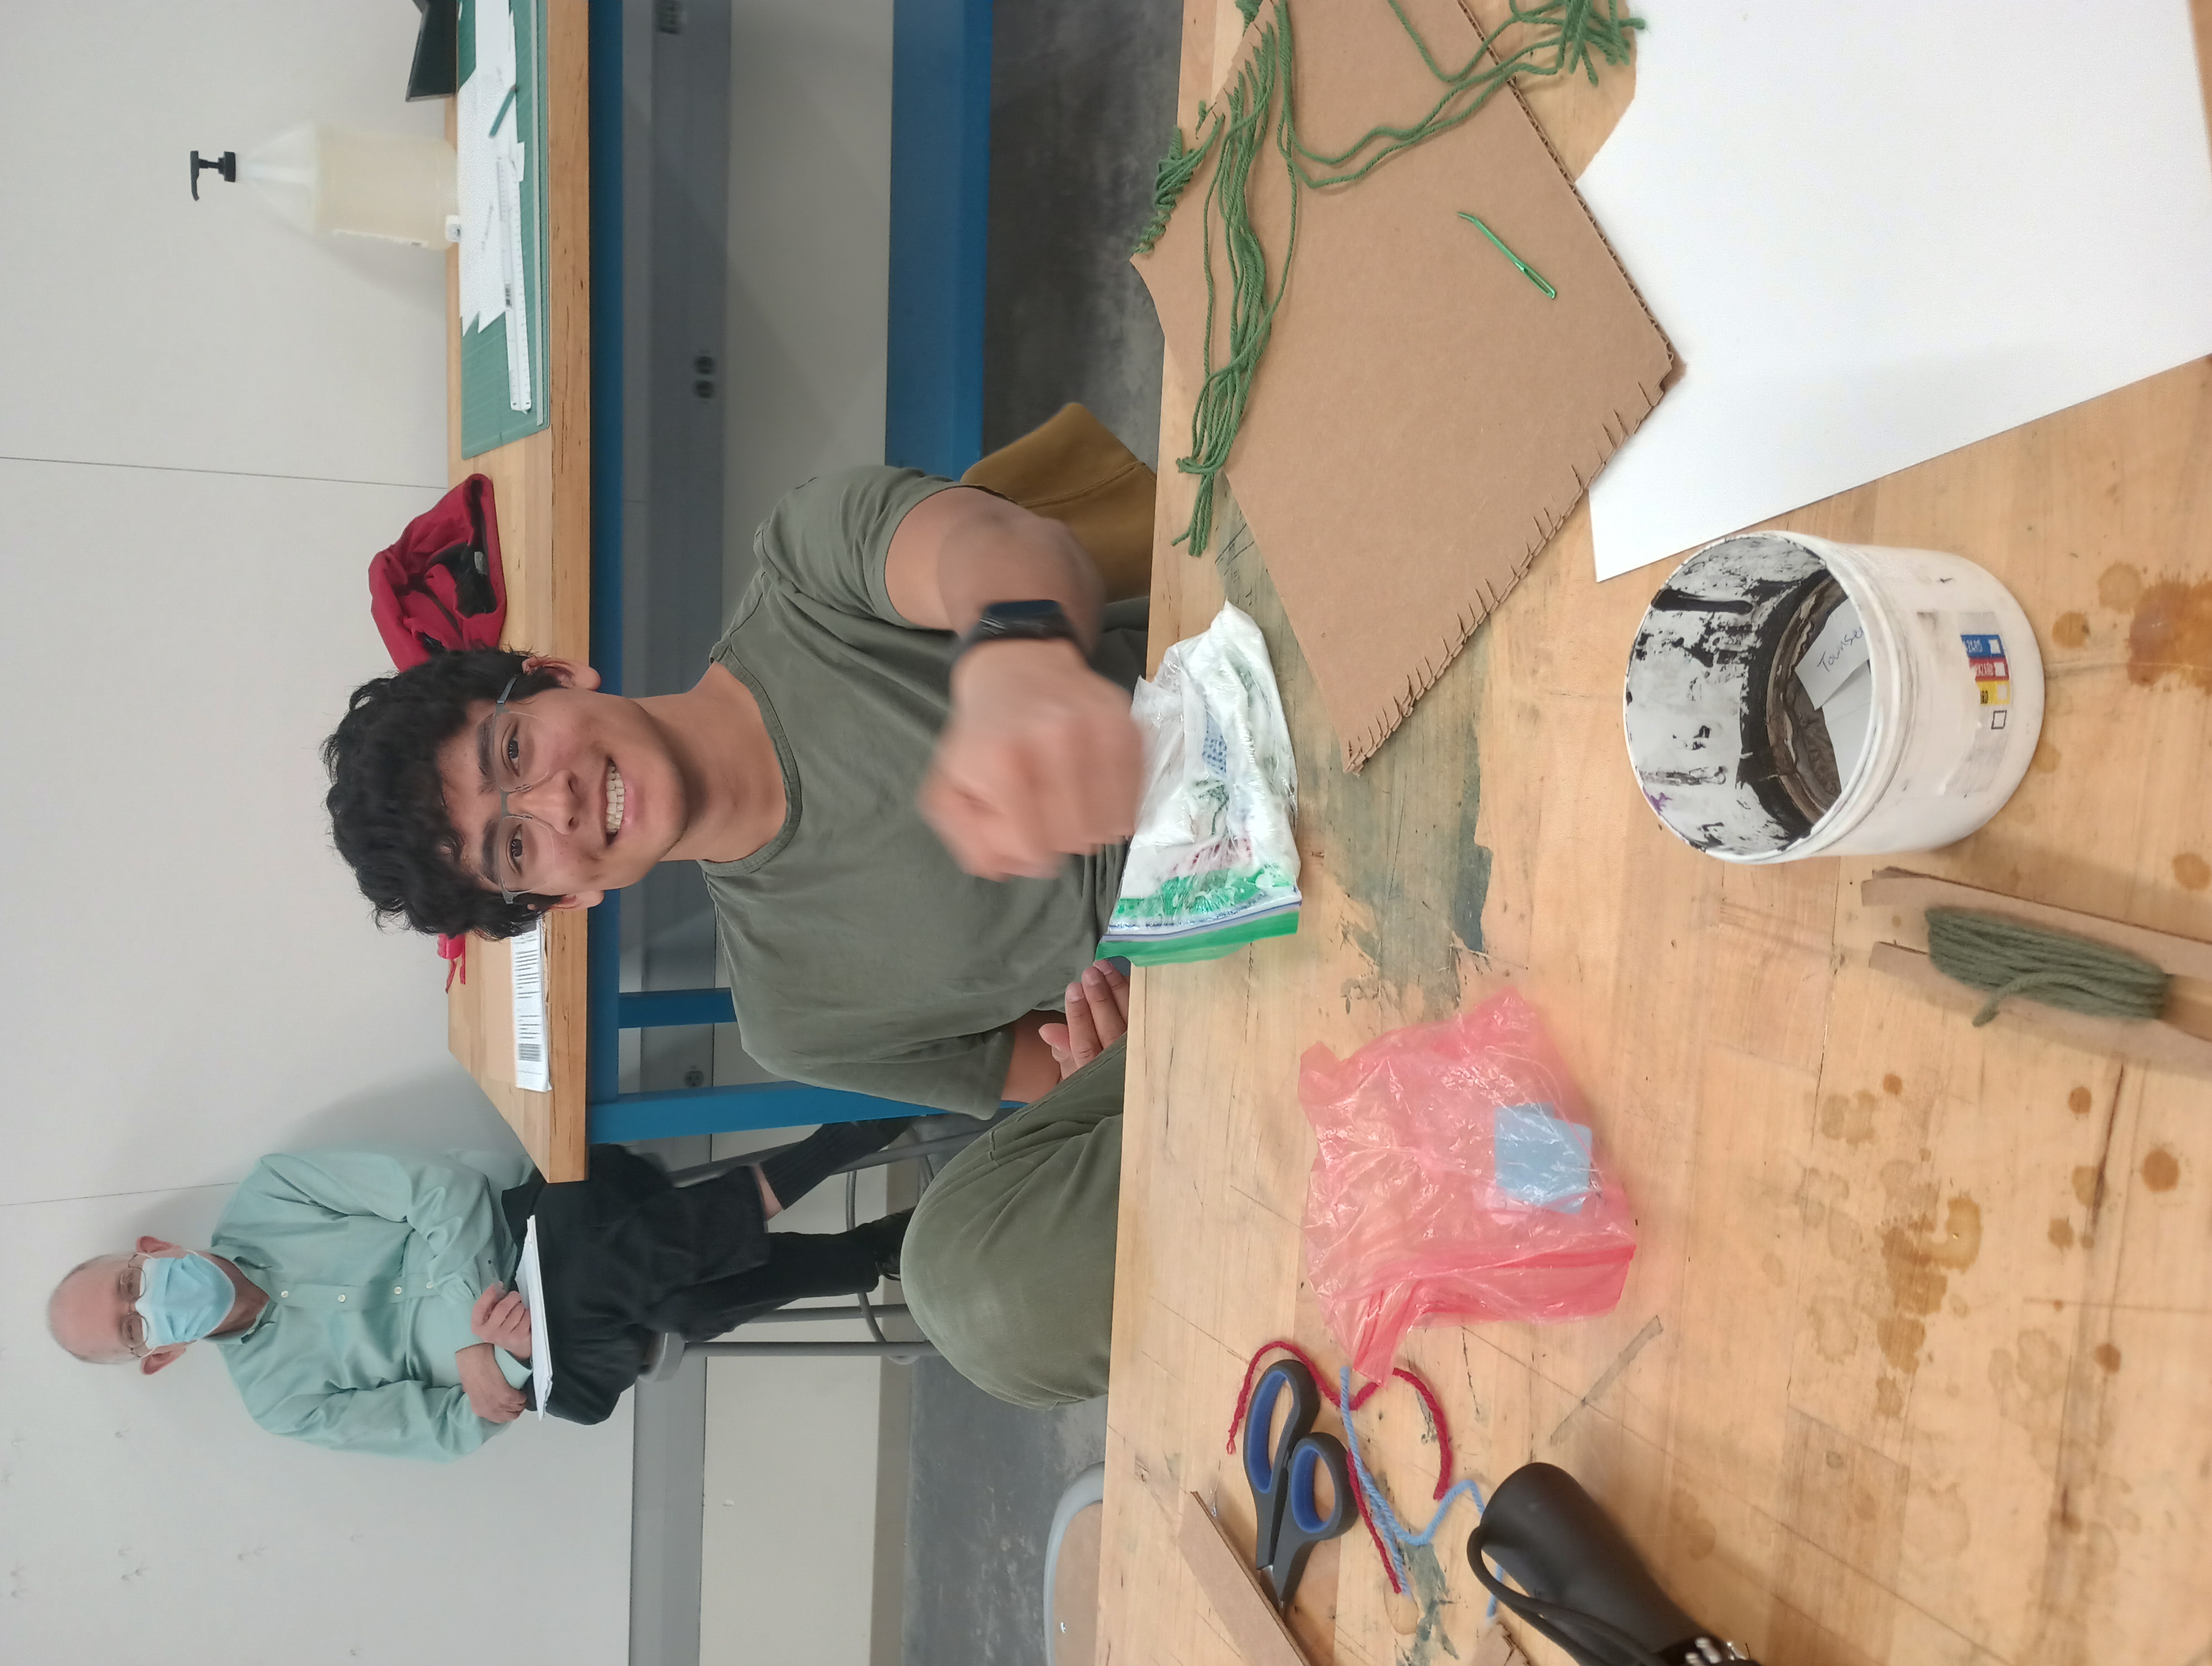
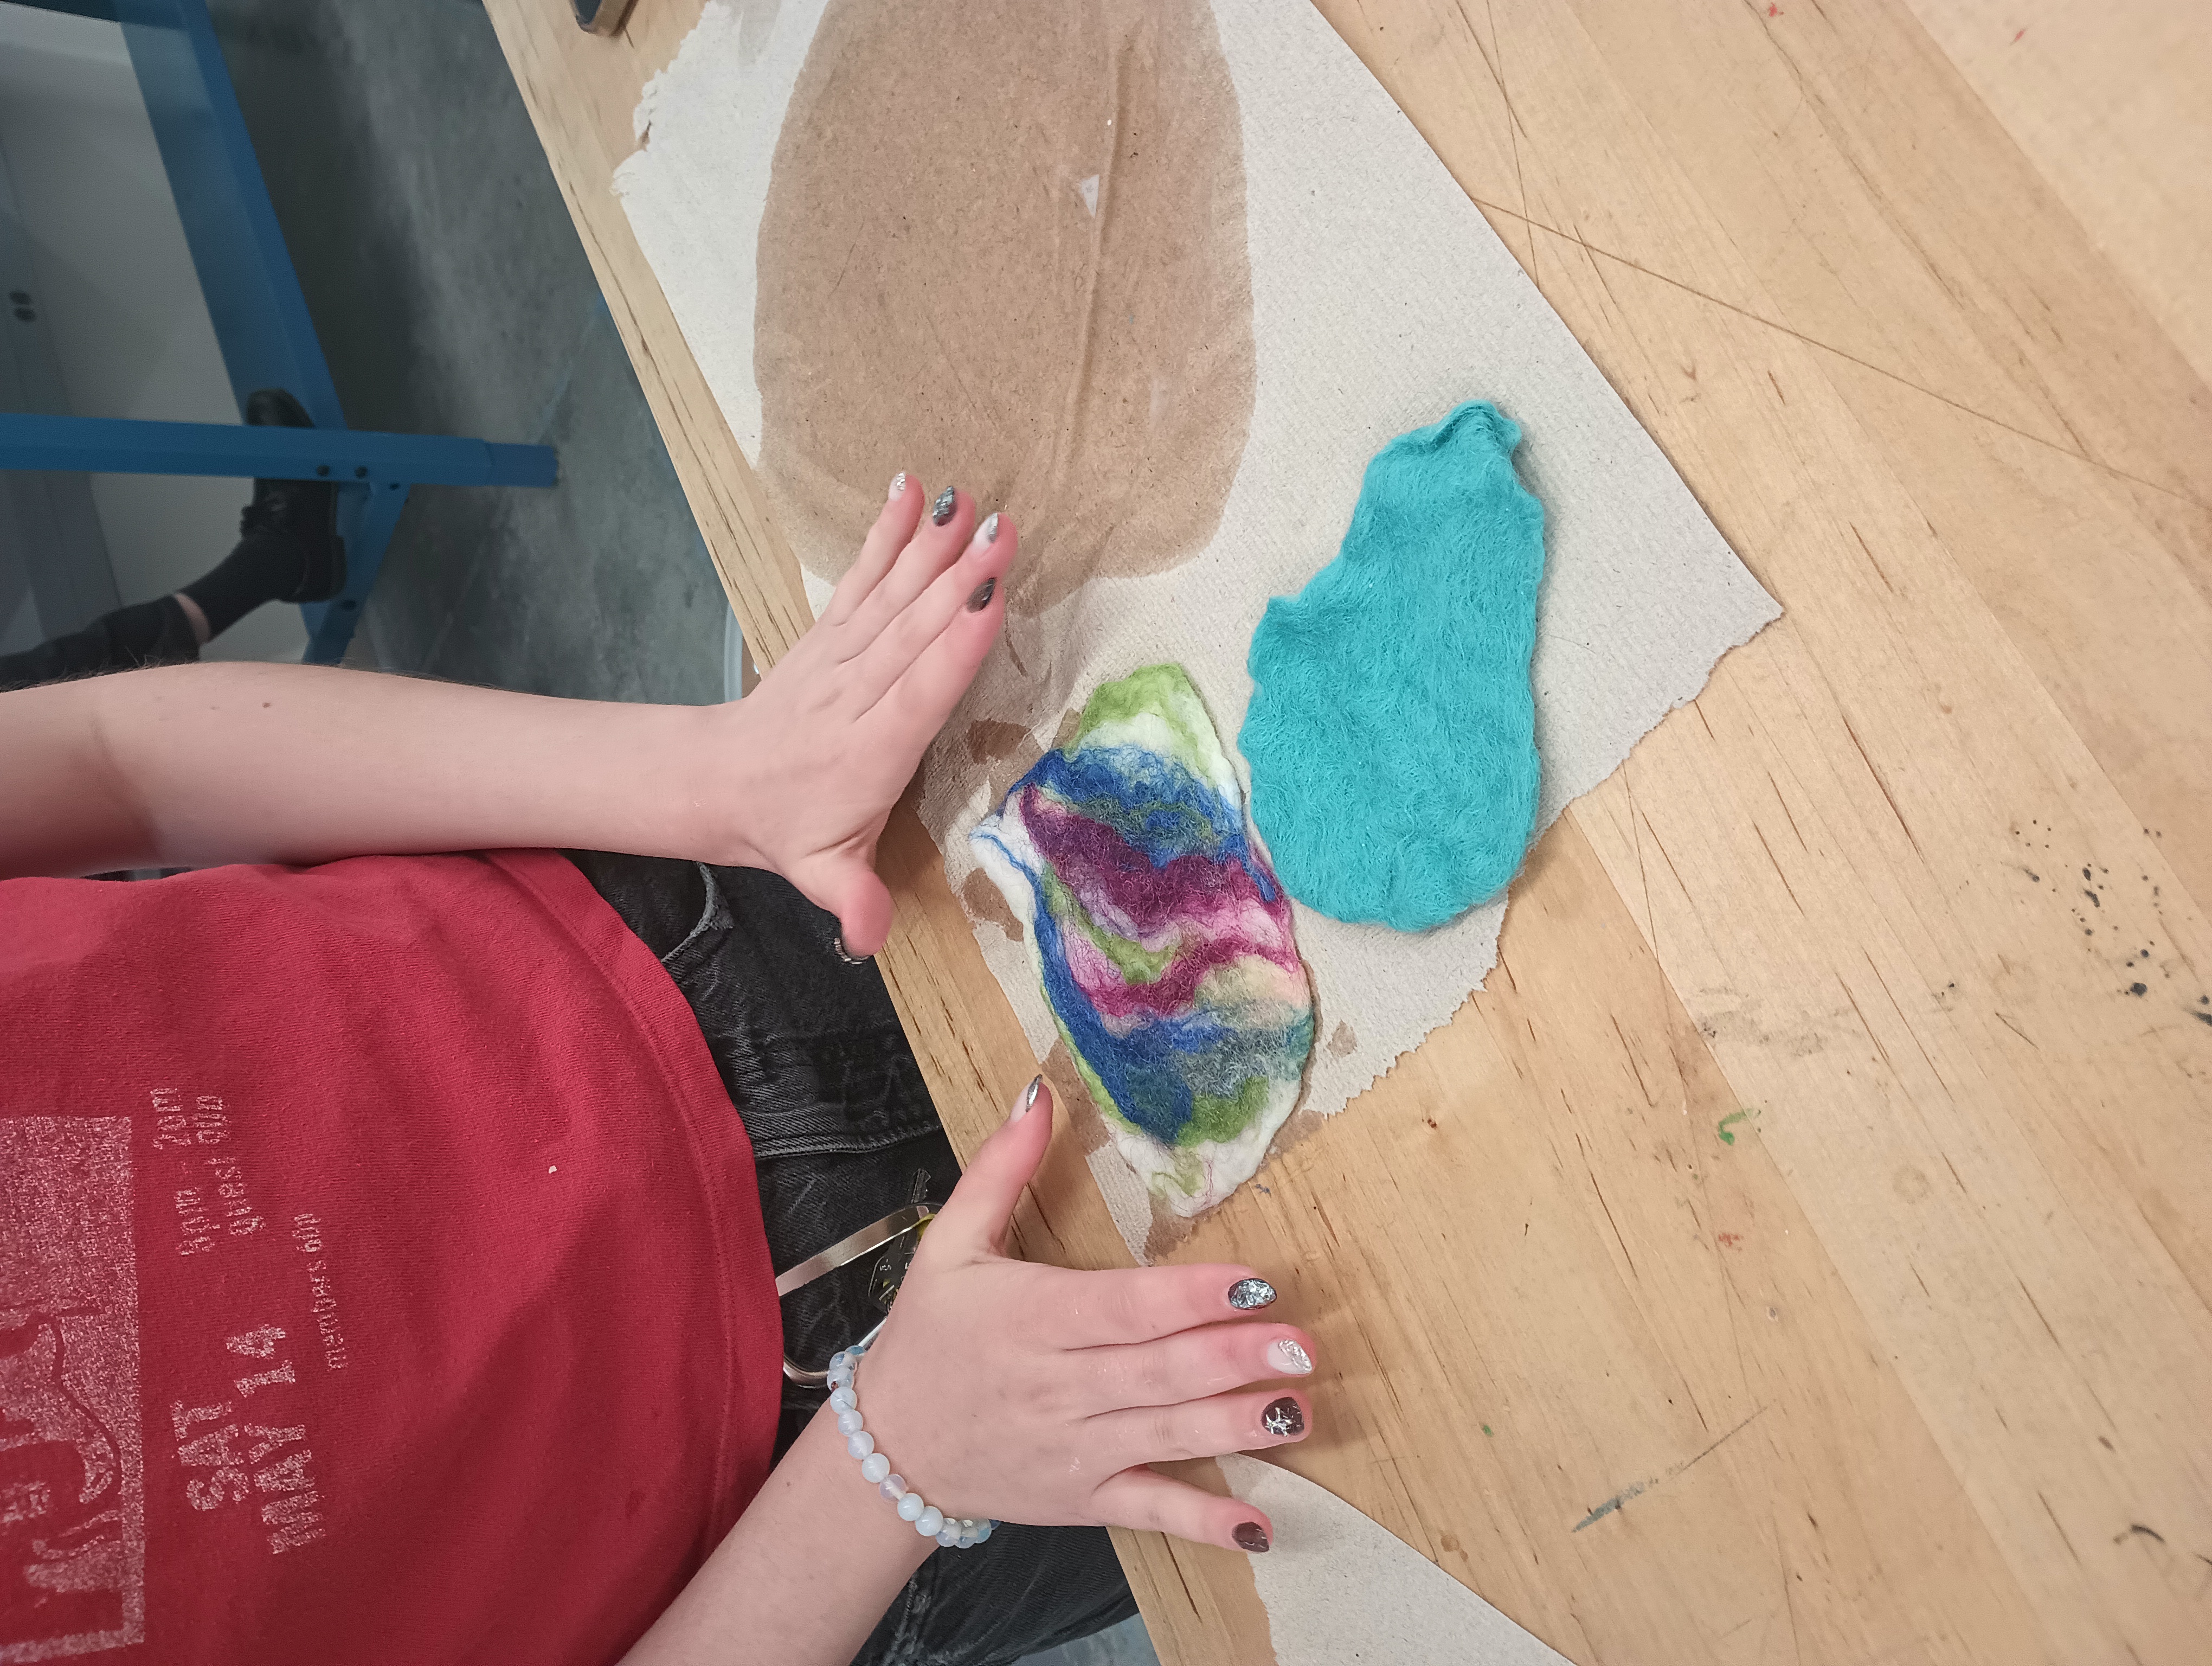
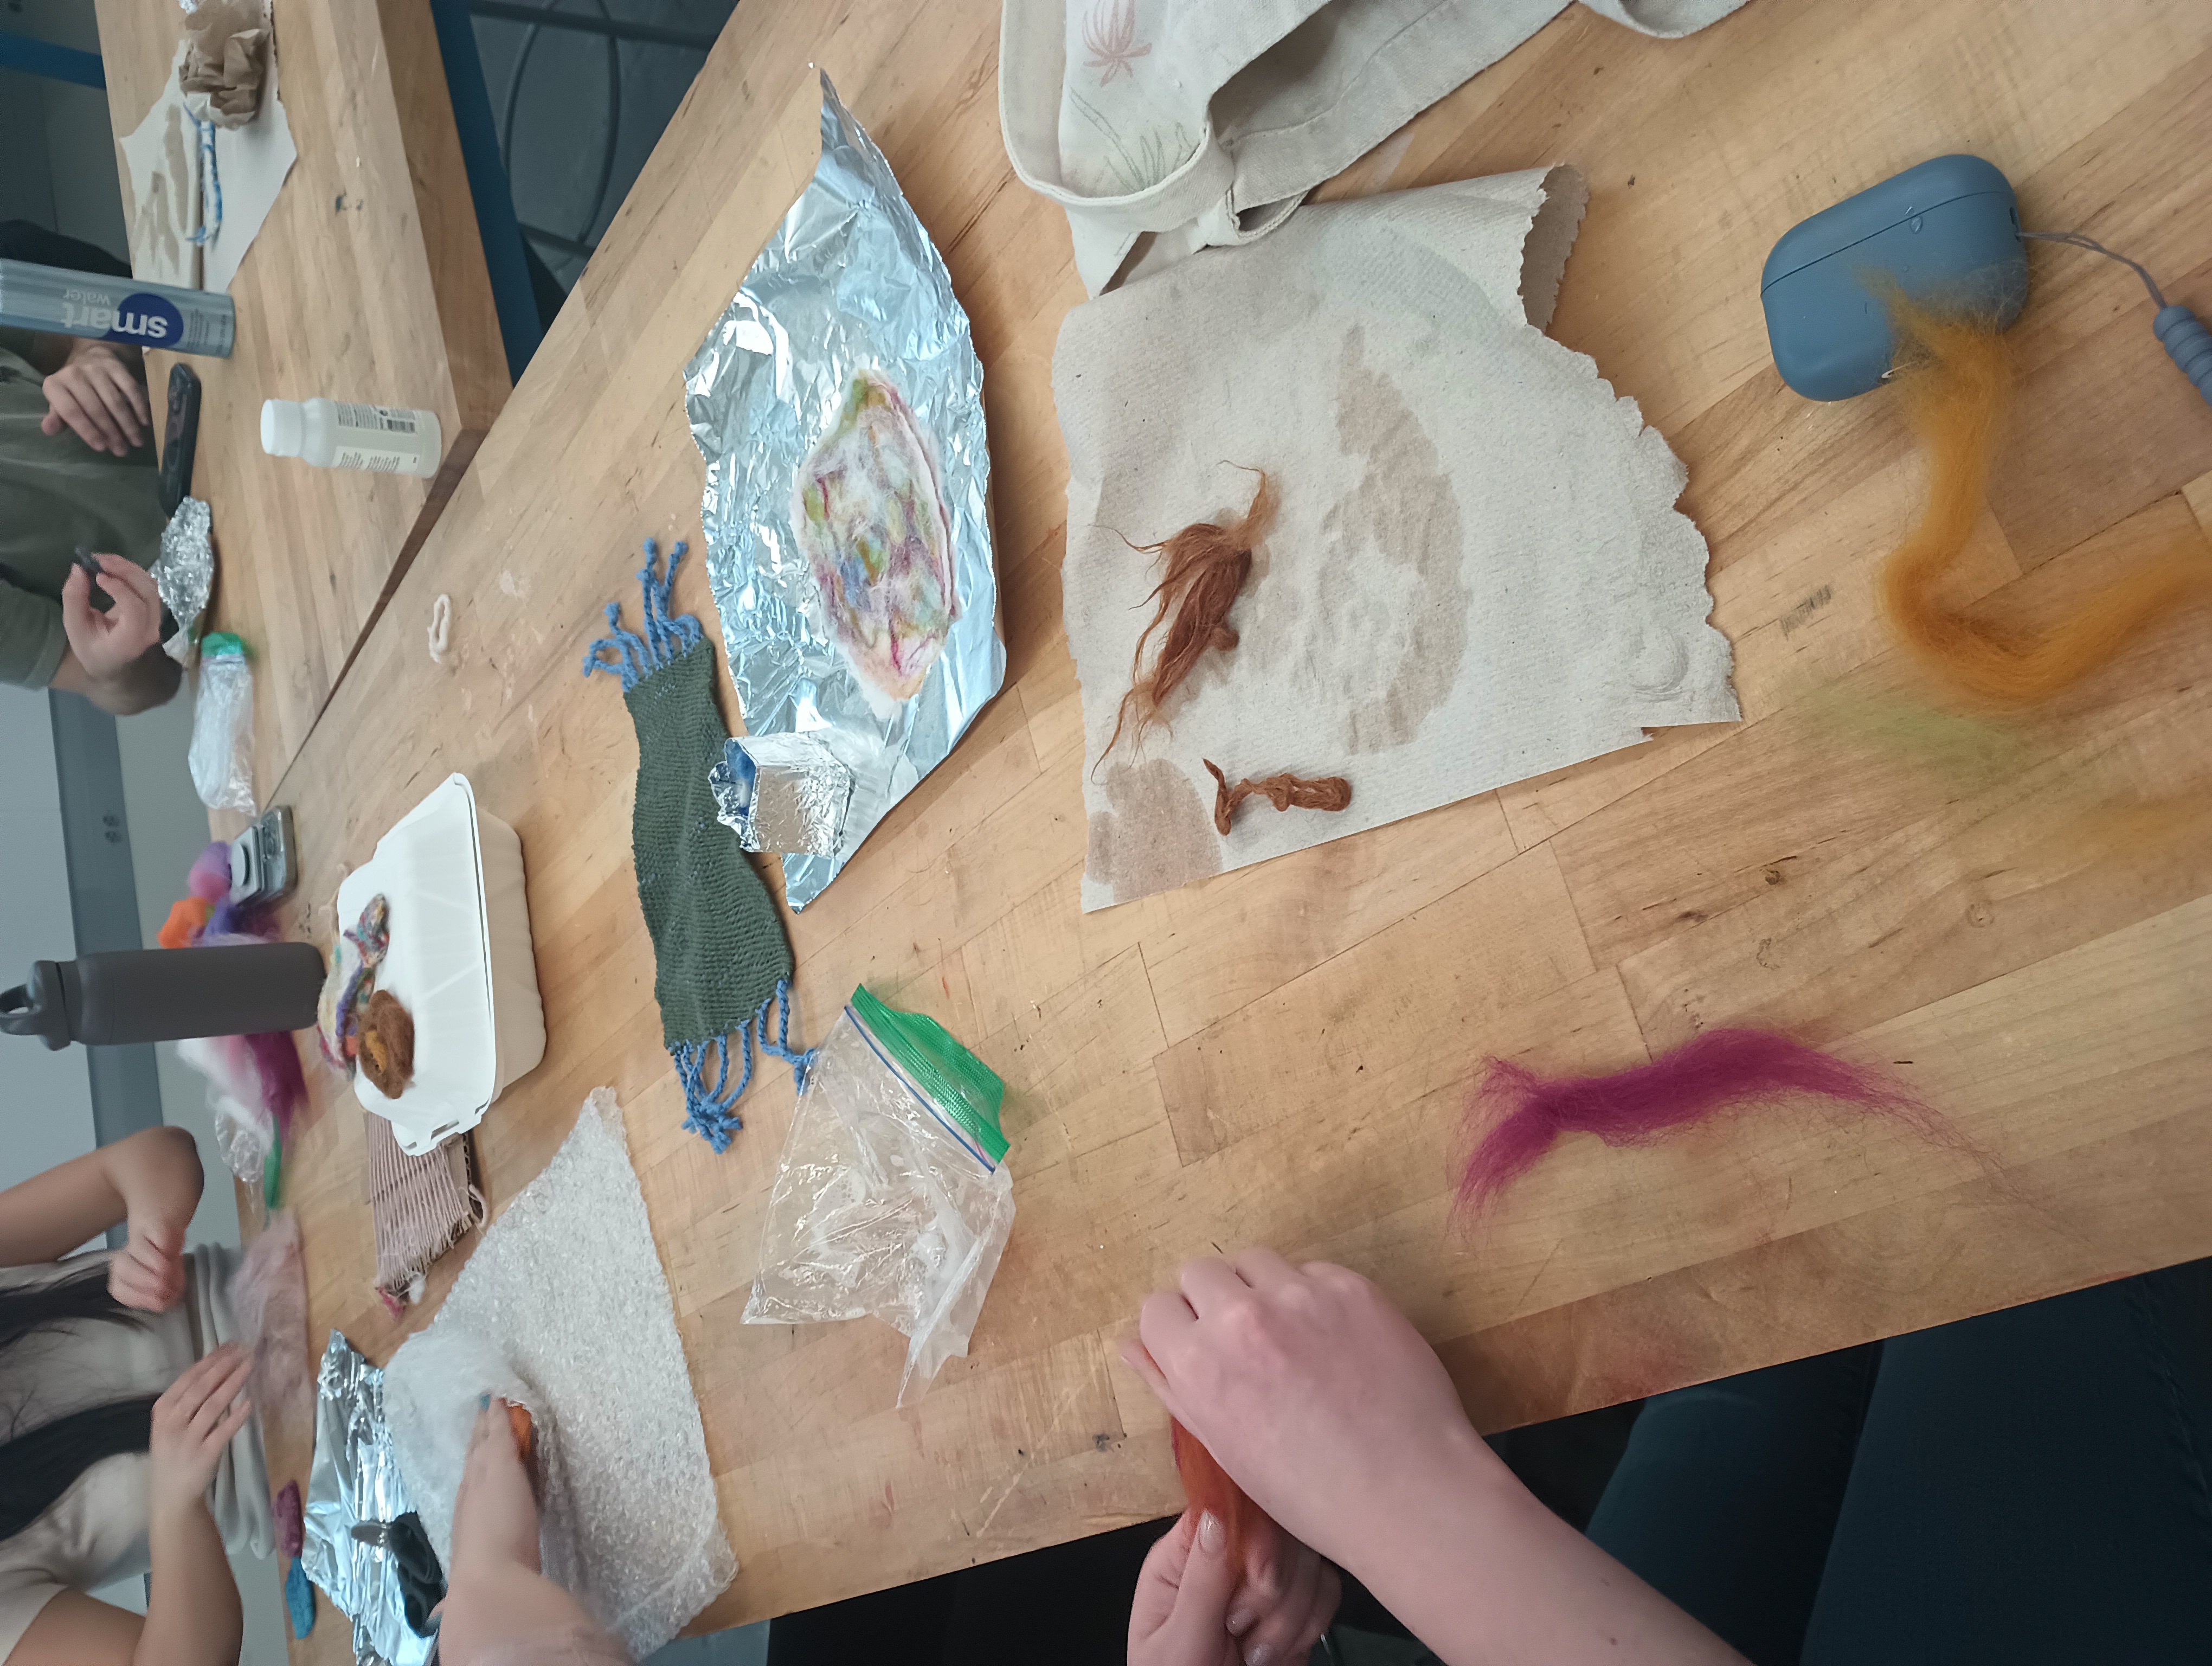
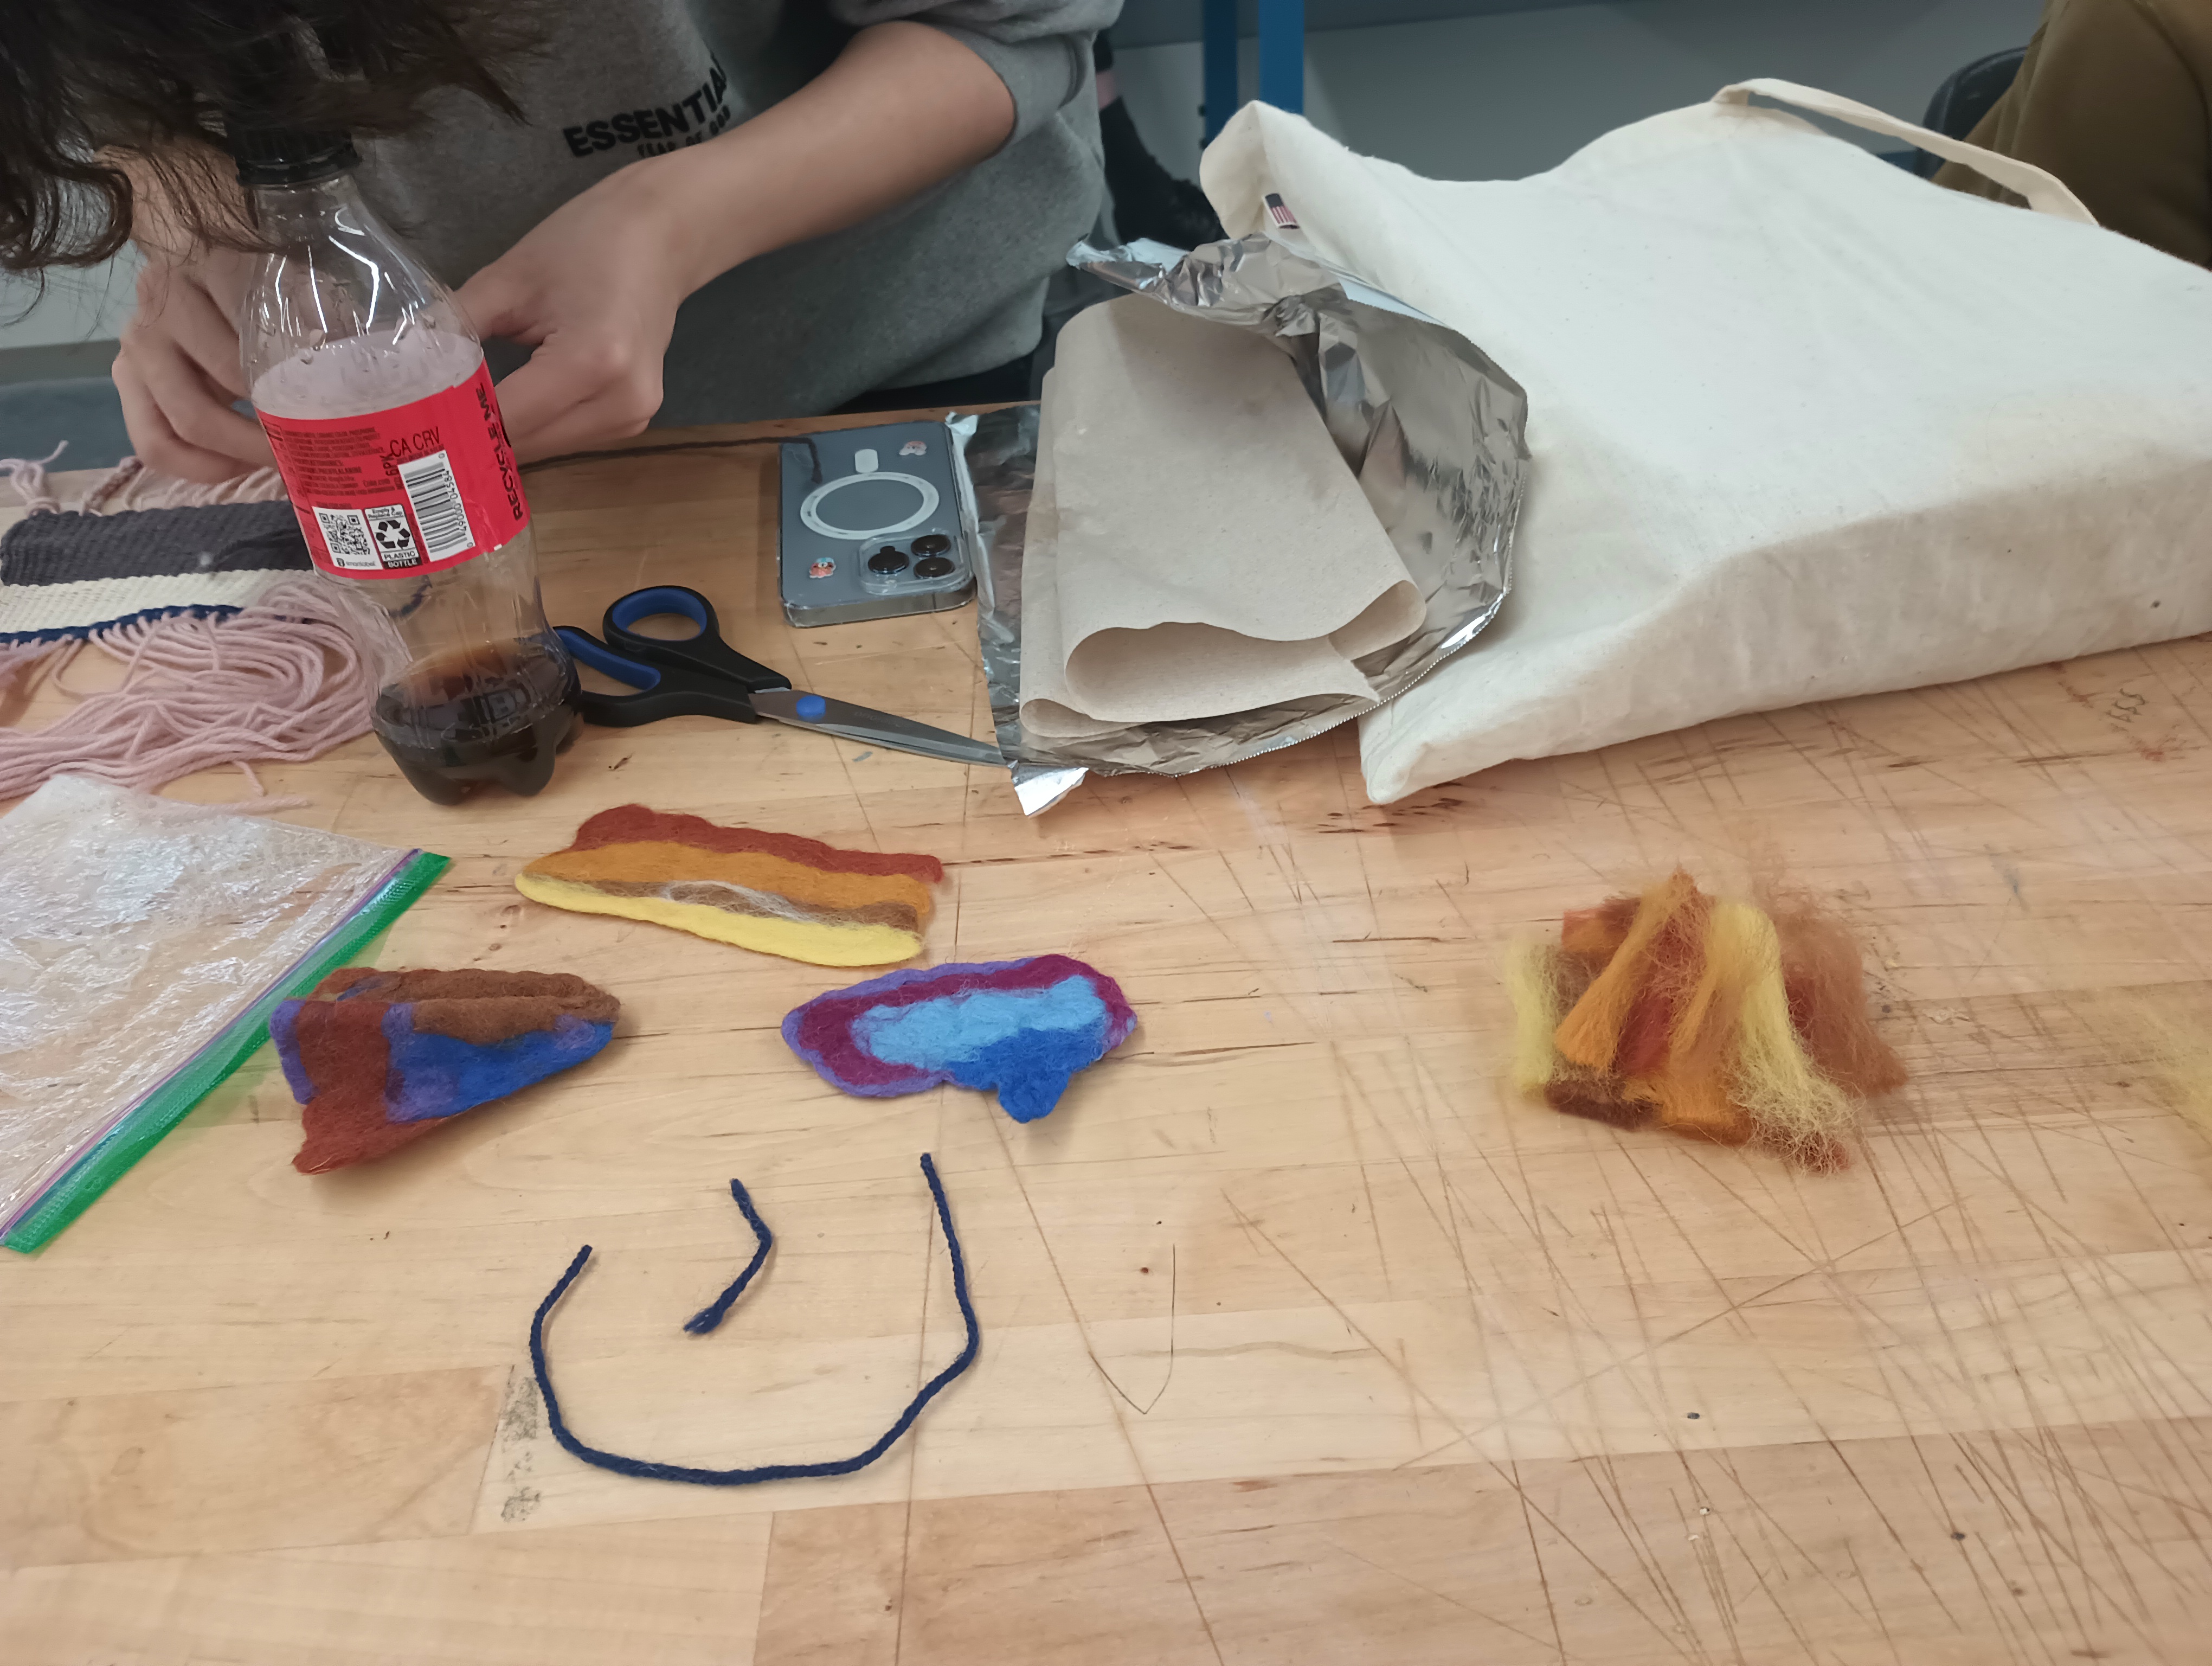
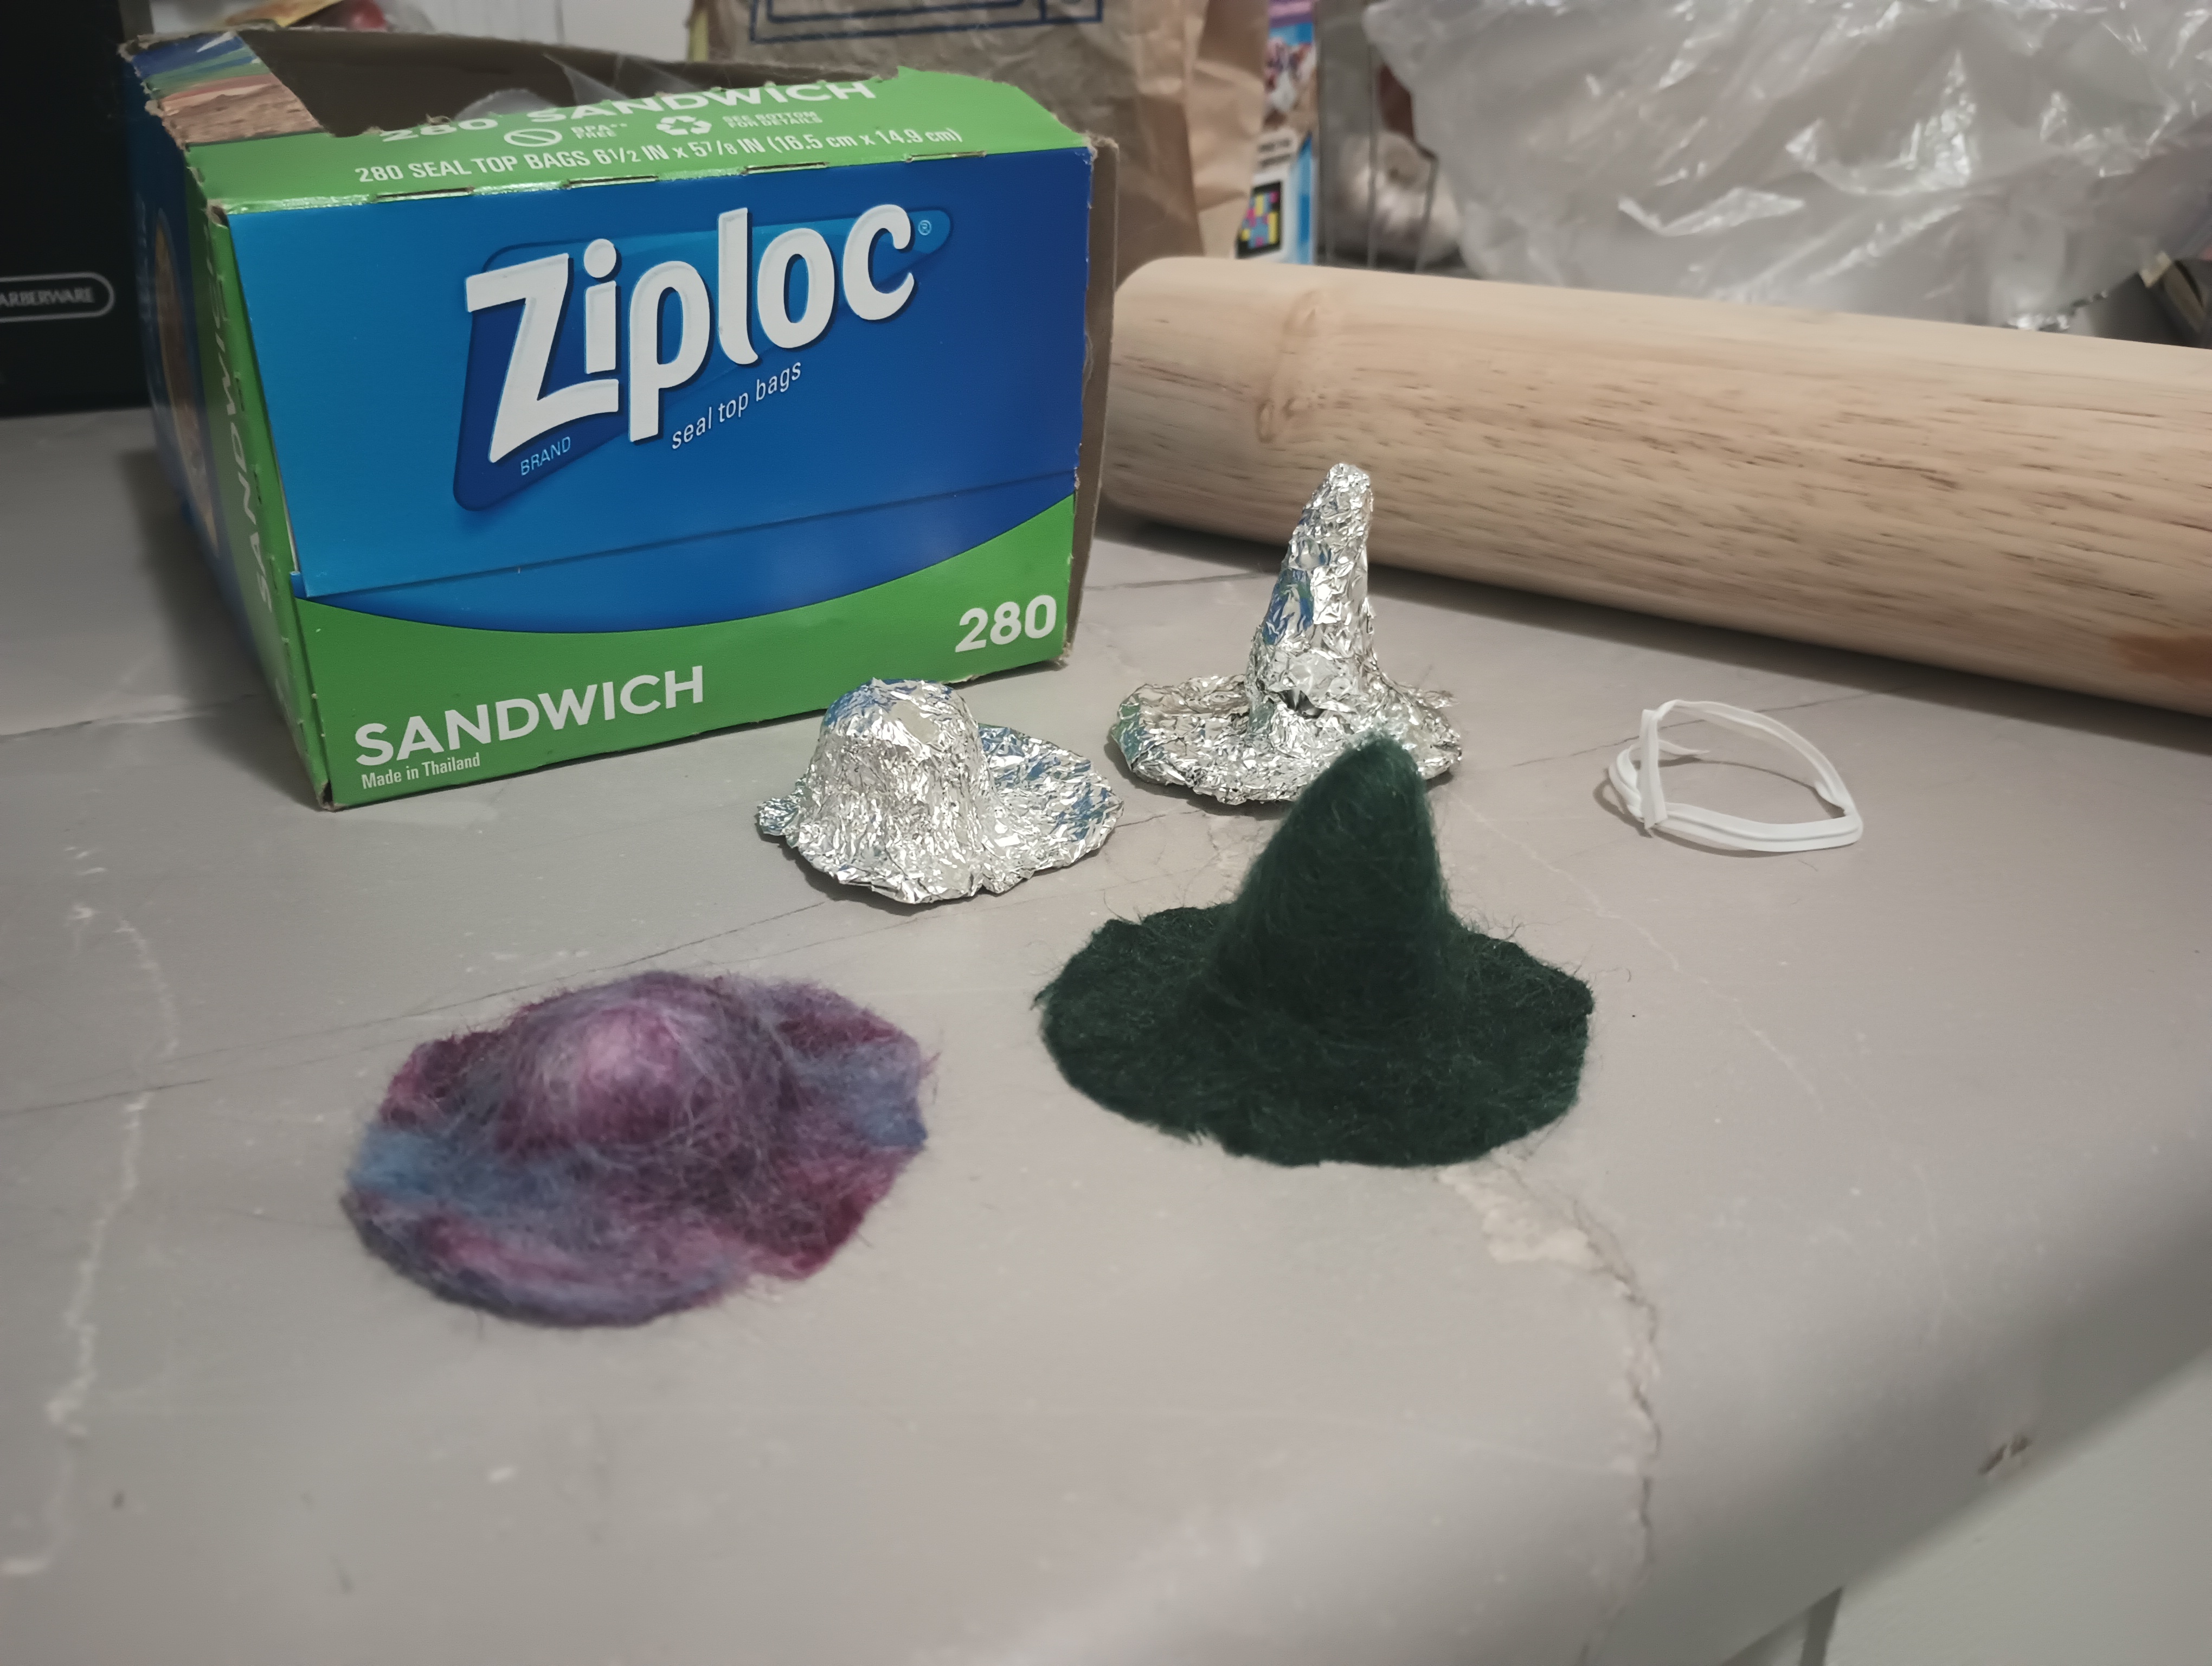
Studio 9 - Felting and fulling
In this studio, students learned about felting: the process of using moisture, heat, and friction to interlock and bond wool fibers. Students stamped and banged on their finished woven wool pieces to create a smoother surface and turned colorful wool roving into sheets of felt and shaped felted objects.
Supplies
- Wool (roving or woven pieces)
- Running water
- Dish soap
- Plastic baggies, tinfoil, paper towels, towels, bubblewrap
Pictures


Unit 5 - Textile uses
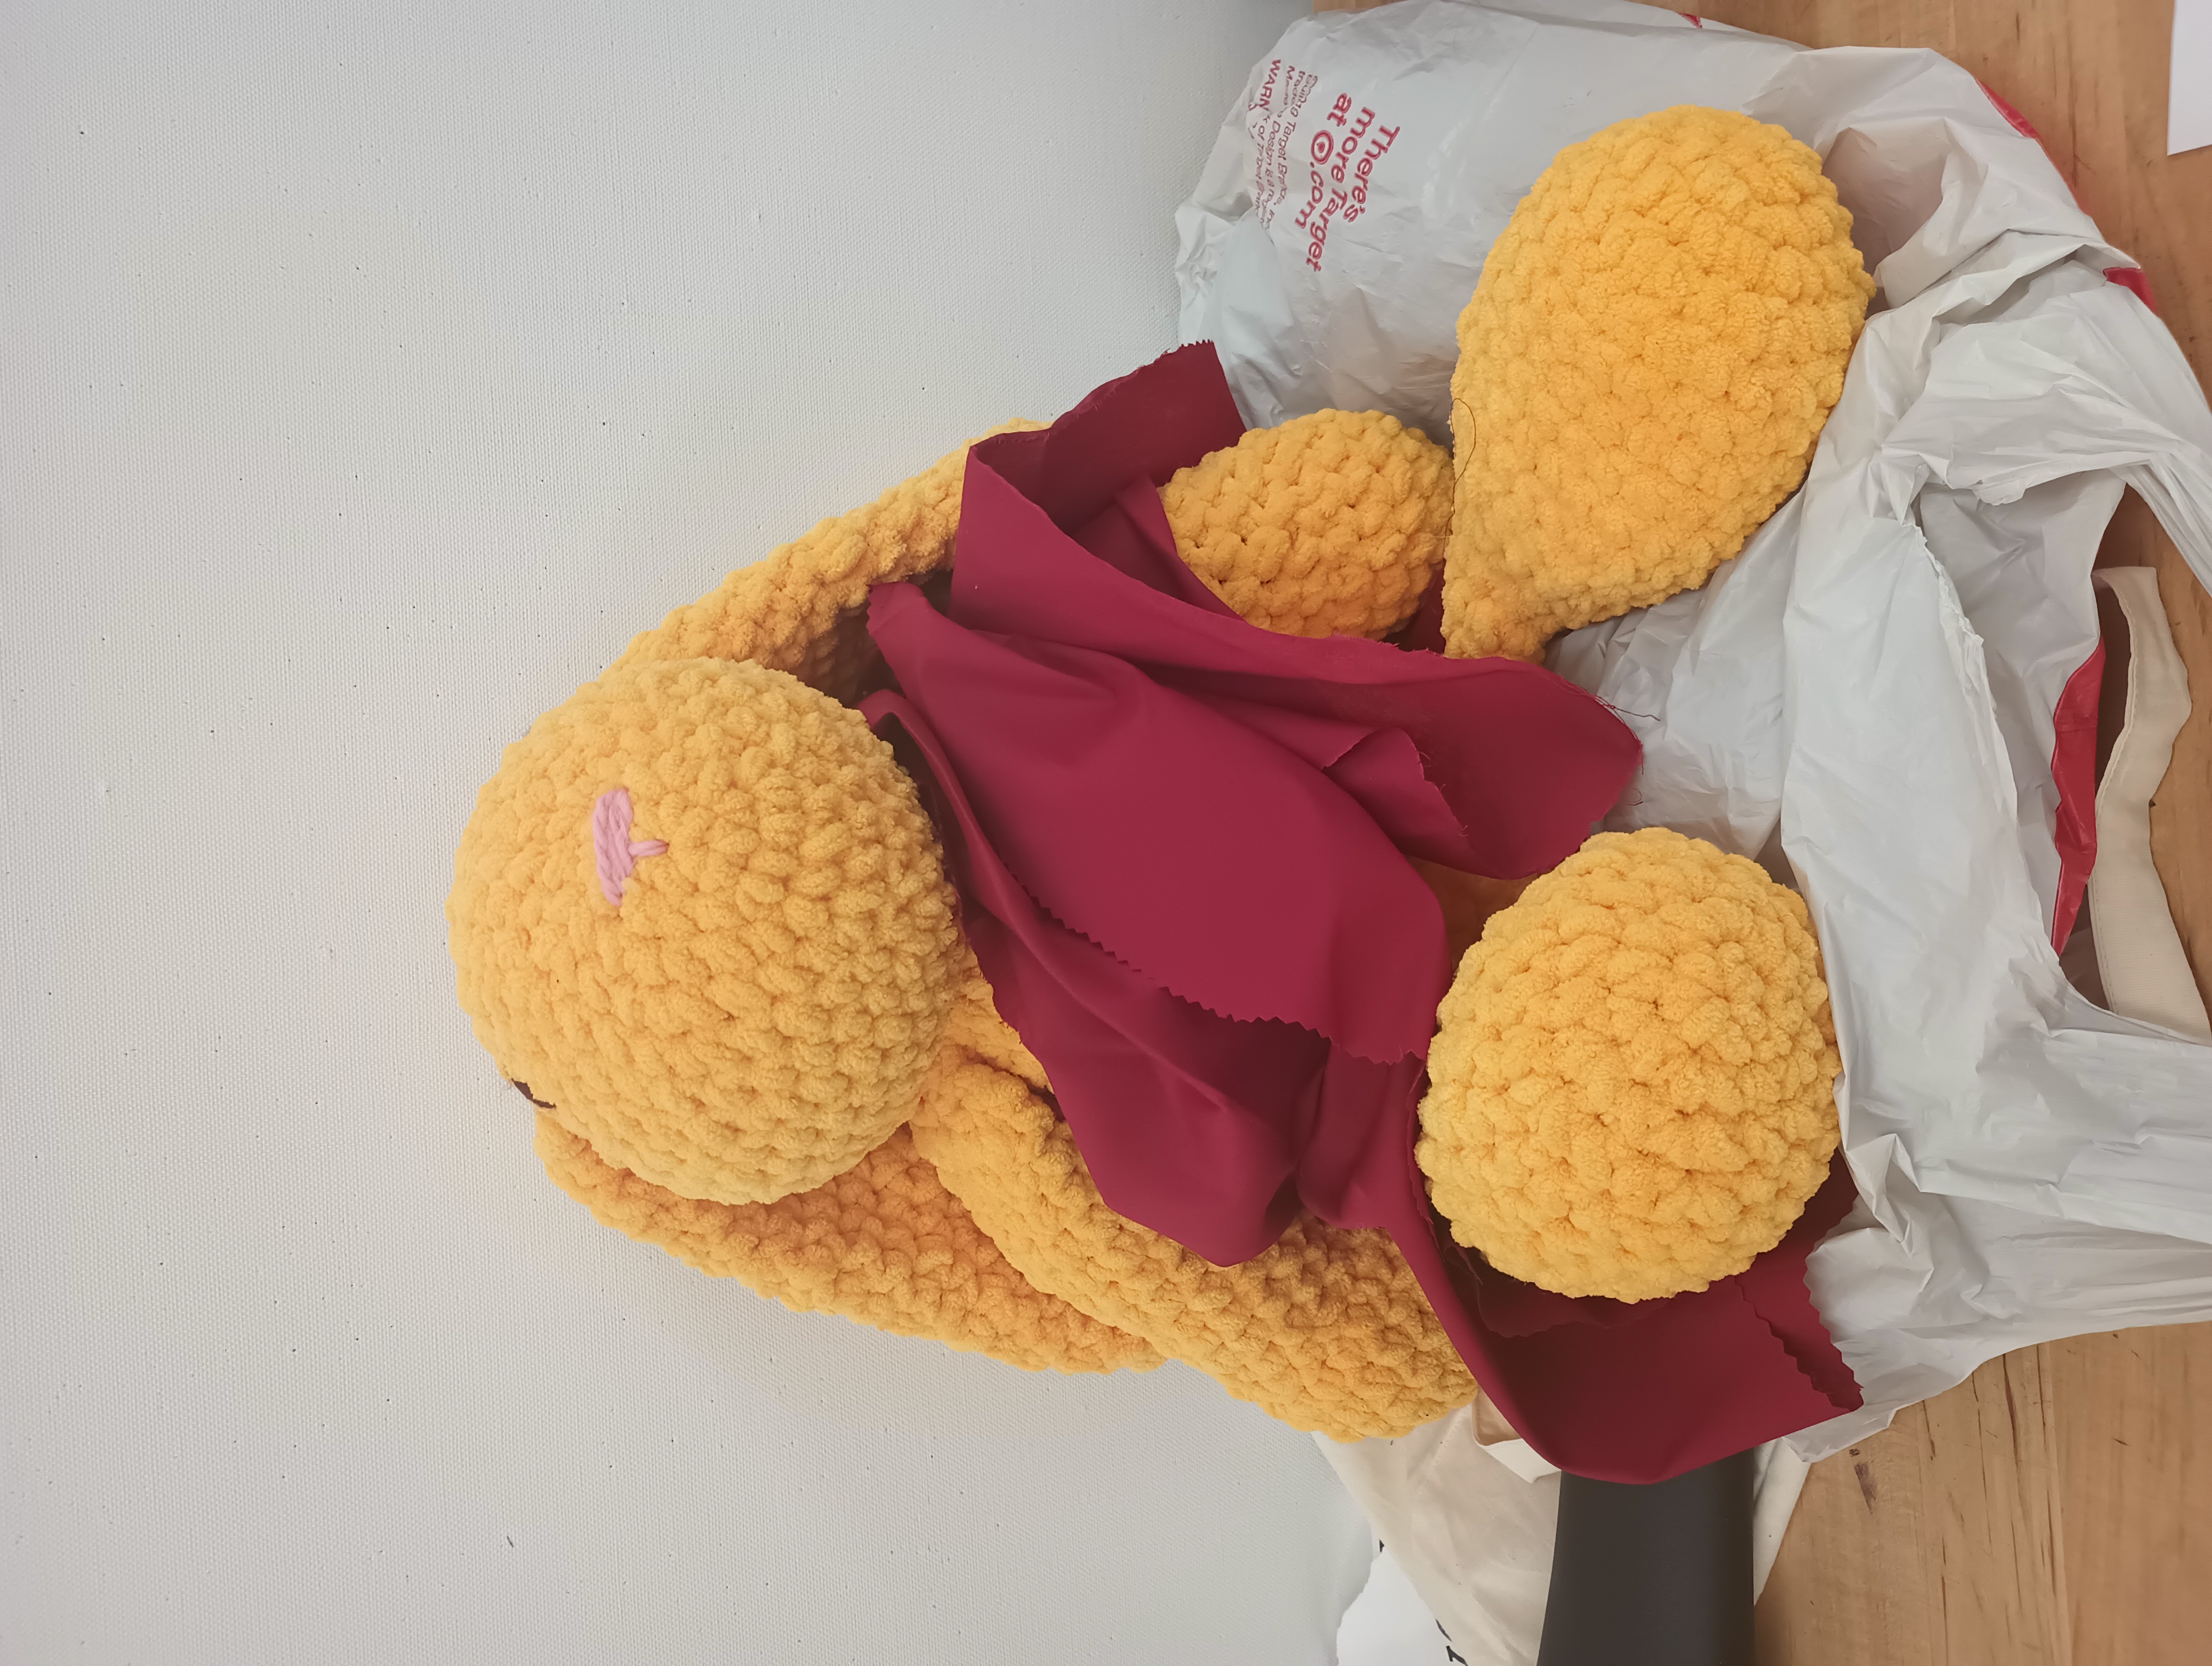
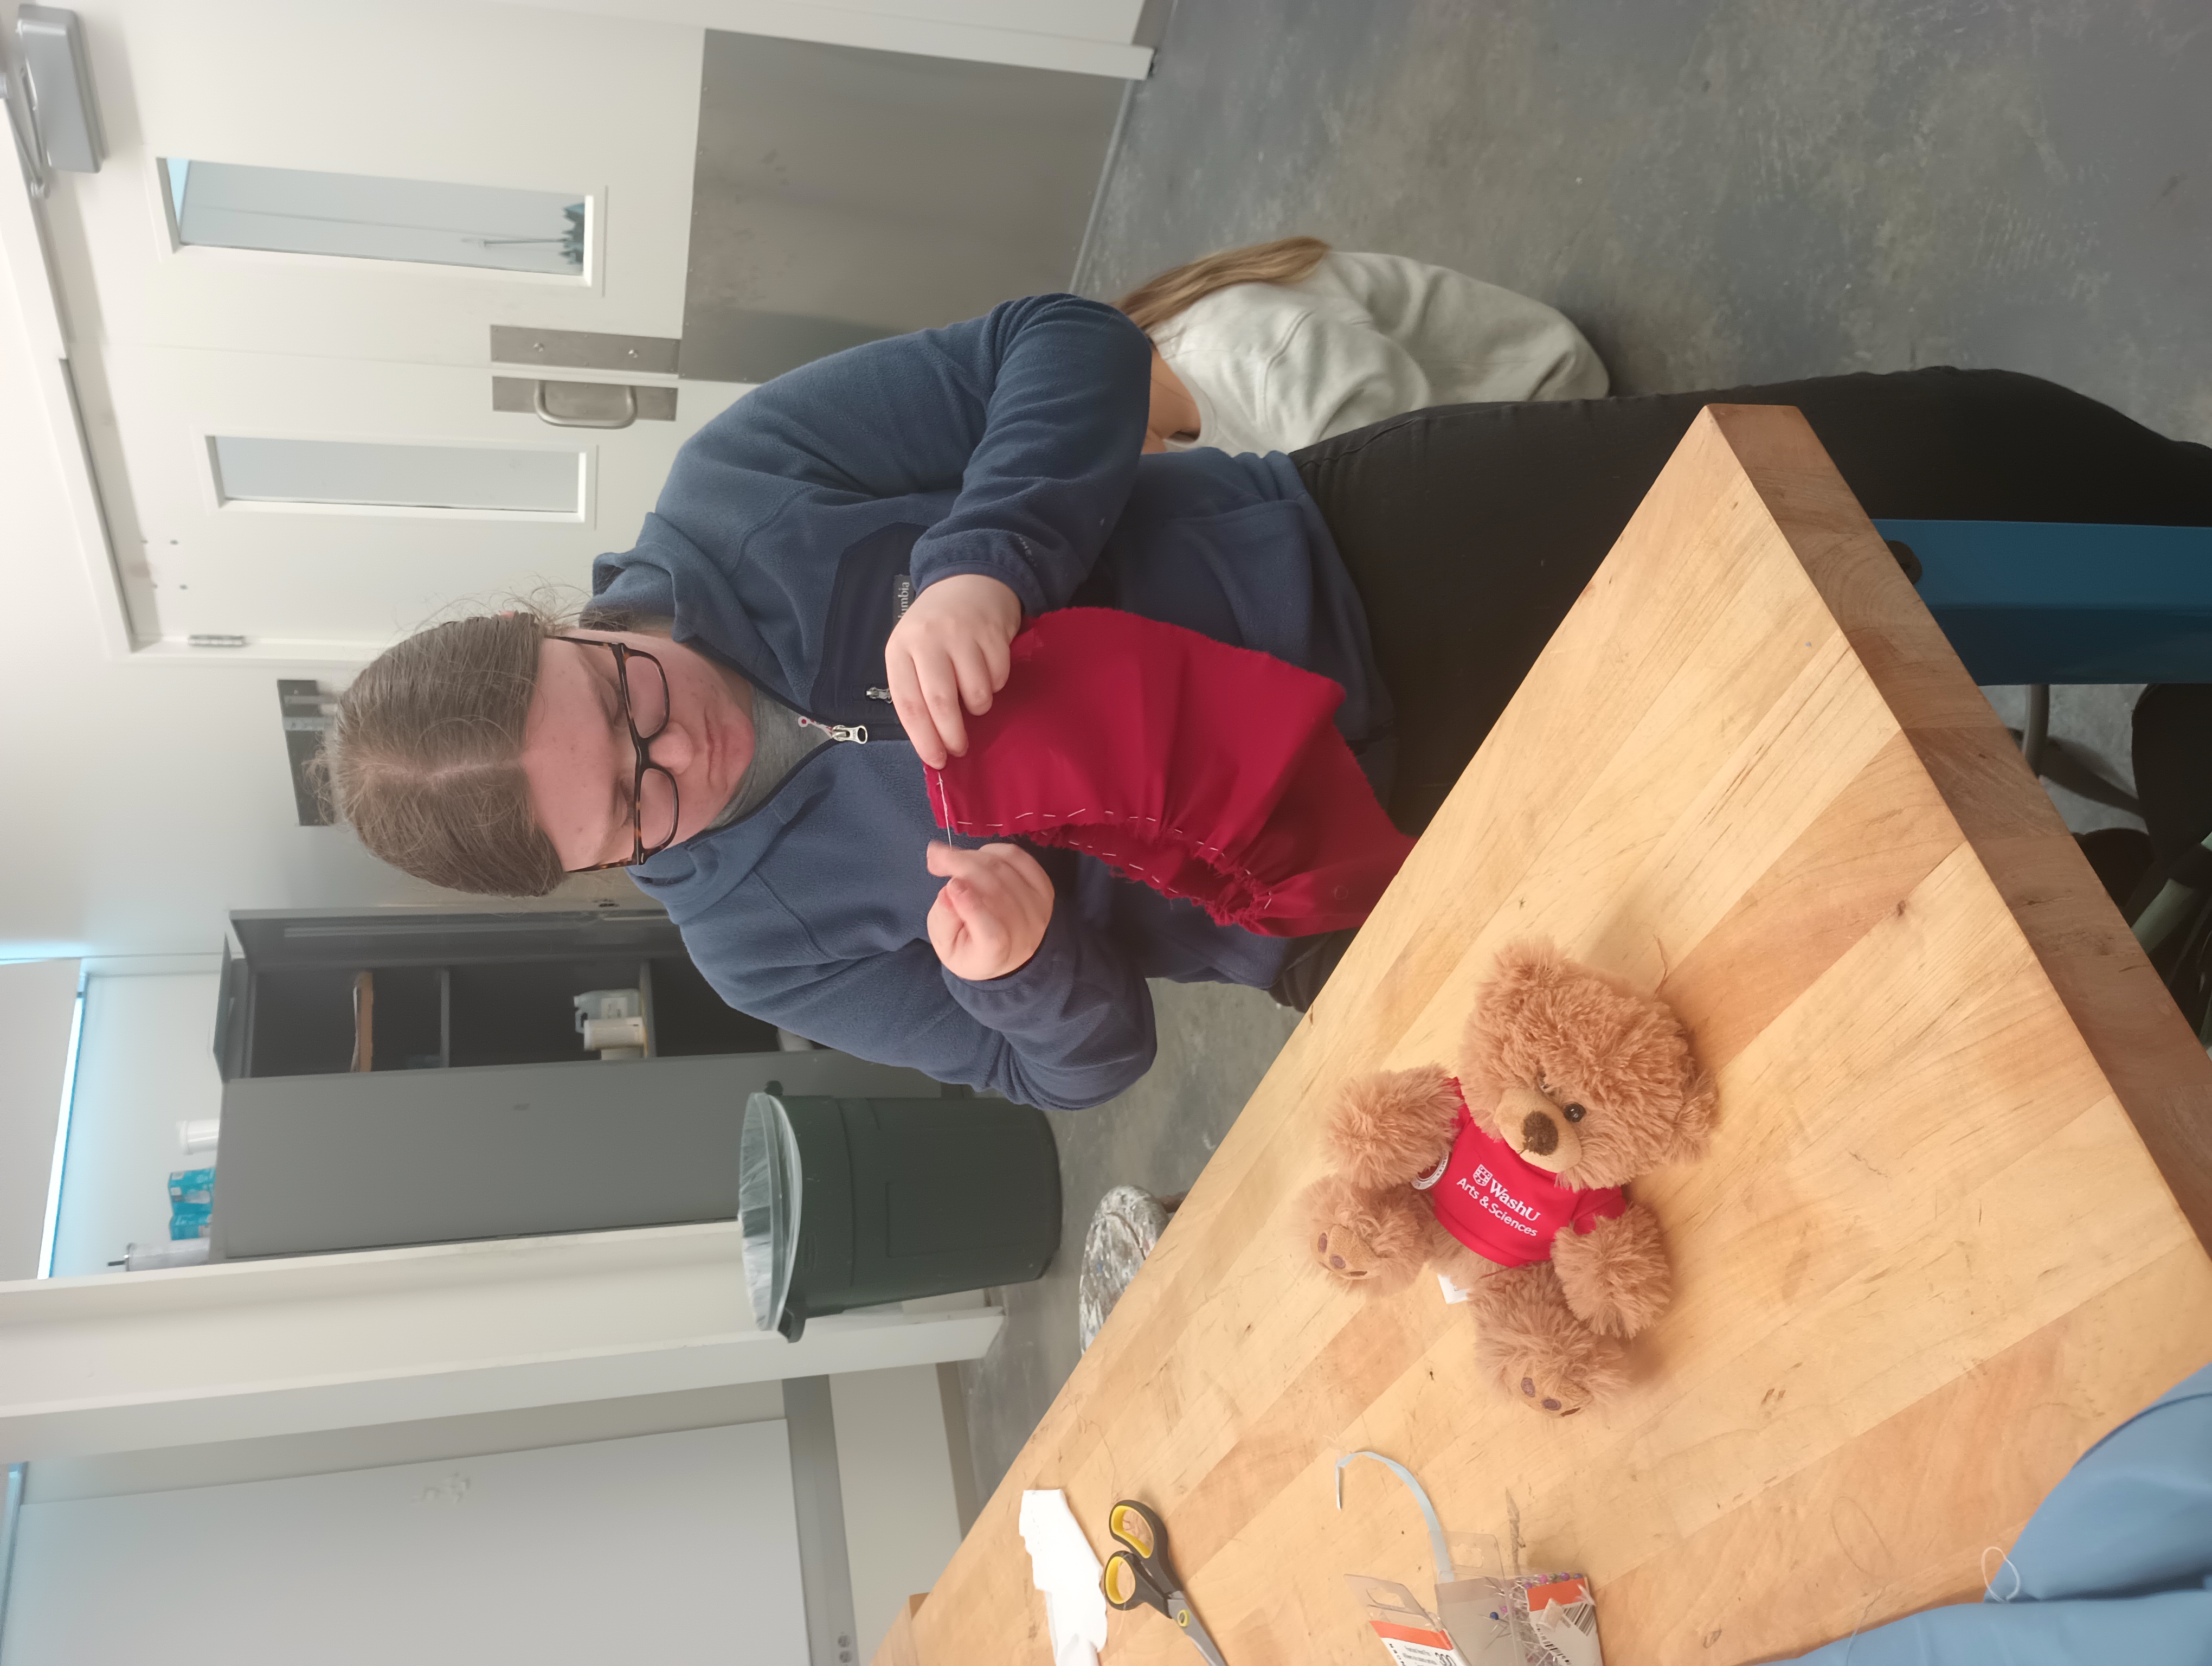
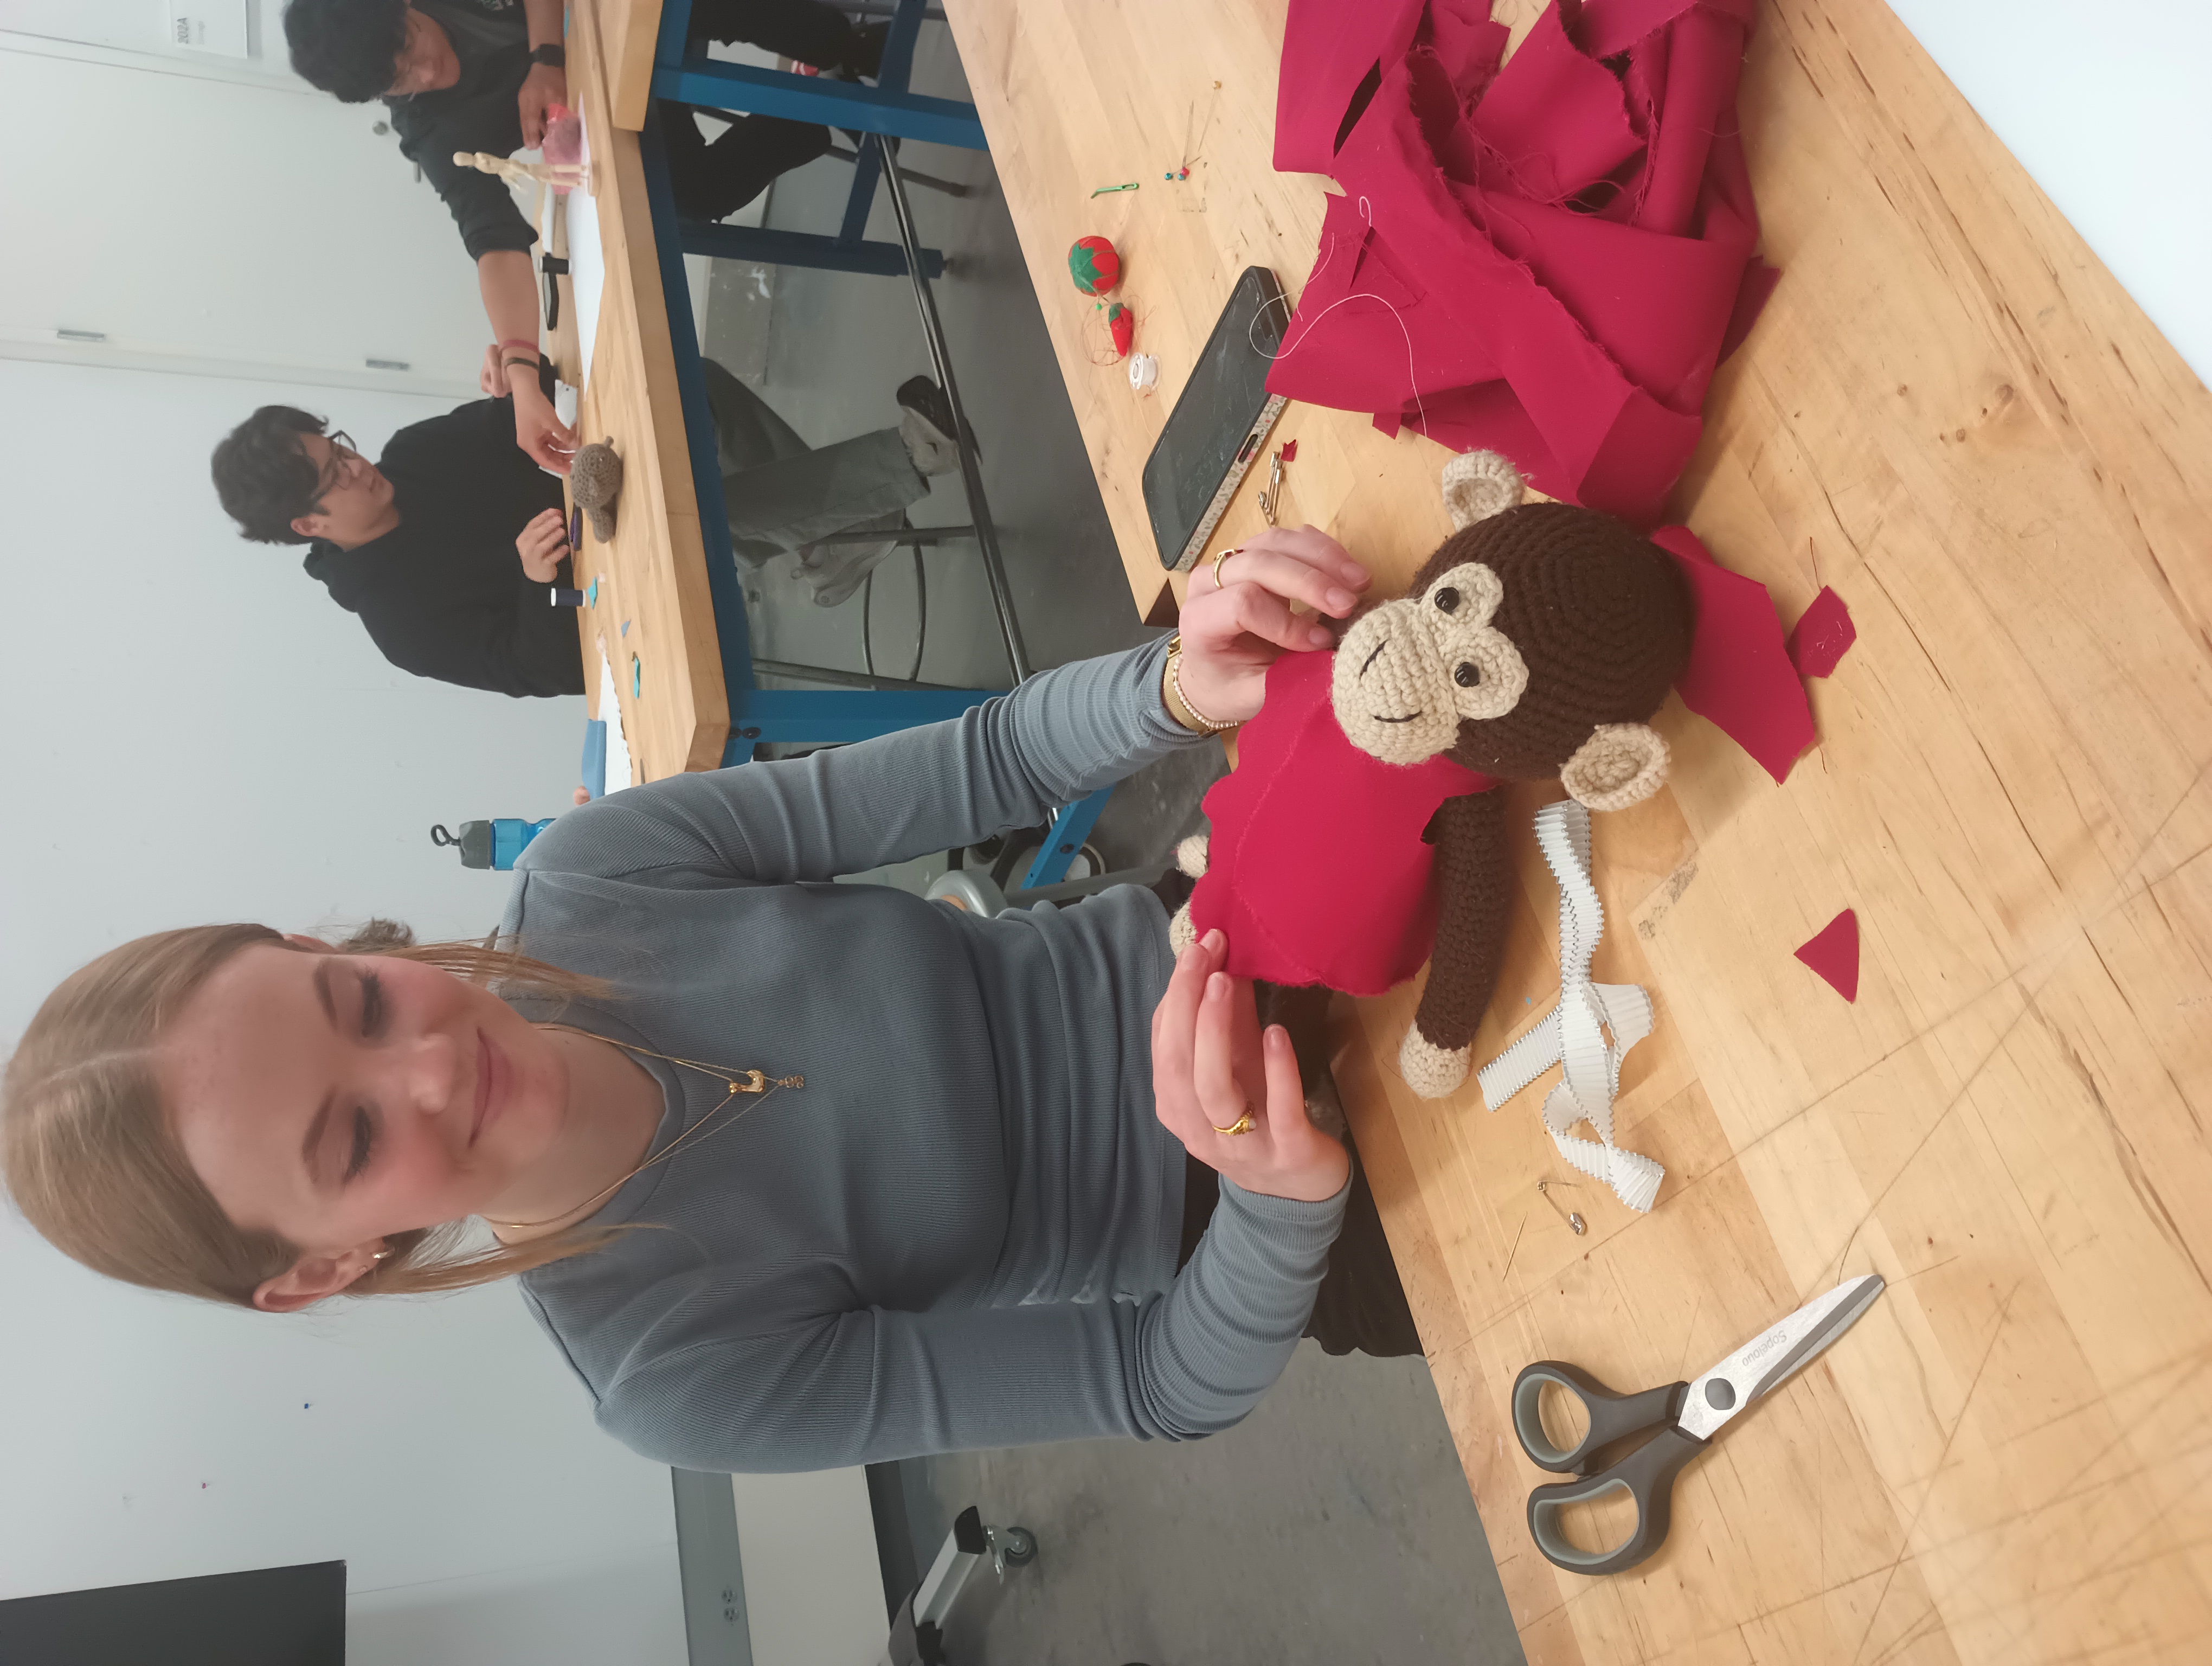
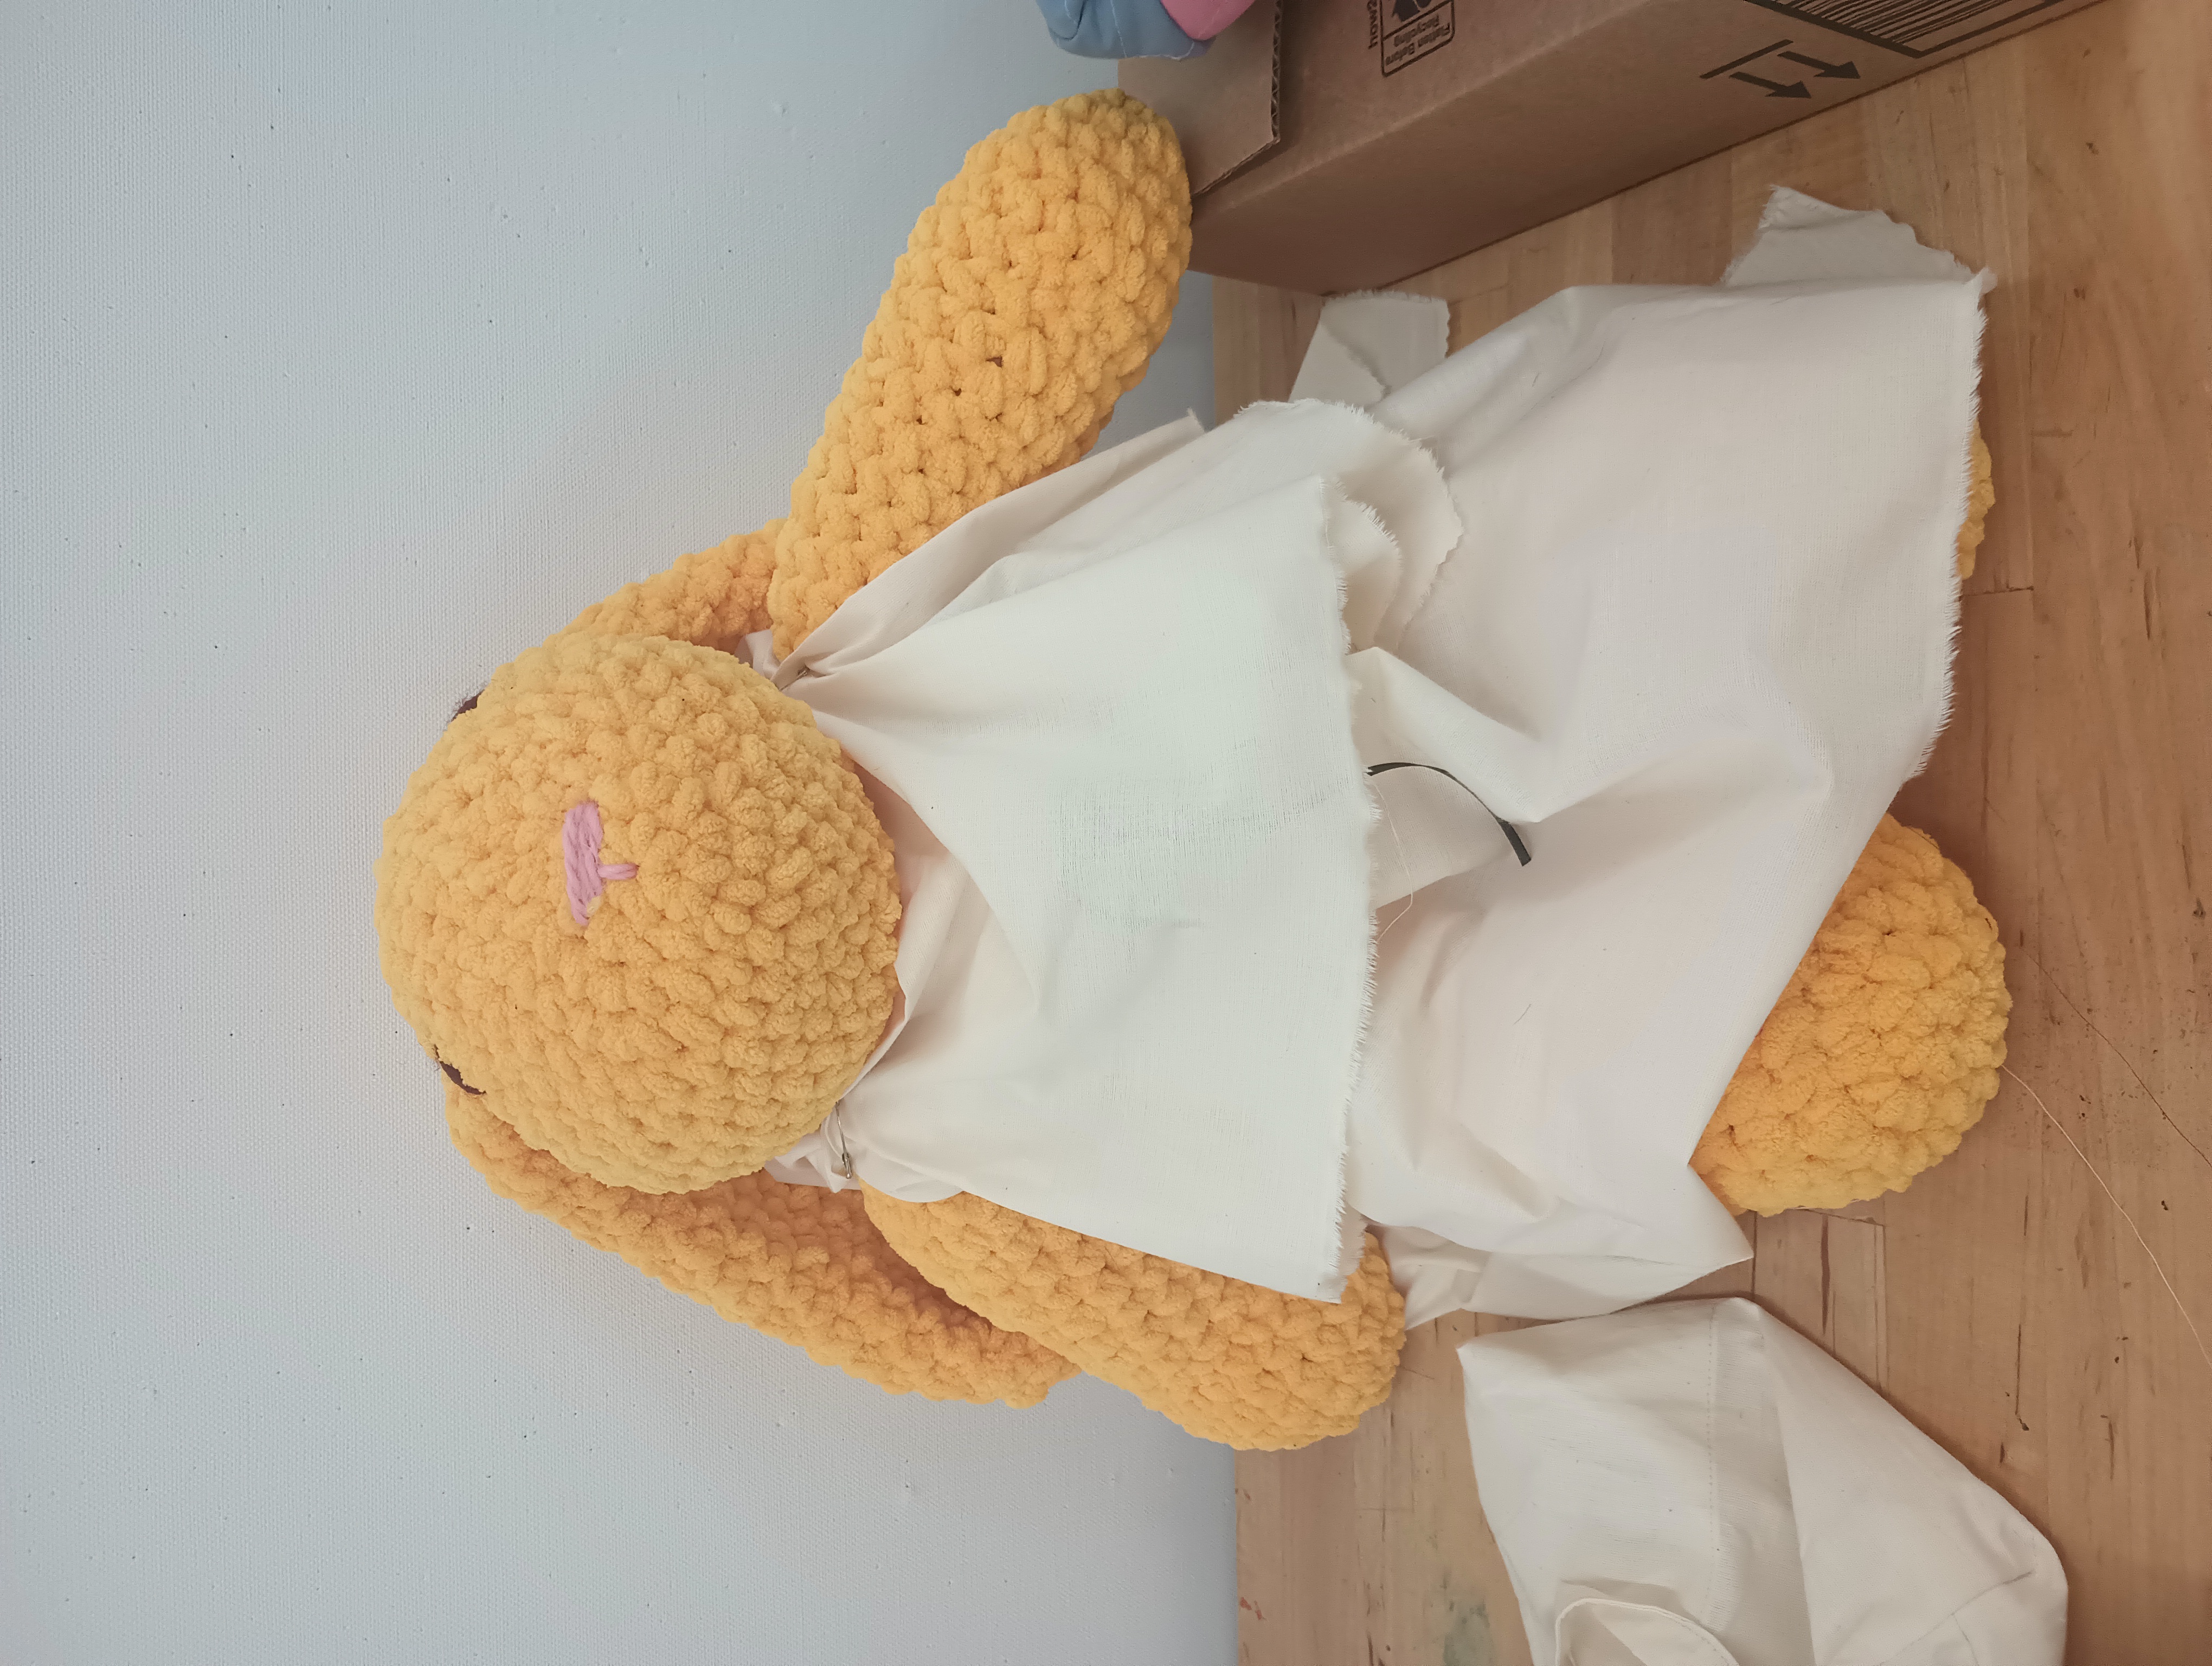
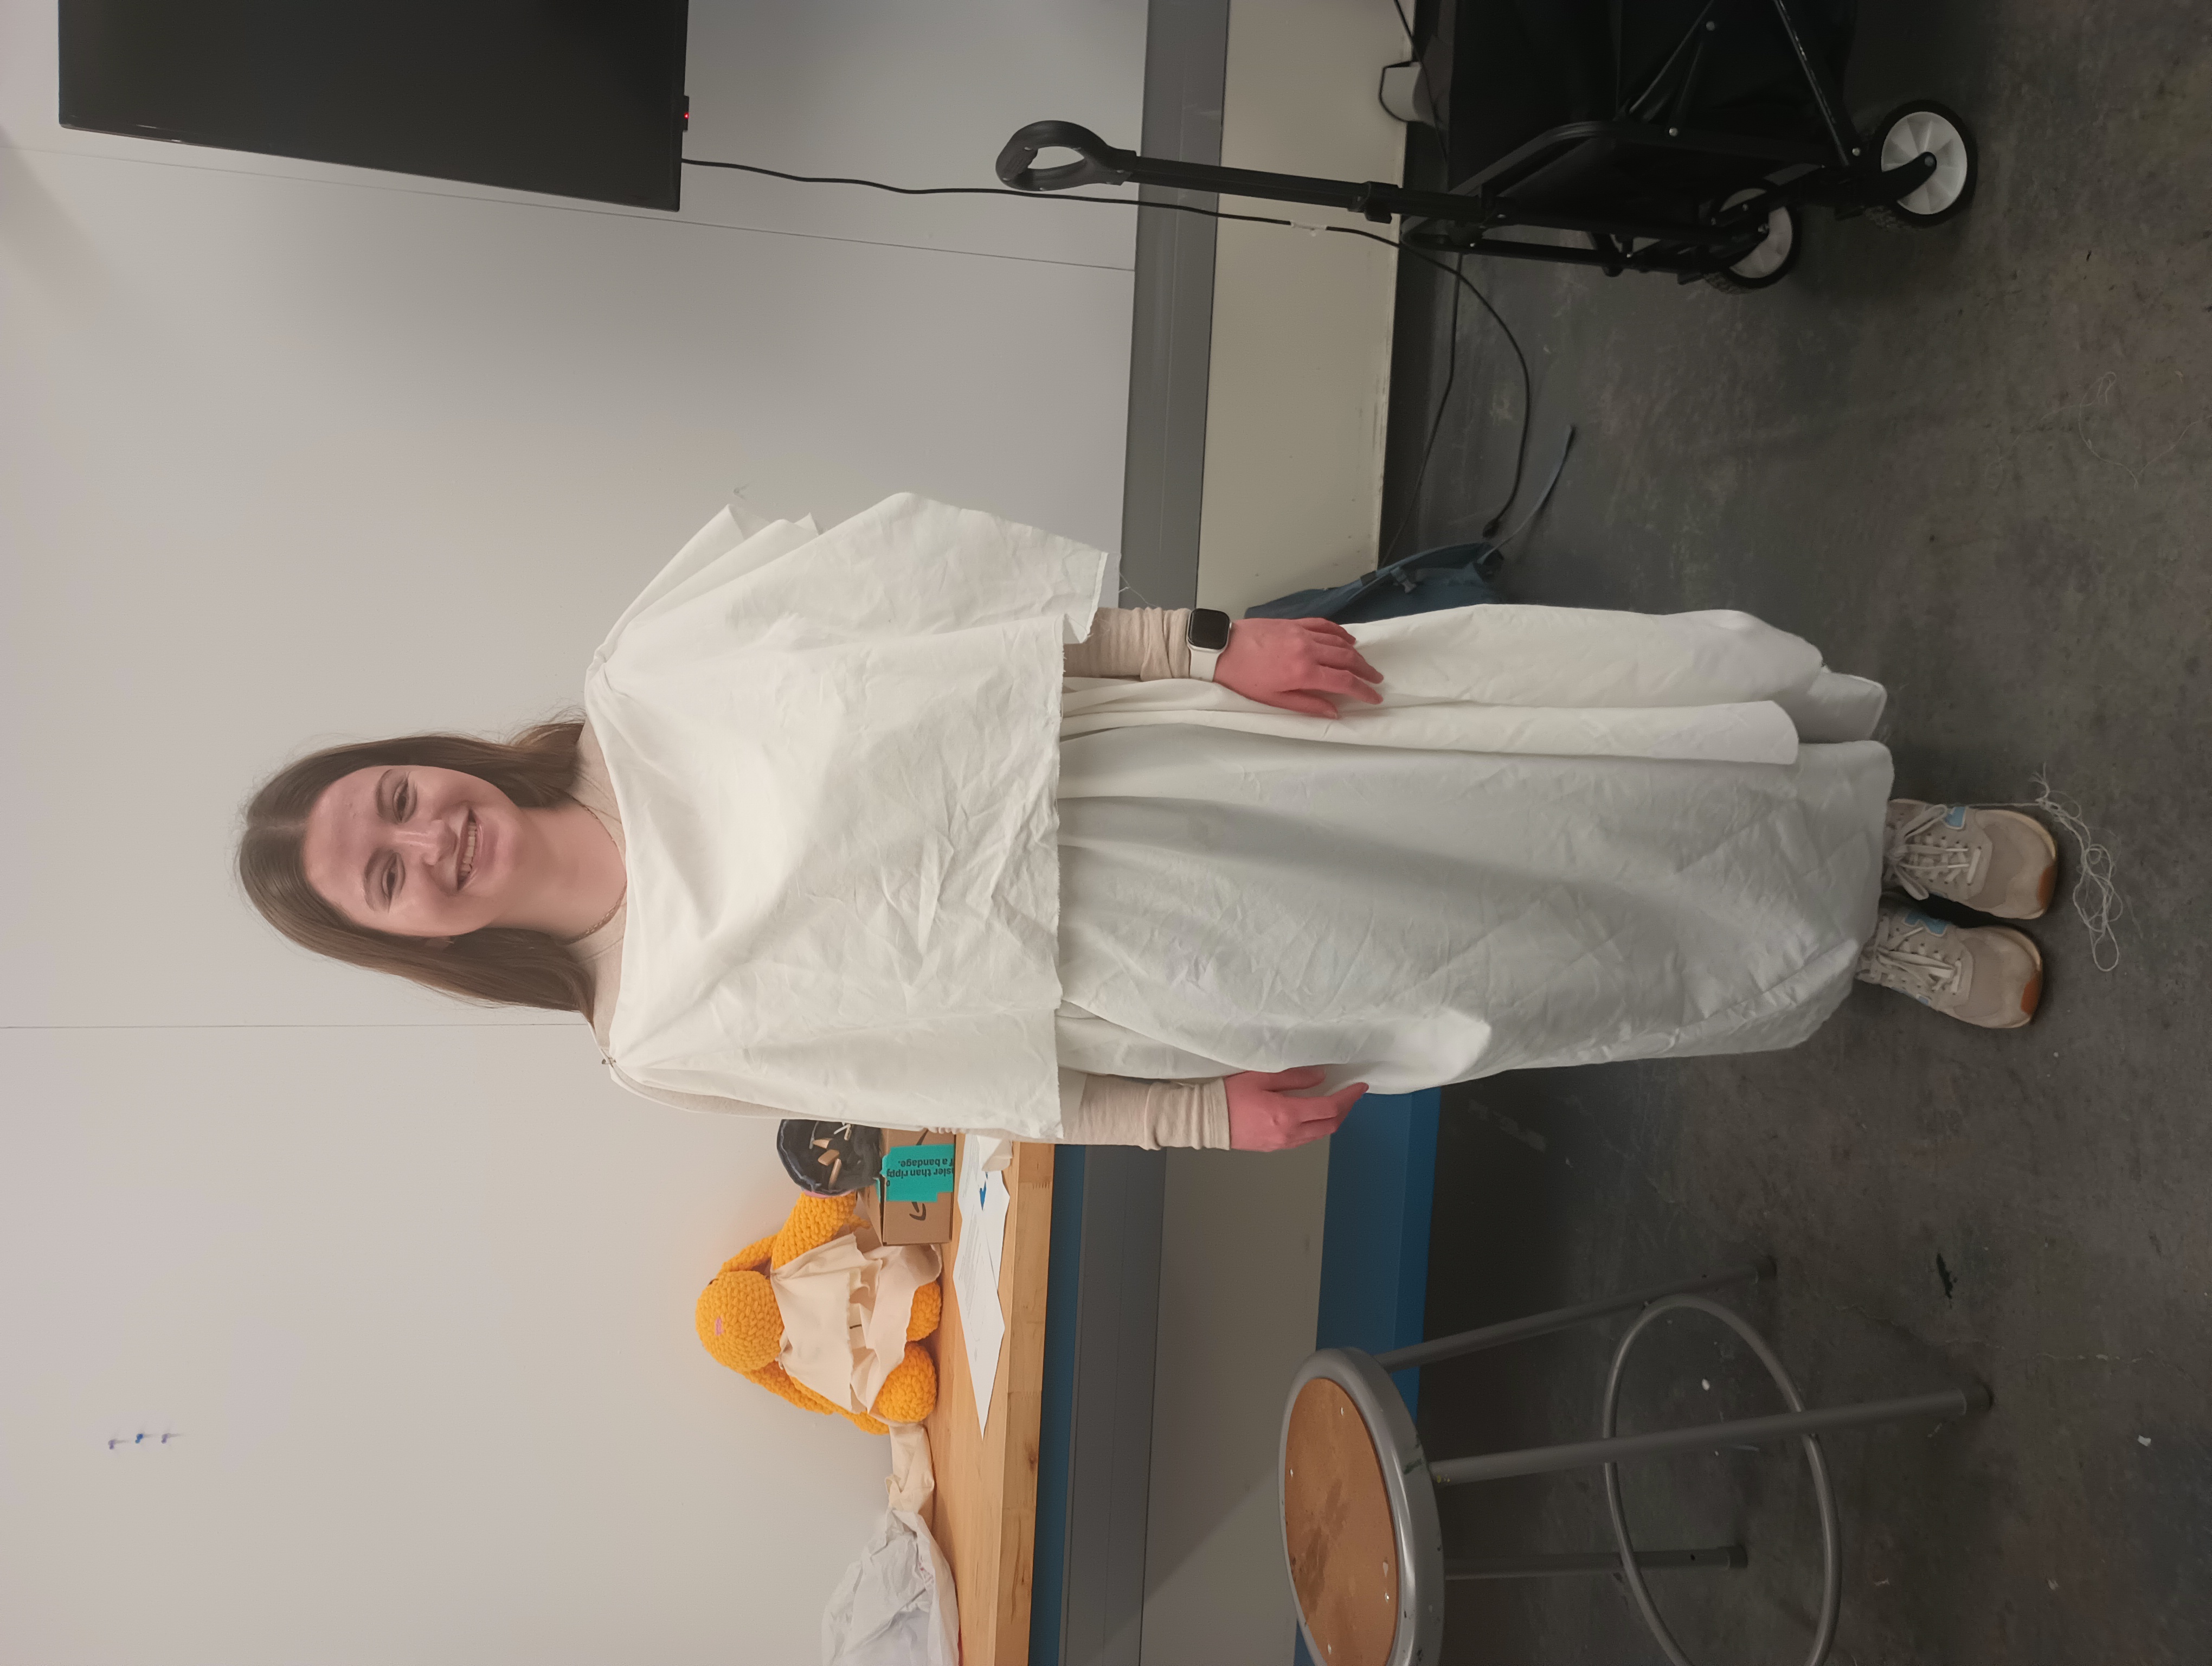
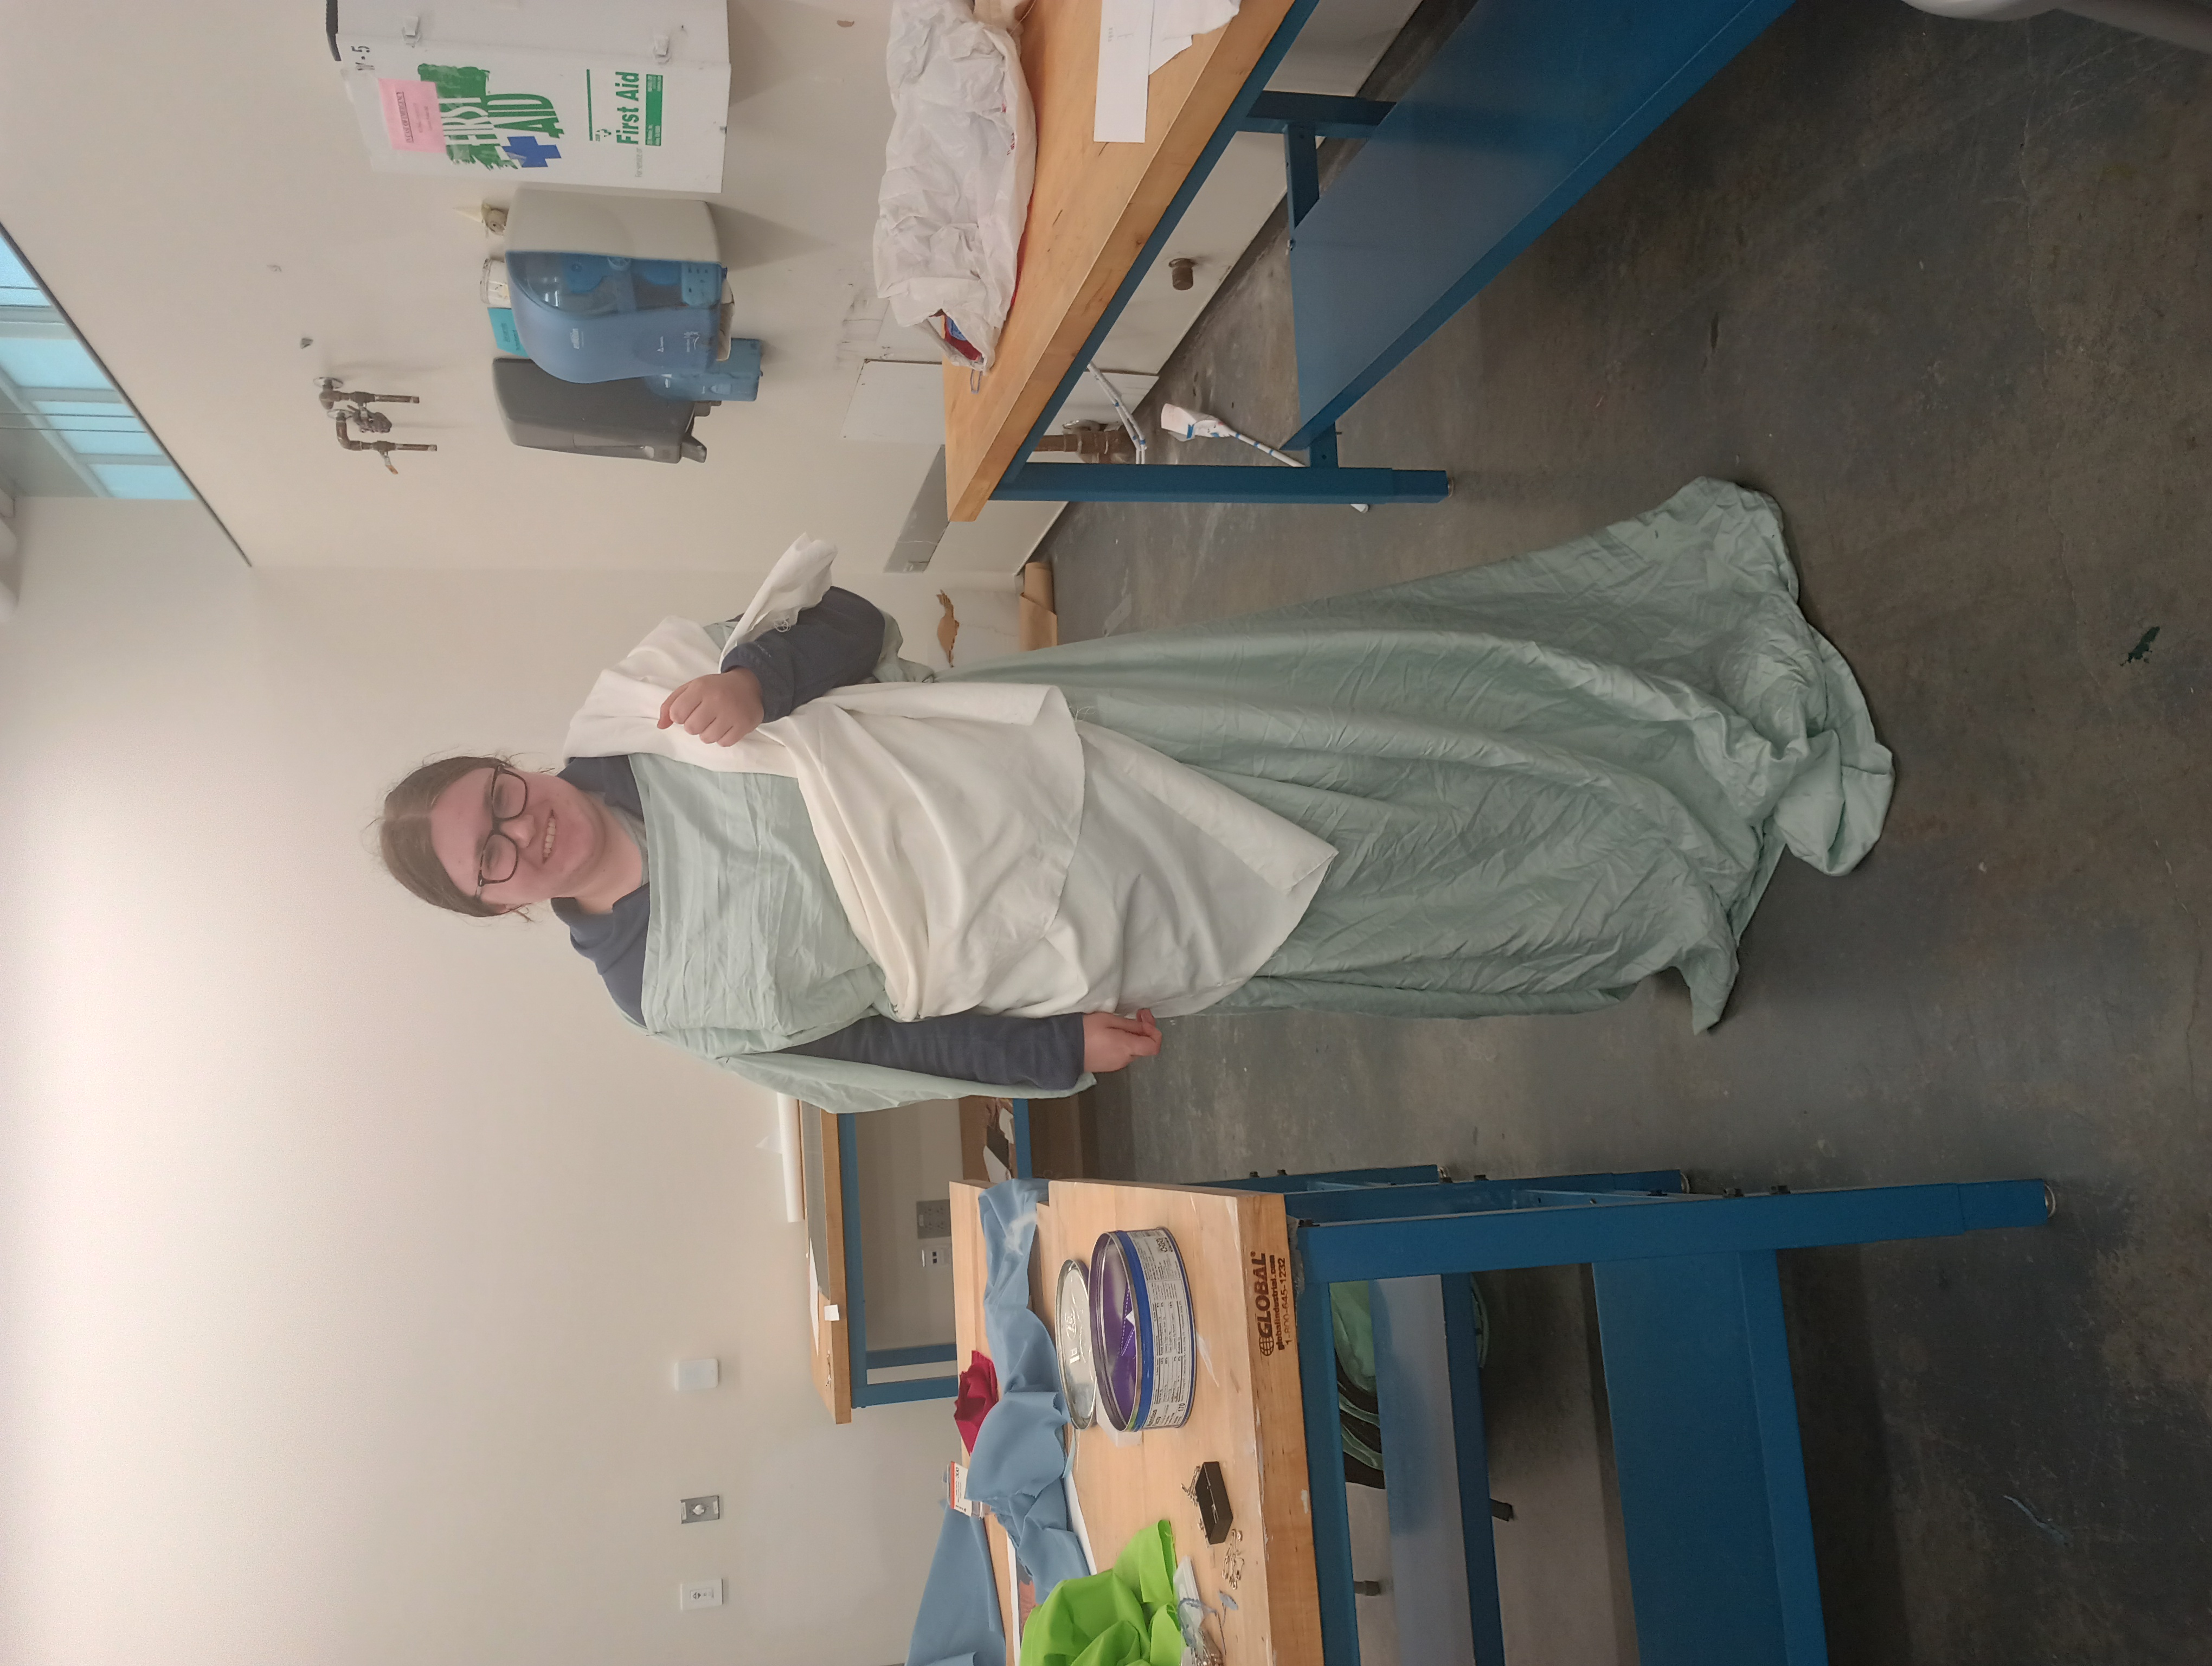
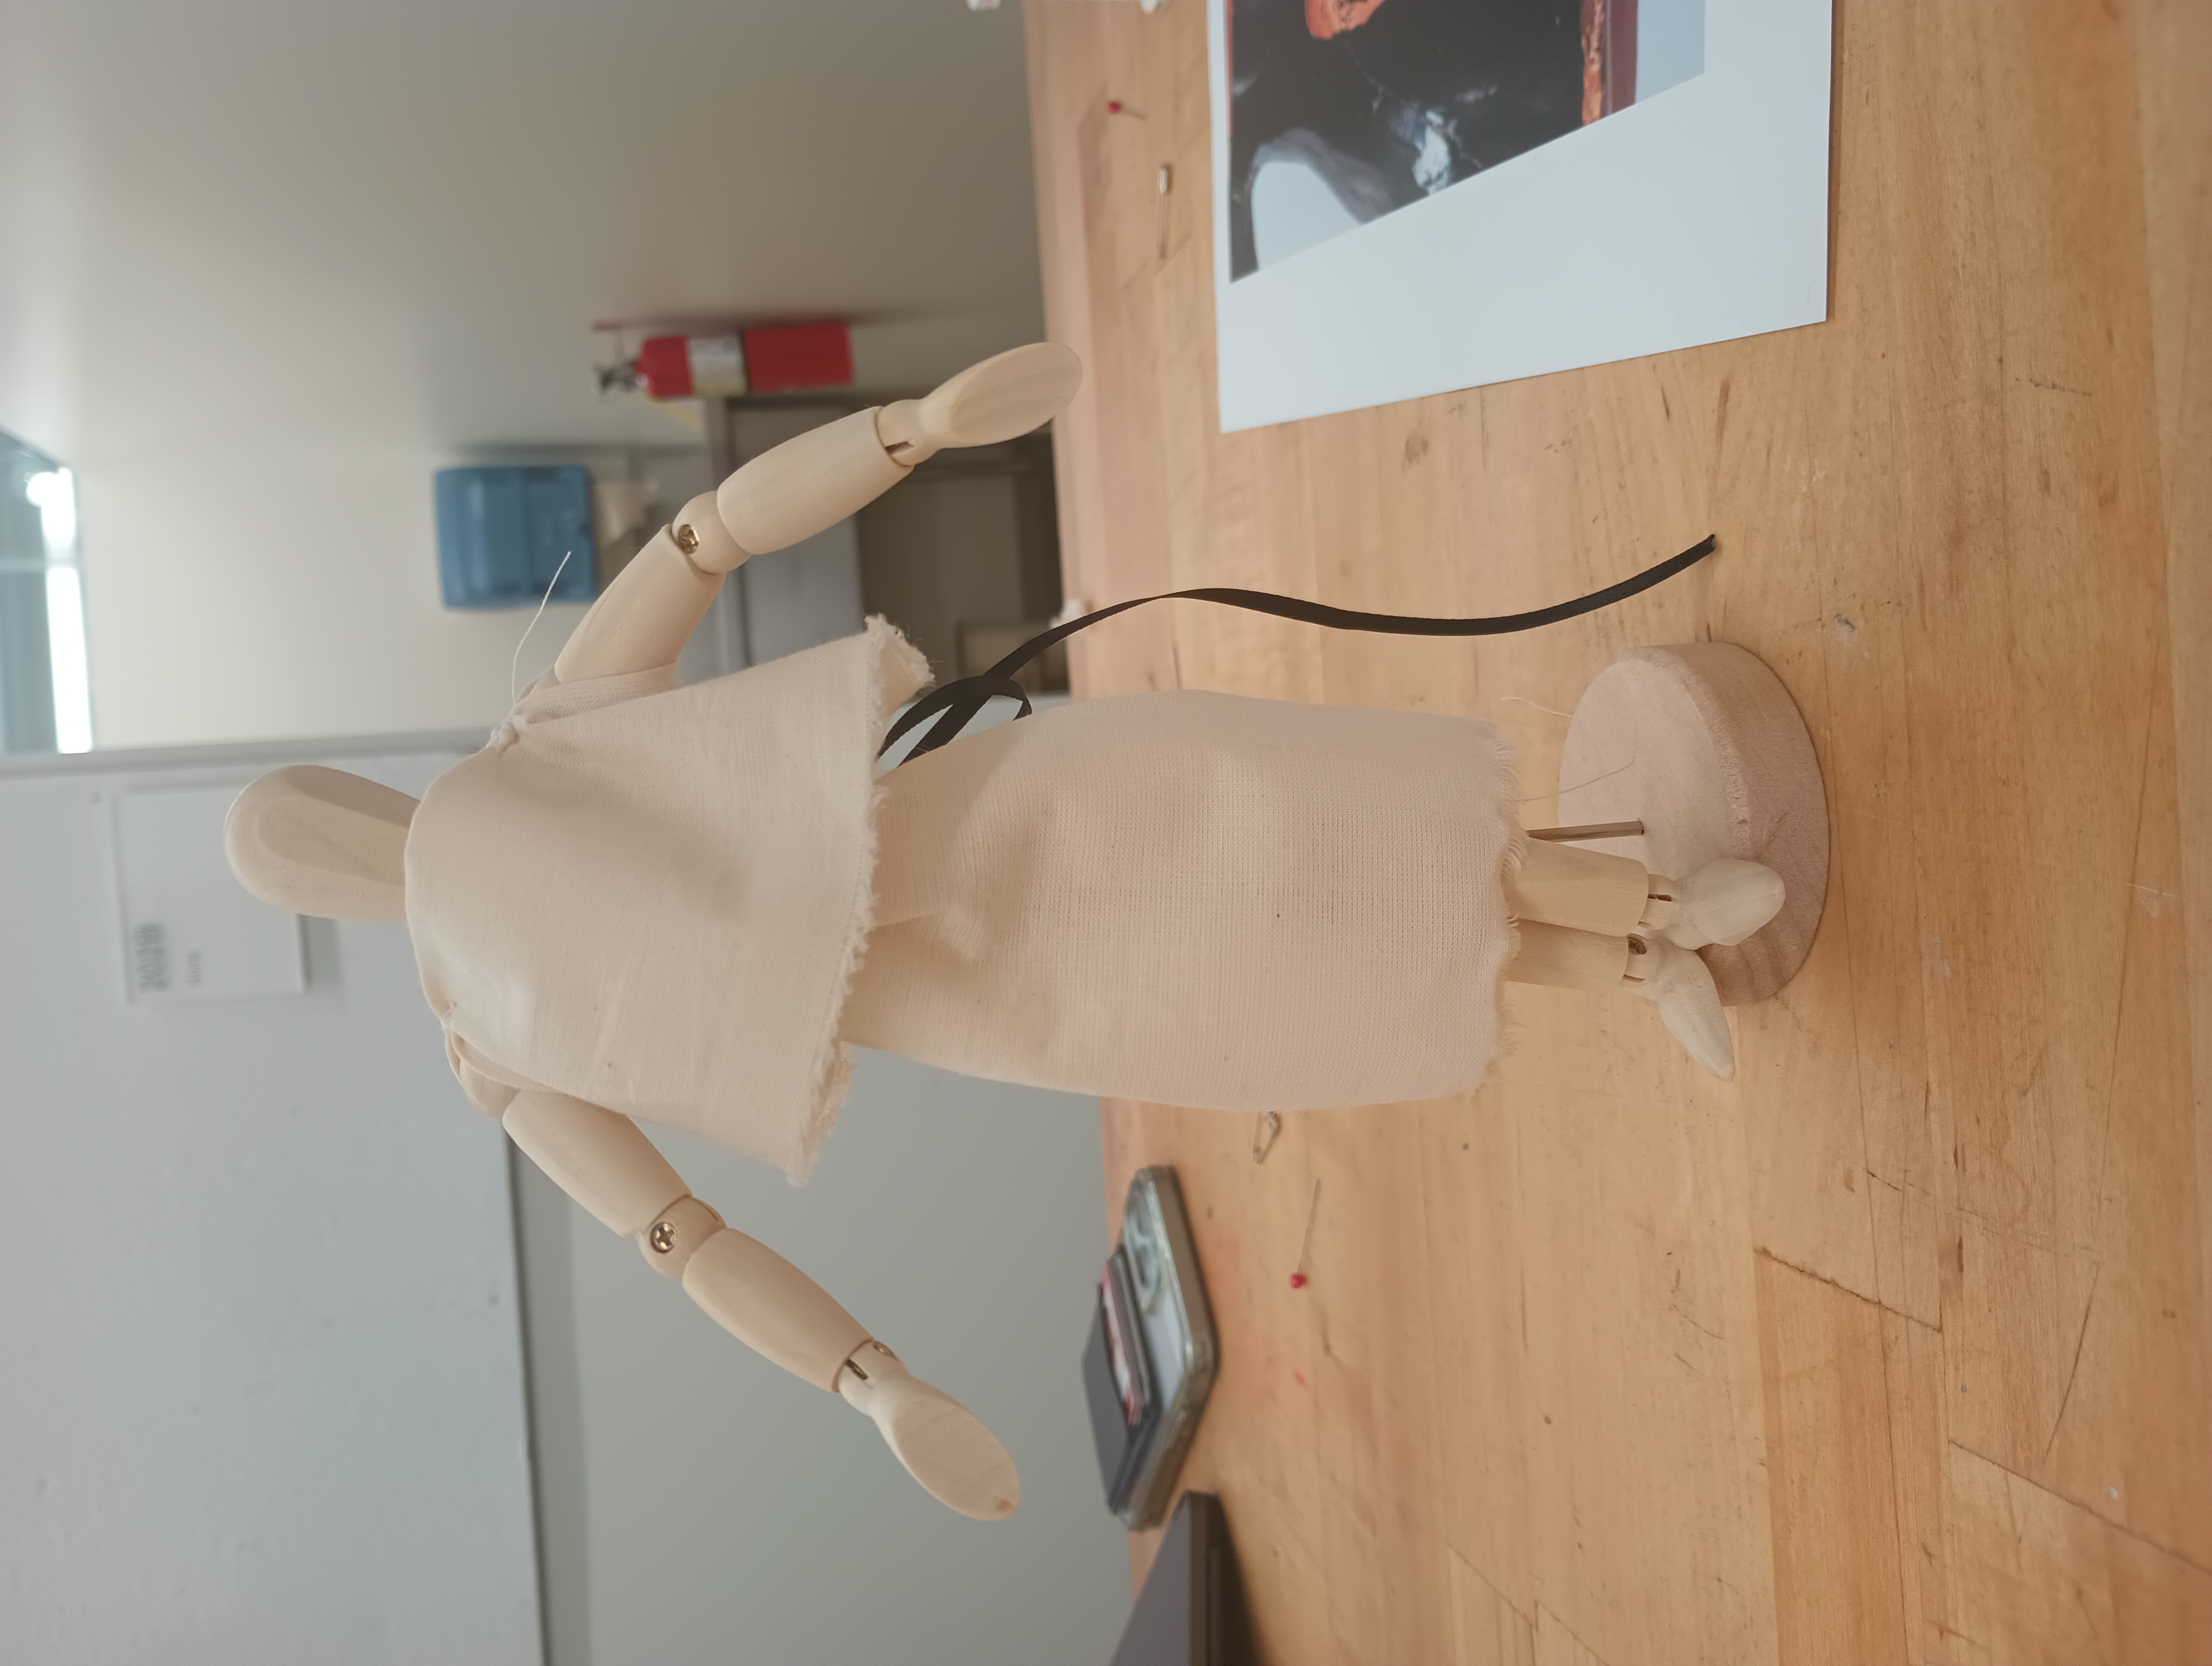
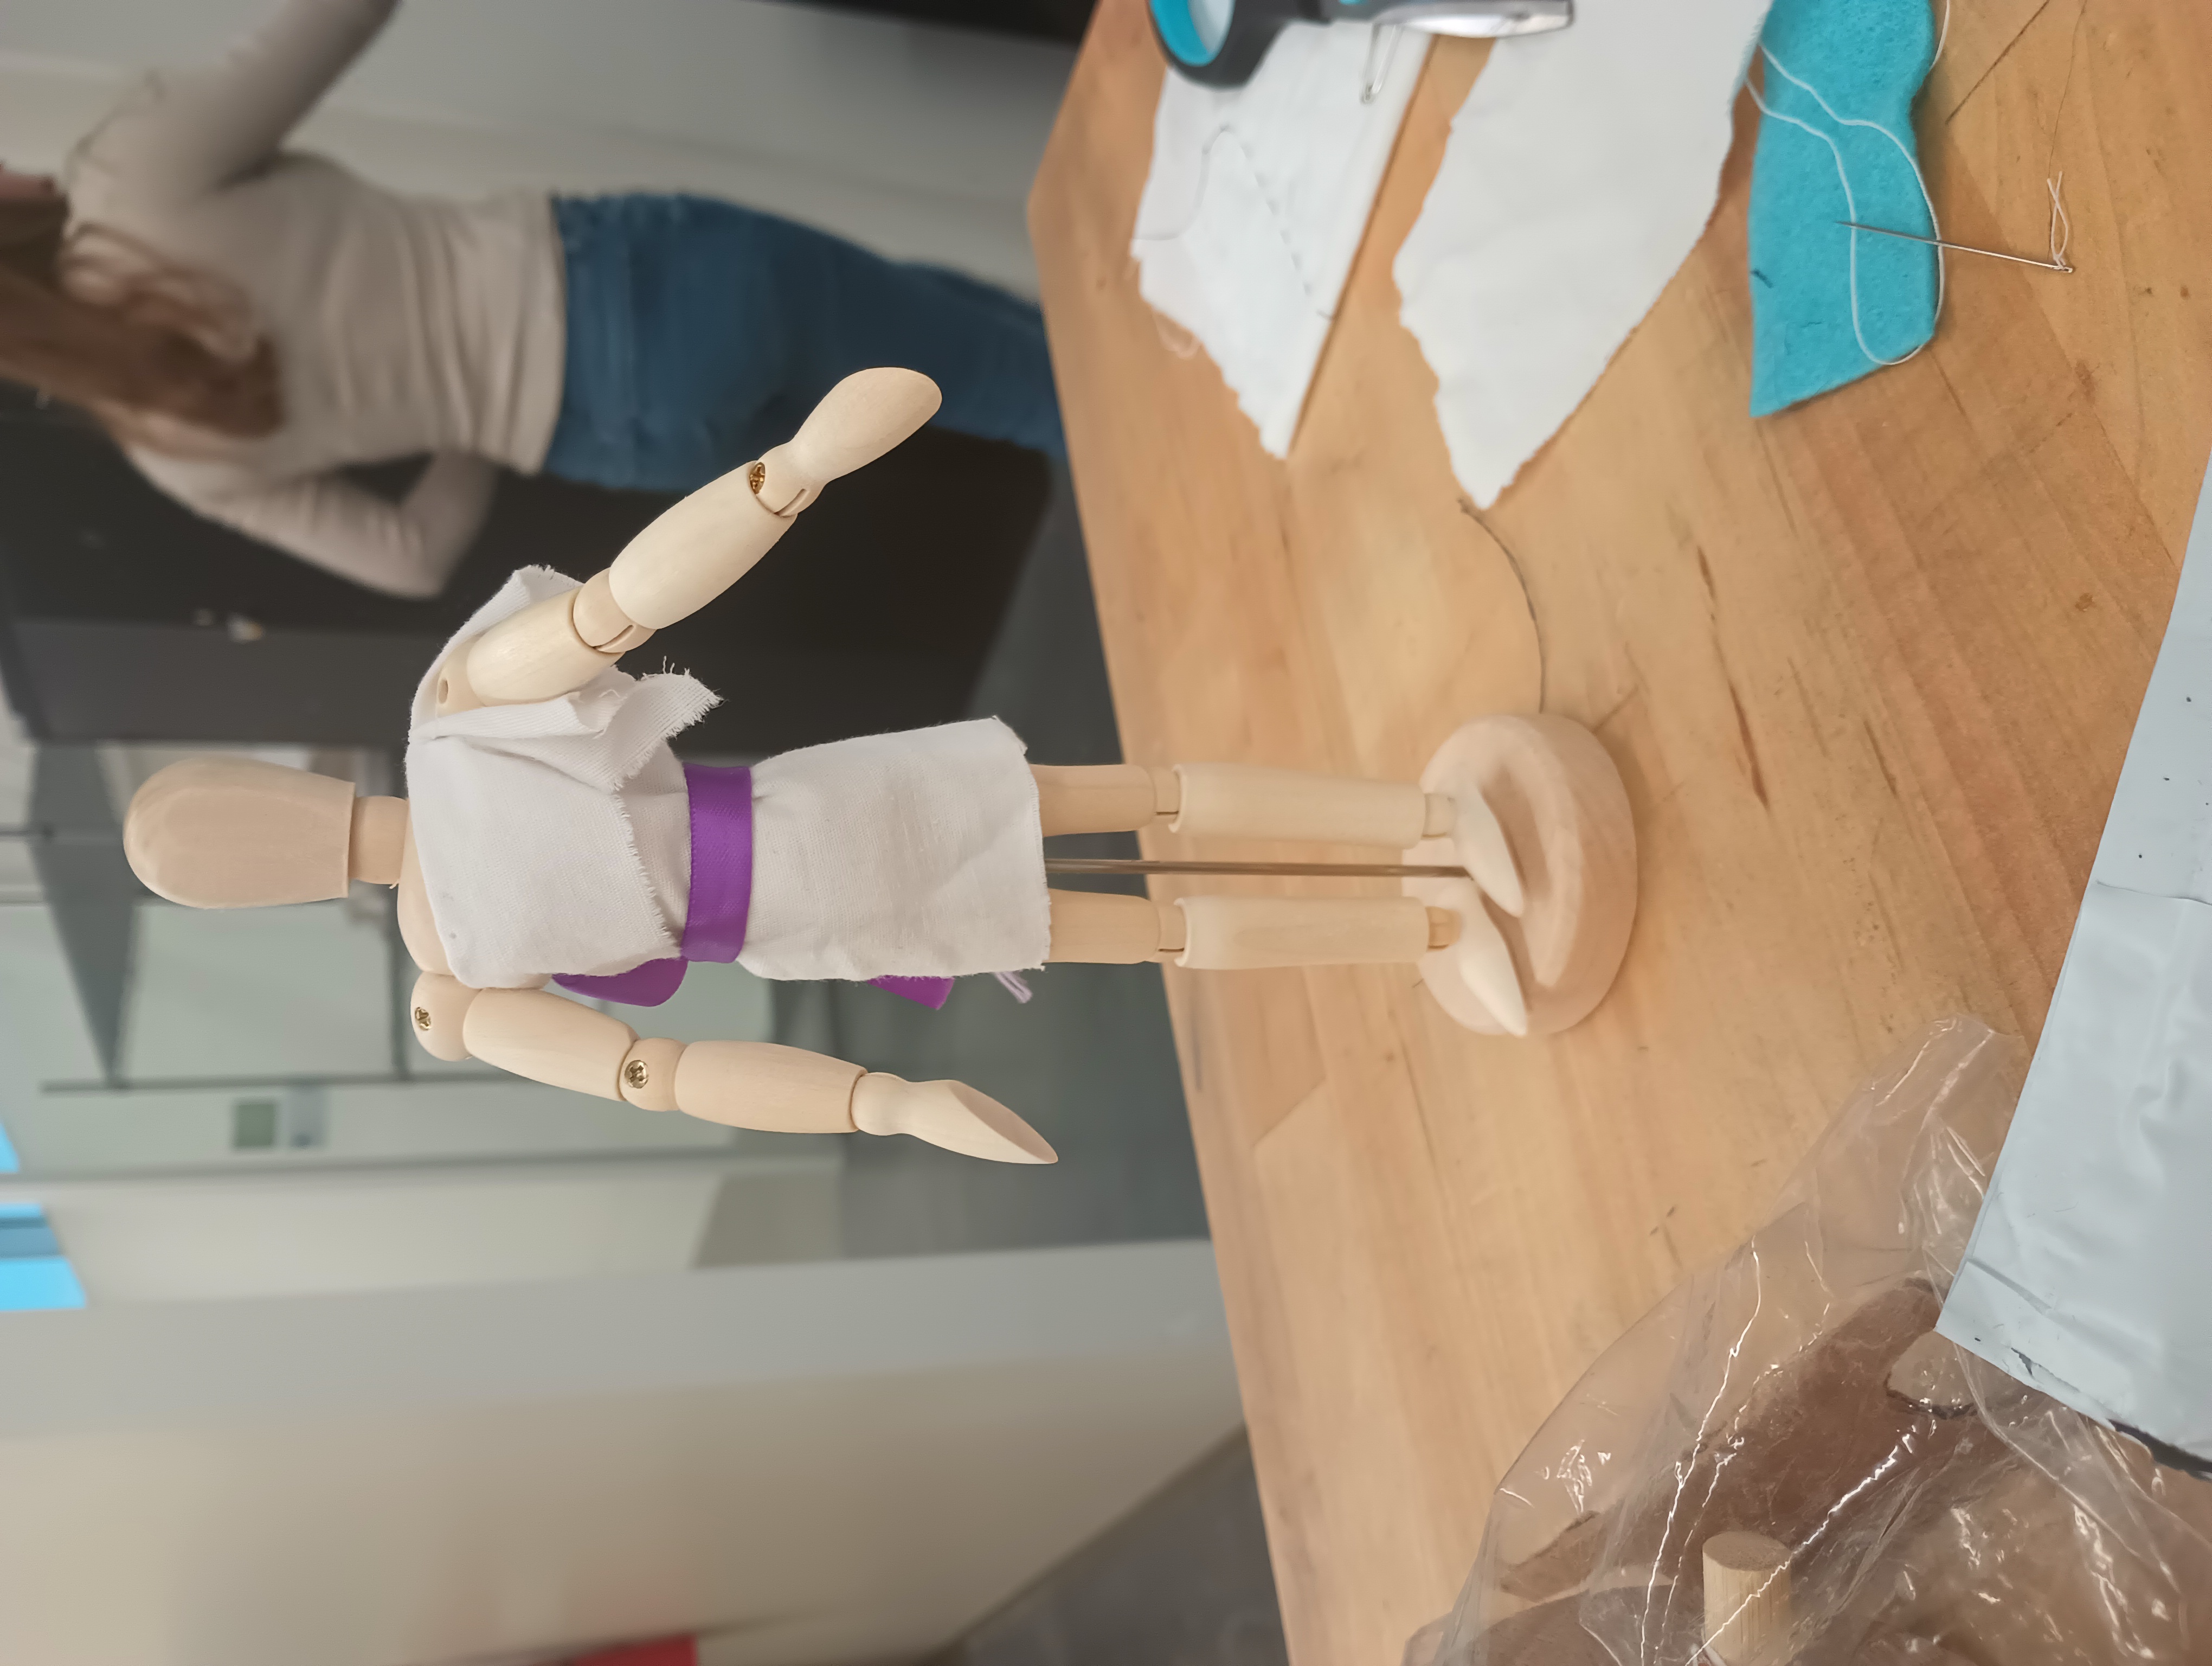
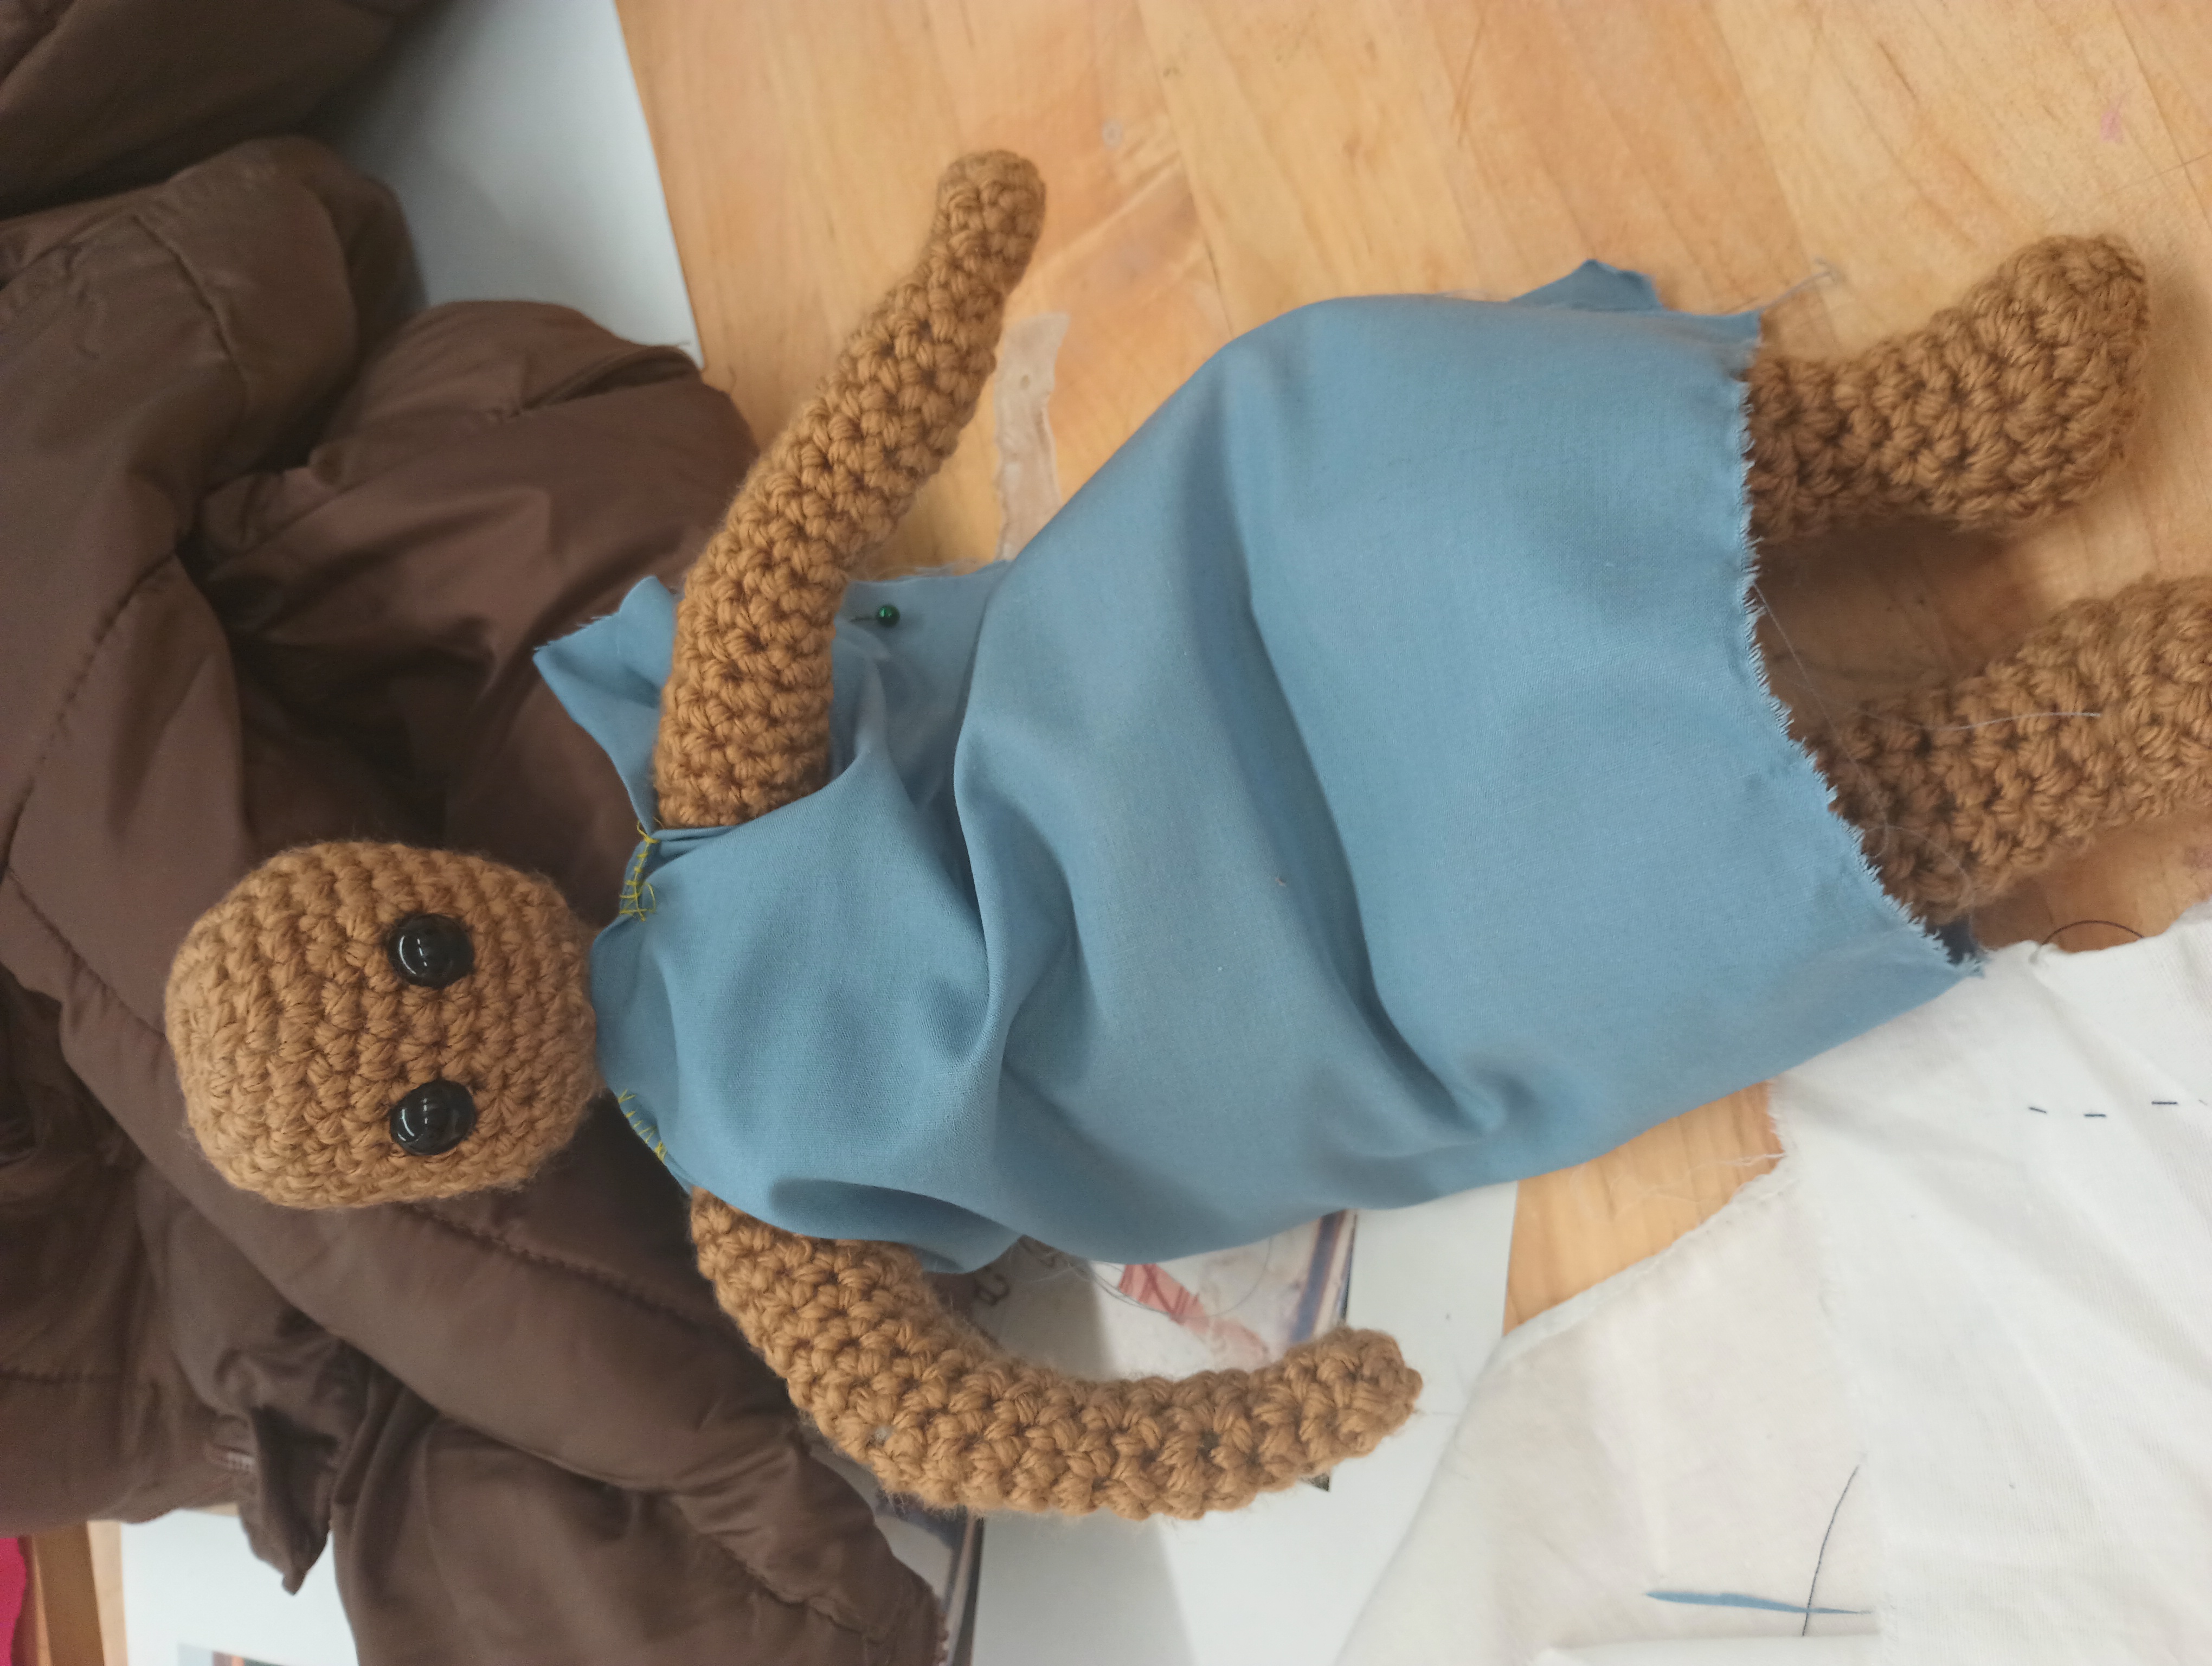
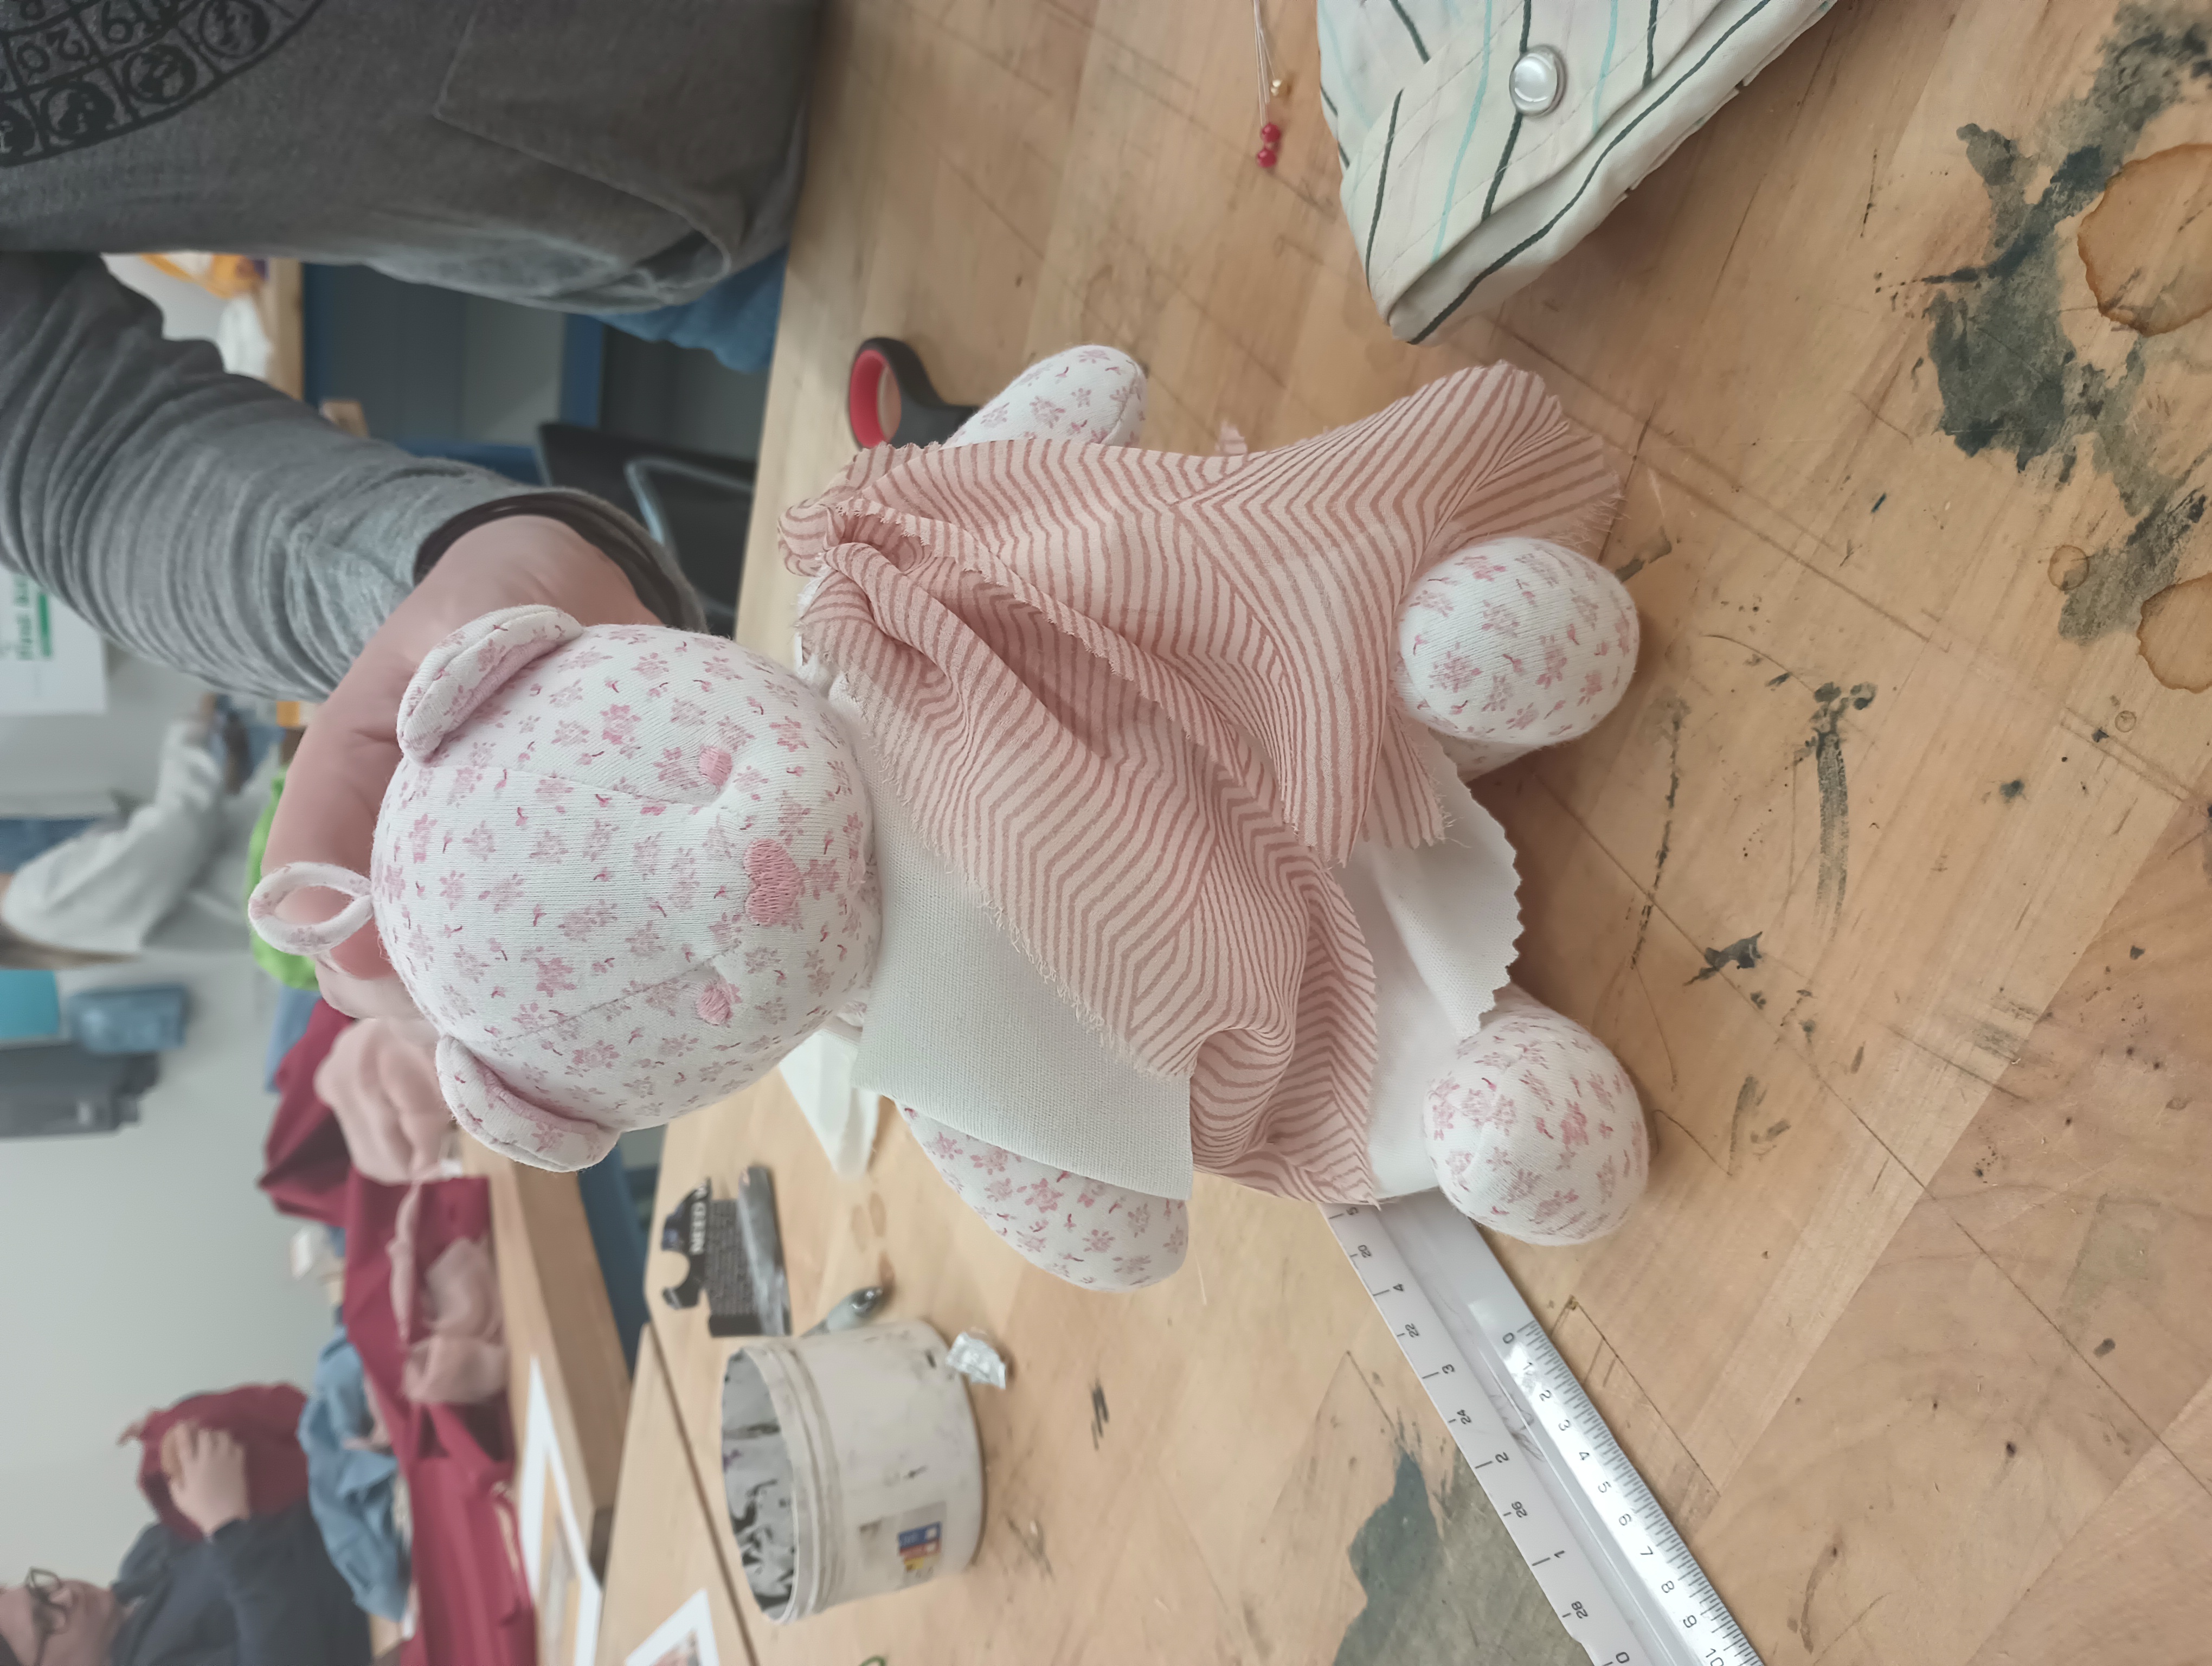
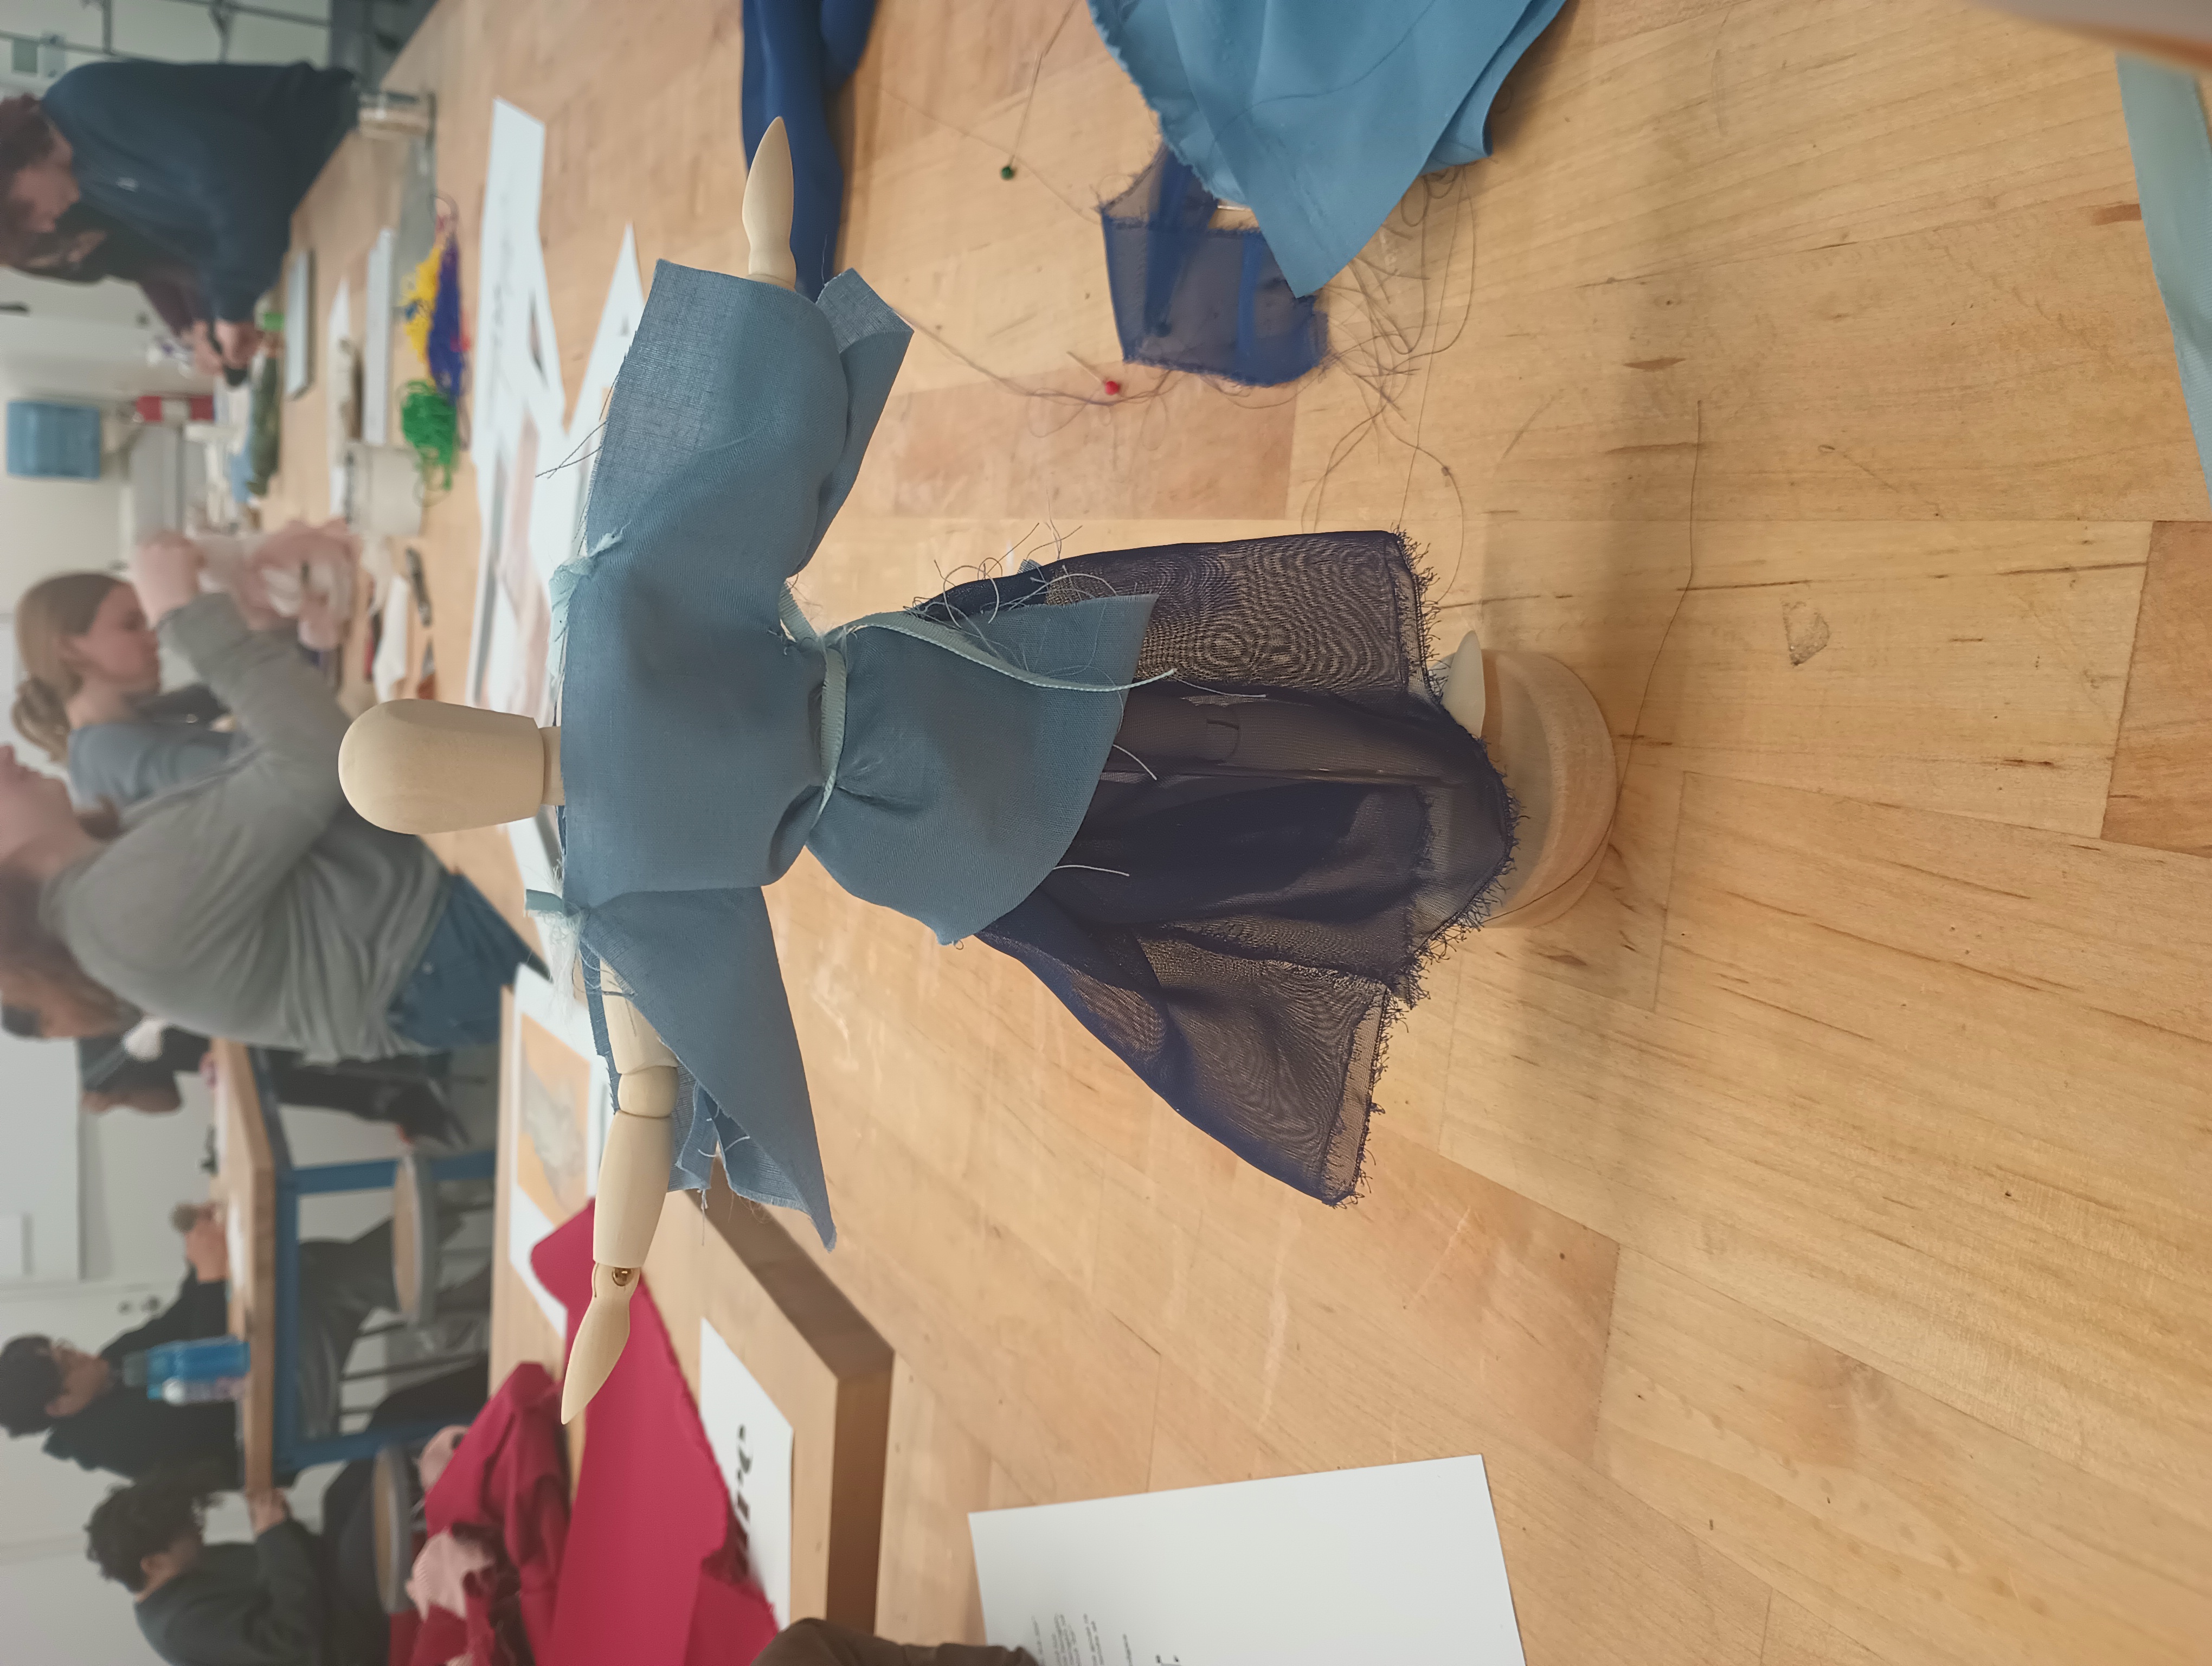
Studio 10 - Sewing and outfit assembly
This studio focused on turning unshaped textiles into clothing. Students who didn't previously know how to sew learned the basics of sewing. Using pinning, cutting, sewing, and draping methods students assembled ancient style outfits for a variety of miniaure models. In addition, students draped full-size outfits on each other using large rectangles of fabric.
Supplies
- Scrap fabrics
- Needles and thread
- Safety pins and ribbons/string
- Sheets/large pieces of fabric
- Outfit models (stuffed animals, art dolls, etc.)
Pictures
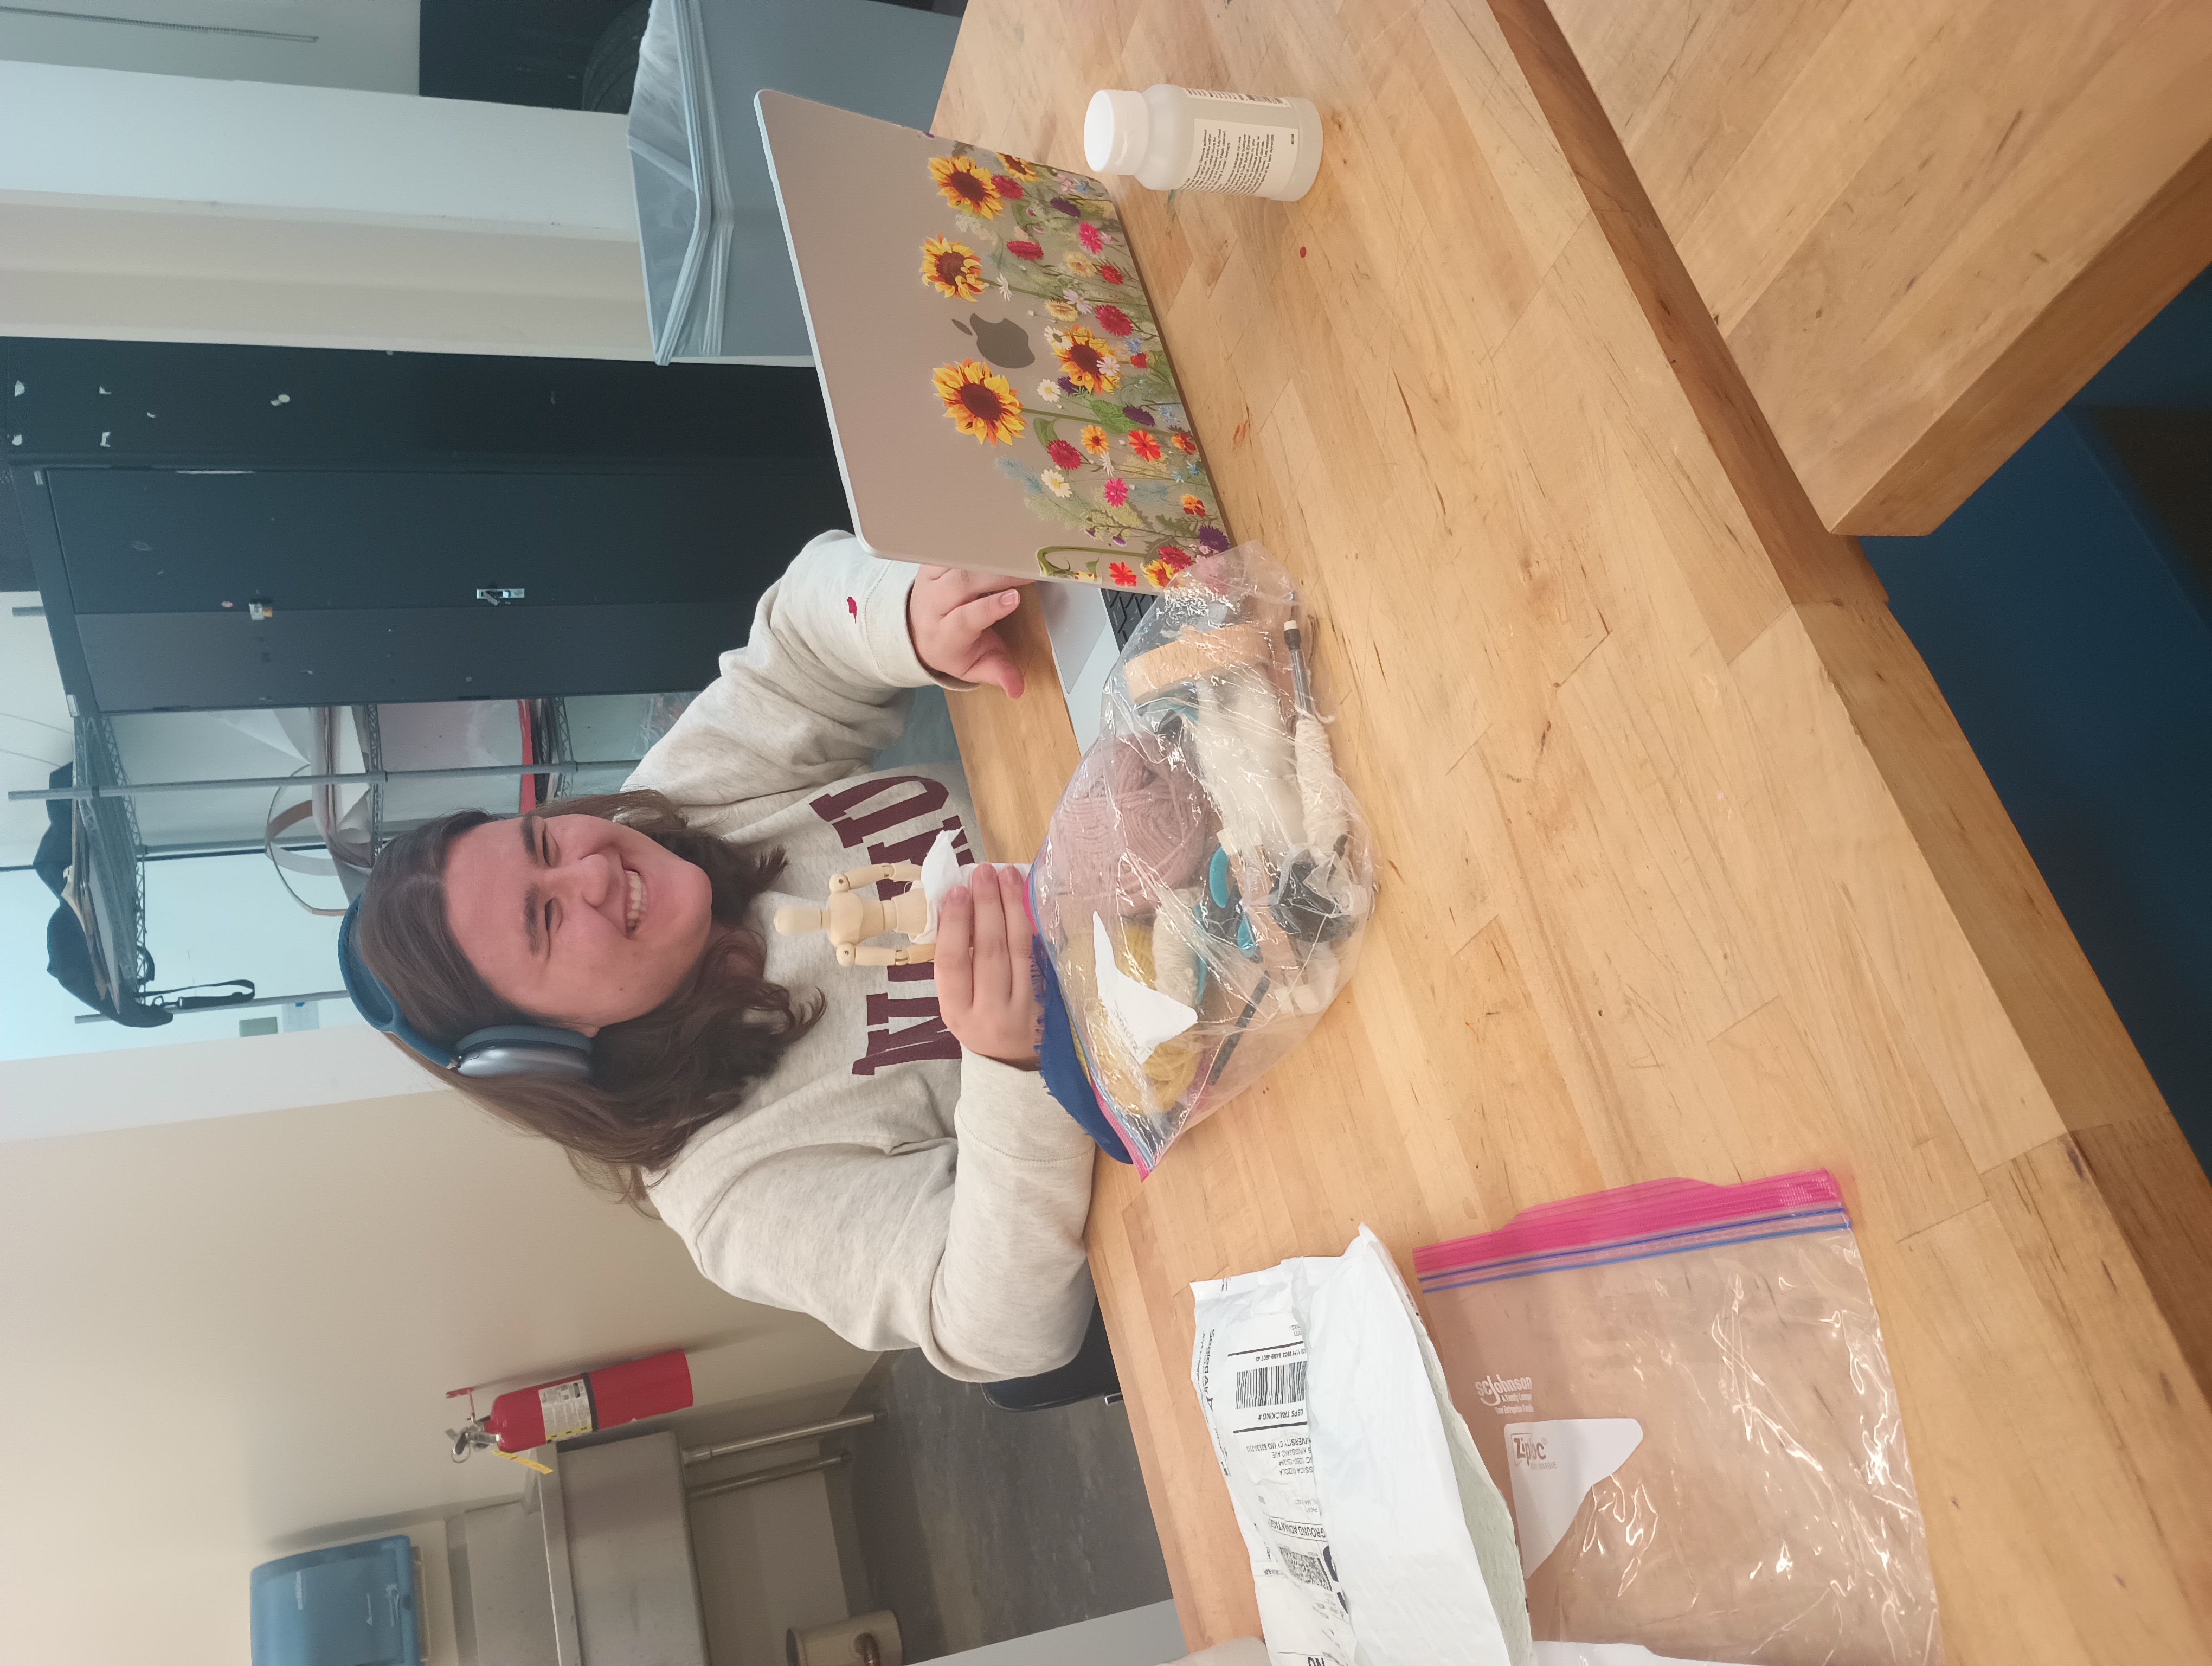
Studios 11-12 - Final projects
For our last two studio days, students worked on their final projects. I circled around and checked in on each project and gave advice and aid where needed. Some studens worked on the studio component of their projects, while many worked on research.
Supplies
- Individual project supplies
- Laptops
Pictures